Easter is always such a fun holiday for kids! I mean, what’s not to love about Easter egg hunts, candy, bunnies and more candy?! I really get into the holiday spirit and love decorating for Easter, setting a beautiful table for Easter brunch and making Easter treats I know my kiddos will love!
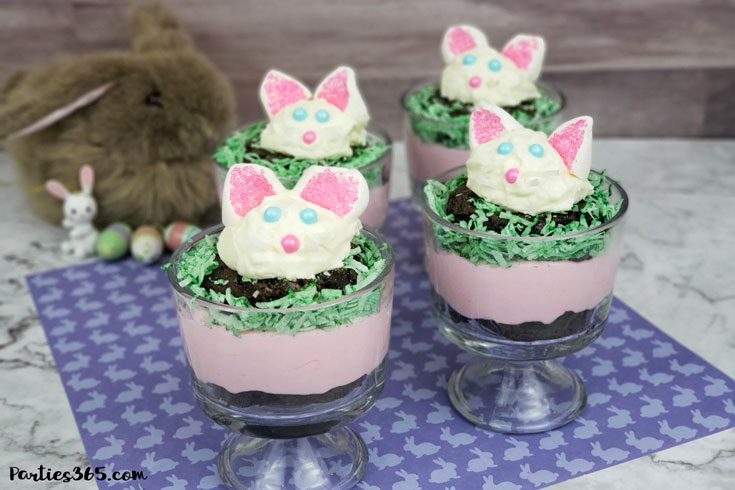
This year I tried something new and made Easter Bunny Brownie Trifles with White Chocolate Mousse! They’re not only adorable, they’re incredibly delectable (so yummy in fact, I made another batch of mousse the next day)! Keep reading as I share this simple recipe that’s sure to add some Easter festivity to your dessert table!

Anytime you mention the word “chocolate” or “bunny” my kids go crazy, so you can only imagine how excited they were about helping me with this fun Easter treat! If you have kids, this is a dessert they can absolutely help you with and actually, it’d be really fun for an Easter playdate! You could have all the ingredients ready to go and let everyone assemble – and then eat – their own bunny! Let’s get down to it and build those bunnies!
Easter Bunny Brownie Trifle Recipe
One thing I love about these Easter Bunny Brownie Trifles is that a trifle is really versatile! You can put it in all types of serving dishes – from one large elegant glass trifle bowl to small individual glass trifle bowls like I used here to petite parfait glasses – each creates a slightly different look for your party, but all will taste amazing!
As I walk you through the recipe, I’m going to point out a few ways you could simplify things and make the dessert faster and I’ll also give you a few ideas for variations you may want to try out. Remember, it’s your dish and your party, so customize this to fit your needs and lifestyle!
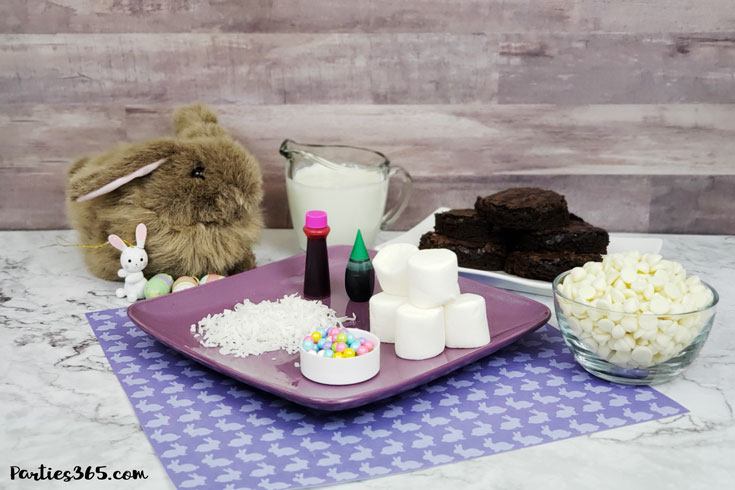
Here’s what you need for the brownie trifles:
- Brownies (homemade, store bought or from a box)
- White chocolate chips
- Heavy cream
- Large marshmallows
- Pink sprinkles
- Coconut
- Pink and green food coloring
- Candy pearls
Step 1: Make Your Brownies
You’ll start my making a batch of brownies. Depending on how many trifles you want to make, you may need more than one pan of brownies, you’ll just have to do the calculations so you have 2 layers of brownies for each trifle.
One way to save time on this dessert is to use store bought brownies. I opted to make mine from a box instead of from scratch to save some time too. Once they were cool, I used a glass (because my round cookie cutter was too small) to cut them into circles so they’d be ready to place into my trifle bowls.
Step 2: Make Your Mousse
Next, you’ll take your white chocolate chips and combine them in a sauce pan with your cream and melt them on low. The recipe below makes just enough for 4 individual size trifles, so if you’re making a lot – or making one big version – you may need to double or triple the recipe.

Set the melted mixture aside until it’s completely cooled. Meanwhile, beat your heavy cream on high until it’s nice and fluffy with stiff peaks.

Next you’ll take your cool white chocolate mixture and gently fold it into your whipped cream to create your mousse. Place the mousse in the refrigerator to cool for a few hours.
Alternative Ideas
If you don’t want to go to the trouble of making mousse from scratch, you could also make your trifle with vanilla ice cream (the bunny heads would be really easy) or cool whip!
Step 3: Make Your Bunny Heads
Now it’s time to make your bunny heads! Scoop out a small mound of mousse and carefully shape it into a dome, placing it on a piece of parchment paper. I’ll be honest, this was the trickiest part! I tried using an ice cream scoop, thinking that would be the easiest way to form the head, but it didn’t work for me – you’re welcome to give it a try though. In the end, I just used a spoon and my fingers to get the best shape I could! Repeat this process until you have as many heads as you need.
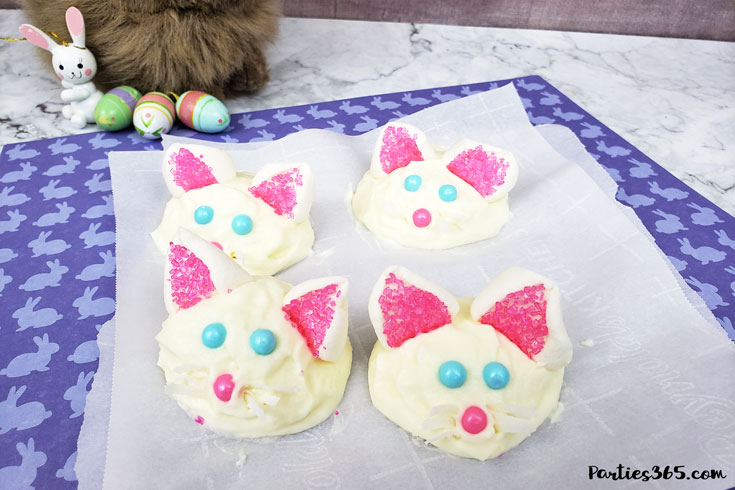
Next, you’ll decorate the heads! Start with your marshmallow ears… I took a jumbo marshmallow and cut it once on the diagonal and then cut those in half again. In retrospect, I’d try a different cut next time, making my ears taller and skinnier because I think mine look more like cat or mouse ears rather than bunny ears!
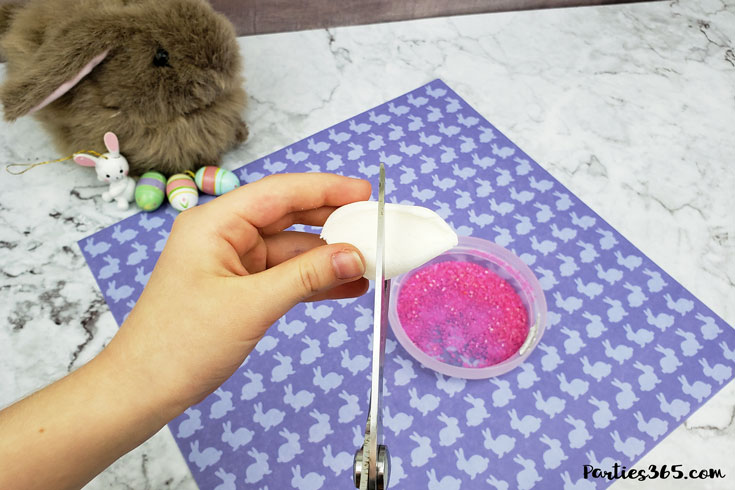
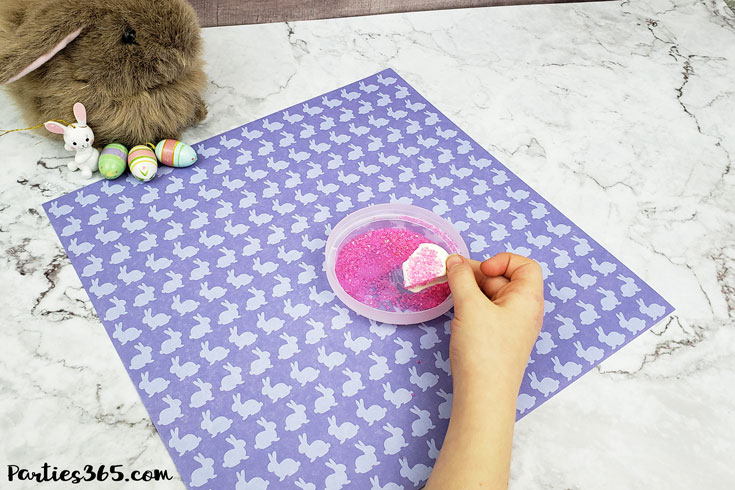
However you cut your marshmallow, you’ll take the inside sticky end and dip it in pink sprinkles for the inside of the ear. Once you’ve done that, place one on each side of your mousse bunny head.
Then to finish your bunny’s face, add pearl candies for the eyes and nose and then take a few pieces of coconut and stick those into the mousse around your bunny’s nose for her whiskers.
Place your mousse bunnies into the freezer for at least 30 minutes before serving. This will help them set before you transfer them to the top of the brownie trifle.
Now you can take the remaining mousse and mix in several drops of pink food coloring (or your favorite Easter color). This is the mousse that will be the layer between your brownies and will add a pretty pop of color to the dessert. Once you’ve mixed the food coloring in, place it back into the refrigerator until you’re ready to assemble your trifles.
Step 4: Make Your Grass
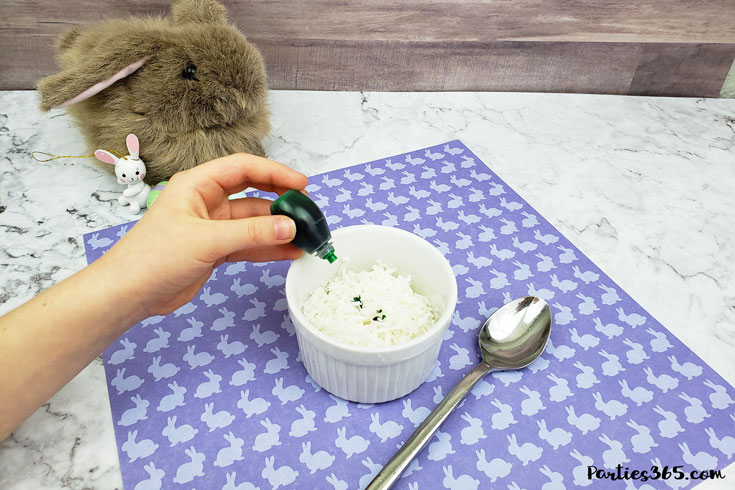
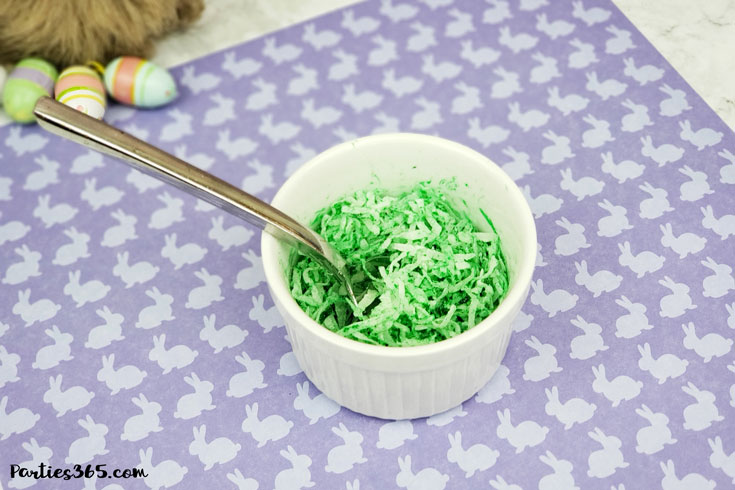
The last pre-assembly task is to turn your coconut green by adding in a few drops of green food coloring and mixing well. This will serve as the “grass” on top of your trifle.
Step 5: Assemble Your Easter Bunny Brownie Trifle
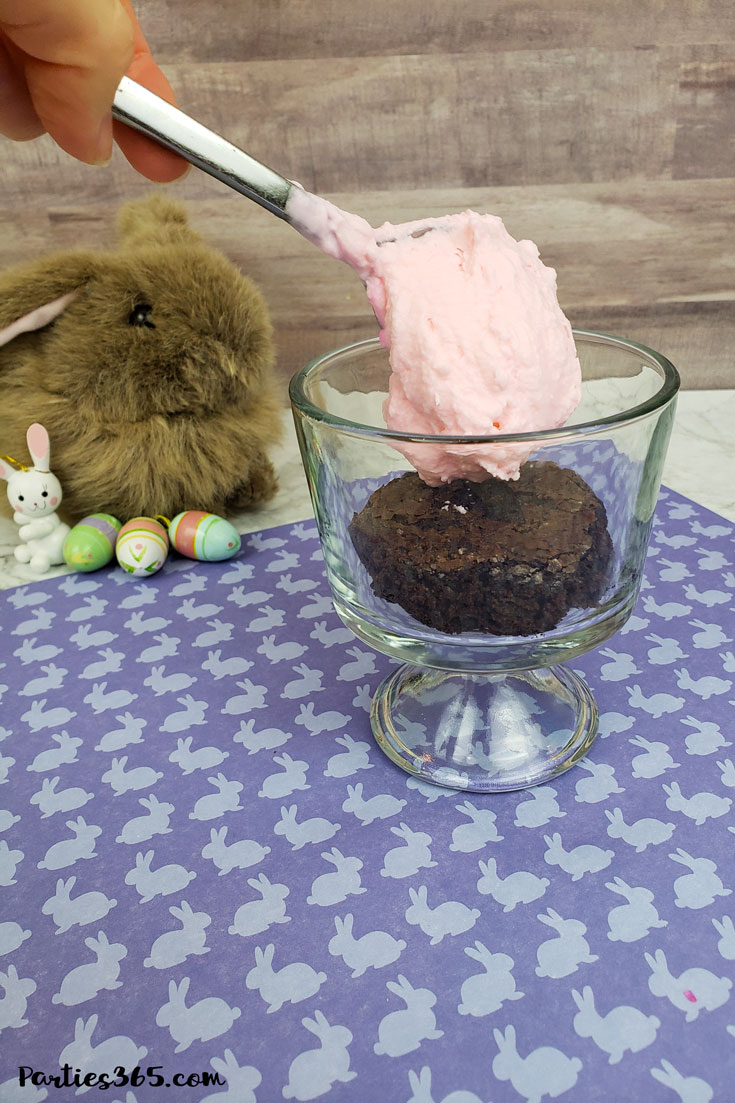
Now that all your pieces are ready, it’s time to assemble your trifle, beginning with a piece of brownie at the bottom of your trifle bowl. Top that with a good portion of mousse, ensuring it’s enough to touch all the edges of the trifle dish.
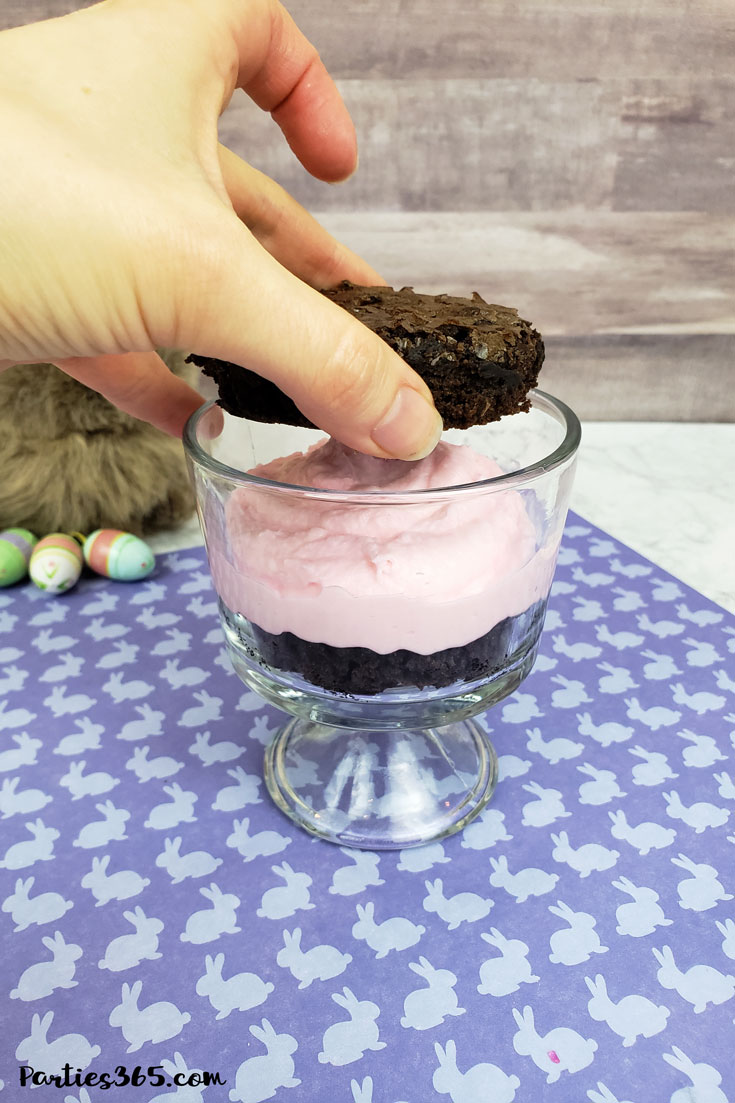
Next, you’ll top that first layer of mousse with a second piece of brownie… (my mouth is watering just looking at those dark chocolate fudgy brownies right now!)
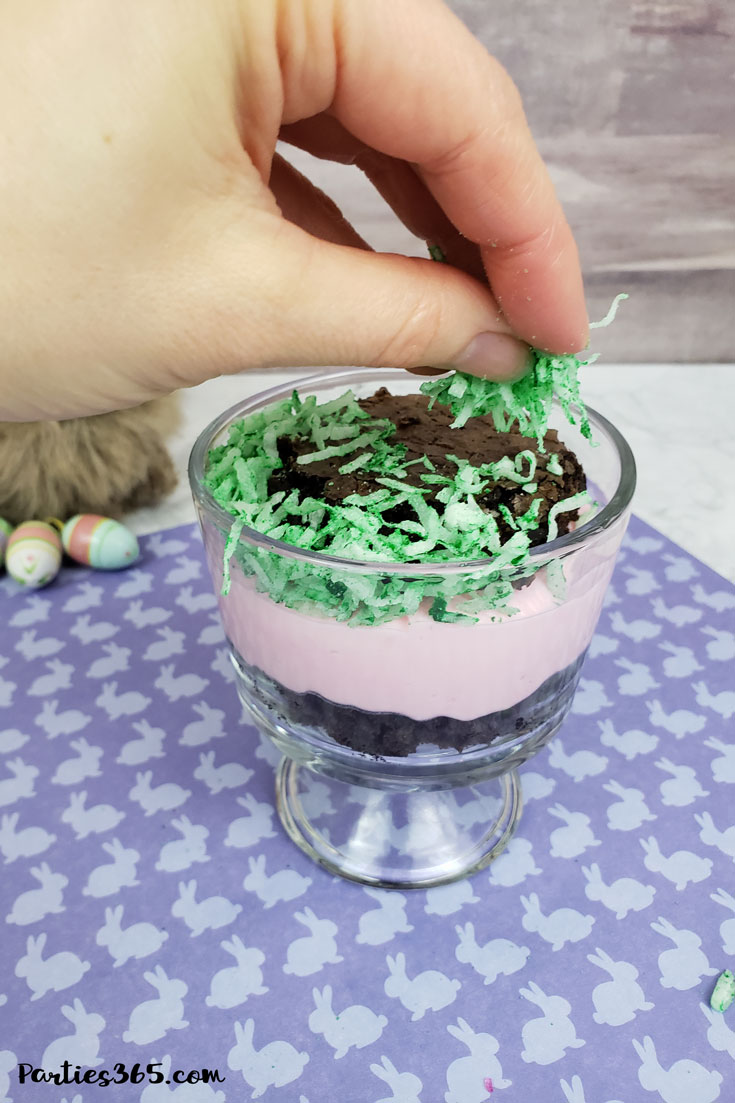
Then add your coconut grass around the top edge. I was picturing the bunny popping her head out of her dirt hole (the brownie) and the green grass in the yard surrounding her. I was able to use the coconut as filler too since my brownies didn’t reach perfectly to the edge of my glass.
Finally, you’ll remove your bunny heads from the freezer and gently place them on top of your trifle. And viola! Easter Bunny Brownie Trifles!!
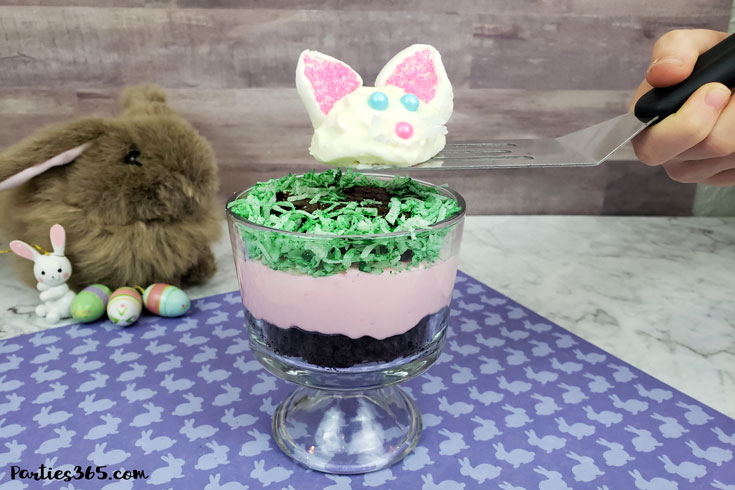

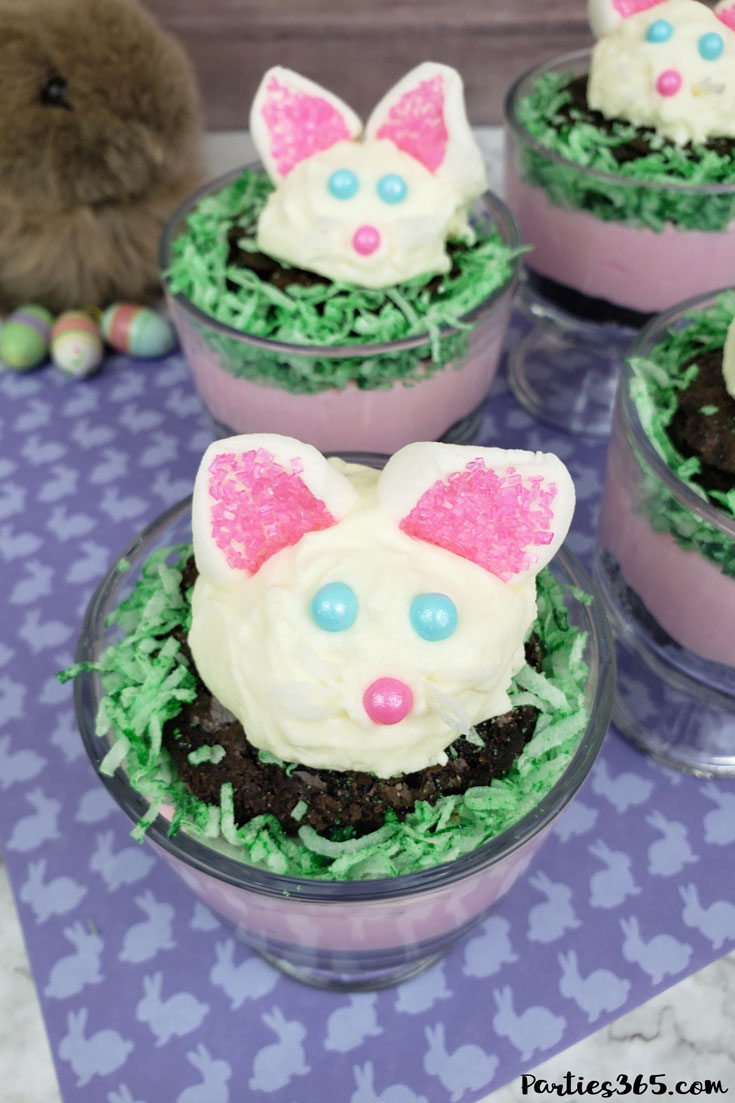
You know, even if mine did turn out a little bit mousy, they still tasted amazing and my kids absolutely adored them! Dessert doesn’t need to be perfect, it just needs to be made with love!
I hope you’ll try this delicious treat for Easter dessert! And if you need other ideas for Easter, you can find all of our Easter posts right here.

| Servings |
small trifles |
- 8 small brownies Make from scratch, a box or buy pre-made. You'll need 2 pieces of brownie for each trifle.
- 1 Cup white chocolate chips
- 1 Cup plus 2/3 Cup chilled heavy whipping cream, divided
- 2 large marshmallows 1 marshmallow made 4 ears
- pink sprinkles
- pink and green food coloring
- 1/2 Cup coconut flakes or more depending on preference
- candy pearls I used blue and pink
Ingredients
| |
- Make Your Brownies. Buy or bake as many brownies as needed (2 per individual trifle dish). Precut them into the shape you need to fit them into your trifle bowl. Set aside.
- Make Your Mousse. Combine white chocolate chips and 1 Cup of heavy whipping cream in a sauce pan and heat on low until melted. Set aside and let it completely cool.Meanwhile, beat your heavy cream on high until it's nice and fluffy with stiff peaks.Once your white chocolate mixture is cool, gently fold it into your whipped cream to create your mousse. Place the mousse in the refrigerator to cool for a few hours.
- Make Your Bunny Heads. Scoop out a small mound of mousse and carefully shape it into a dome, placing it on a piece of parchment paper. Form it into the shape of a head and repeat this process until you have as many heads as you need (4 for this recipe).Next, take a large marshmallow and cut it once on the diagonal and then cut it in half again. Take the inside sticky end and dip it in pink sprinkles for the inside of the ear. Once you've done that, place one on each side of your mousse bunny head.Then to finish your bunny's face, add pearl candies for the eyes and nose and take a few pieces of coconut and stick those into the mousse around your bunny's nose for her whiskers.Place your mousse bunnies into the freezer for at least 30 minutes before serving.
- Take the remaining mousse and mix in several drops of pink food coloring (or your favorite Easter color). This is the mousse that will be the layer between your brownies and will add a pretty pop of color to the dessert. Once you've mixed the food coloring in, place it back into the refrigerator until you're ready to assemble your trifles.
- Make Your Grass. Add a few drops of green food coloring to your coconut and mix well. Set aside.
- Assemble Your Easter Bunny Brownie Trifles. Begin by placing a piece of brownie at the bottom of your trifle bowl and topping it with a good portion of mousse, ensuring it's enough to touch all the edges of the trifle dish.Next, top that first layer of mousse with a second piece of brownie, then add your coconut grass around the top edge.Finally, you'll remove your bunny heads from the freezer and gently place them on top of your trifle.
- Serve and enjoy! Happy Easter!