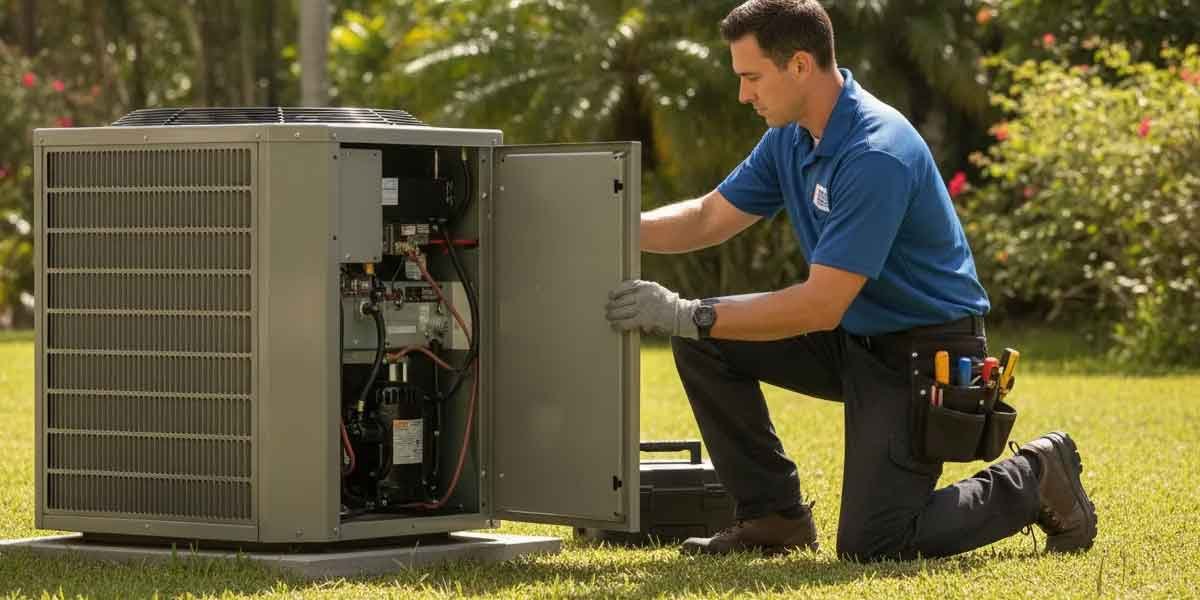
Few things are as frustrating as an air conditioner that runs yet barely cools the house. Maybe one room feels clammy, the thermostat never quite reaches the setpoint, or the outdoor unit cycles on and off without relief indoors. Before assuming the worst, it helps to match specific symptoms with likely causes. By checking airflow, coils, refrigerant levels, electrical components, and the condensate system, you can prevent damage, clearly describe the problem to a technician, and decide when to stop troubleshooting. Here is a focused way to read what your system is telling you and respond with confidence.
1. Start With Airflow: Filters, Vents, and Blower Clues
Restricted airflow is the most common reason a system runs but struggles to cool. Begin at the return air filter: a clogged or overly restrictive high-MERV filter raises static pressure, chokes the blower, and can cause the evaporator coil to ice over. Check that supply registers and return grilles are open and not blocked by rugs or furniture. If an upstairs bedroom is hotter than the rest, look for closed dampers in branch ducts or a disconnected run in the attic. Listen for a whine or whistling at the return that hints at an undersized or blocked return path, and note if the blower motor sounds weak or the blower wheel looks caked with dust.
If the filter is clean and airflow is still weak, set the thermostat to Fan On for 20 to 30 minutes with cooling off. This can help thaw a frosted evaporator coil. Frost on the larger insulated refrigerant line near the air handler confirms freezing. Do not keep running the cooling with a frozen coil; liquid refrigerant can flow back into the compressor. If airflow does not rebound, schedule an Air conditioning repair service visit so a technician can measure static pressure, inspect the blower assembly, and check for duct leaks or collapsed flex duct.
2. Temperature and Frost Clues That Point to Coil or Refrigerant Problems
When the outdoor condenser runs and indoor airflow feels normal, but the supply air is not much cooler than room temperature, suspect heat-transfer issues. A dirty evaporator coil acts like a clogged filter you cannot see, insulating the refrigerant from indoor air. Low refrigerant charge can also limit cooling capacity and trigger icing. A simple touch test can hint at which direction to look: the larger insulated suction line should feel cool when the system runs; if it is warm and the small liquid line is very hot, the system may be low on refrigerant, or the condenser coil could be heat-soaked with debris.
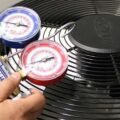
Outdoor coil condition matters too. Grass clippings, cottonwood fuzz, and dust clog the condenser fins and drive up head pressure, weakening cooling and tripping safeties. If you rinse the coil, first disconnect the power at the service switch, then garden-hose the fins gently from the inside out. Avoid pressure washers that crush fins and permanently reduce airflow. A home with shedding pets is a common scenario in which both coils slowly clog: hair and dander load the indoor coil, while yard work coats the outdoor coil. Cleaning both surfaces typically restores heat transfer, but deeper issues, such as a refrigerant leak, require gauges and leak detection.
3. Electrical Symptoms: Capacitors, Contactors, Breakers, and Thermostats
Electrical problems often announce themselves with rhythm. If the outdoor fan hums but does not spin, or the unit starts and shuts off within seconds, a failed start capacitor or pitted contactor could be the culprit. A bulged or leaking capacitor is a telltale sign, but resist the urge to poke around energized equipment. Repeated breaker trips mean something is drawing too much current or shorting out; repeatedly resetting breakers can overheat the windings and damage the compressor. If the thermostat clicks but nothing starts, check the service disconnect and the indoor equipment switch before assuming a control board failure.
Thermostat placement and settings can also create cooling complaints that look mechanical. A thermostat in direct sun, above a supply register, or near heat-generating electronics will misread the room and short-cycle the system. Low batteries cause erratic behavior on many models. For heat pump systems, incorrect cycle rate or compressor protection settings can cause delays that feel like a lack of cooling. If relocating the thermostat is impractical, shading the area, moving electronics, or adding a remote sensor can stabilize readings and cycle lengths.
4. Condensate Drains and Safety Switches That Quietly Stop Cooling
Air conditioners dehumidify, meaning they remove moisture from the air. A clogged condensate drain line can fill the primary pan until a float switch opens, shutting off cooling to prevent overflow. You might still feel the indoor blower moving air, but it is not cold. Look for water in the secondary drain pan under an attic air handler, water around the furnace, or a wet safety switch. Clearing the drain with a wet/dry vacuum at the outside termination and pouring a small amount of distilled vinegar at the cleanout can help dissolve algae and biofilm.
In a realistic scenario, an attic unit cools for ten minutes, then stops every afternoon while the pan fills. The float switch is doing its job, but the underlying issue is a sagging vinyl drain line with no slope, so water stagnates and grows algae. Long-term, the fix is to rehang the line with proper pitch, insulate it to limit condensation, and add a readily accessible cleanout. Consider a secondary float switch in the overflow pan if one is missing; a simple device can prevent ceiling stains and drywall repairs.
5. When a Repair vs. Replacement Becomes the Practical Call
Some decisions come down to risk and time. Topping off refrigerant without finding the leak can buy a season, but the charge will likely fall again, and repeated low-charge operation is hard on the compressor. Repairing a small indoor coil leak or replacing a leaky Schrader core is often worthwhile on a relatively young system; a corroded coil on an older unit raises the question of stacking parts on aging equipment. Similarly, a single failed capacitor is routine, while recurring electrical failures can indicate voltage issues or a compressor drawing excessive current.
Budget, system age, and reliability needs all matter. A system that has undergone multiple major repairs, has damaged coils, and struggles with ductwork constraints may be a better candidate for replacement than another round of part swaps. On the other hand, resolving airflow problems, cleaning coils, and fixing a clogged condensate line are repairs that restore performance without changing equipment. A qualified technician can document readings such as superheat, subcooling, and static pressure to help you weigh your options with more than guesswork.
When cooling slips, the fastest path to relief is a methodical look at airflow, heat transfer, power, and drainage. Document what you see: filter condition, frost on lines, breaker trips, drain pan water, and thermostat behavior. Clear space around the indoor unit and the outdoor condenser, replace a dirty filter, and try a safe coil rinse if access allows. Then stop before guesswork risks damage. Share your notes, model number, and symptoms with a licensed professional, and consider a seasonal maintenance plan to keep coils clean, drains clear, and electrical components tested before the peak heat arrives.