Answer Capsule: Smart thermostat installation is a manageable DIY project that typically takes under an hour, requiring basic tools like a screwdriver and a smartphone, notes a trusted property management Westfield NJ company. However, success depends heavily on identifying your system’s voltage and understanding your C-wire setup before disconnecting any existing wiring.
Upgrading a home’s climate control system begins with a smart thermostat installation. These advanced devices offer significant advantages over traditional manual or basic programmable dials. By learning household routines and adjusting temperatures automatically, they provide substantial energy savings while maximizing indoor comfort. The ability to control the HVAC system remotely via a smartphone application offers unparalleled convenience for modern homeowners.
While the prospect of working with electrical wires might seem intimidating, the process is generally straightforward. Most residential properties use standardized low-voltage wiring for their heating and cooling systems. With careful preparation, adherence to safety protocols, and a clear understanding of the steps involved, replacing an outdated unit with a smart model is an achievable weekend project.
Pre-Installation Checks and Safety Protocols
Answer Capsule: Before beginning a smart thermostat installation, homeowners must verify their HVAC system is a low-voltage (24V) setup, gather essential tools, and absolutely turn off the power at the main breaker panel to prevent electrical shock and equipment damage.
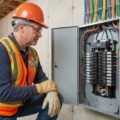
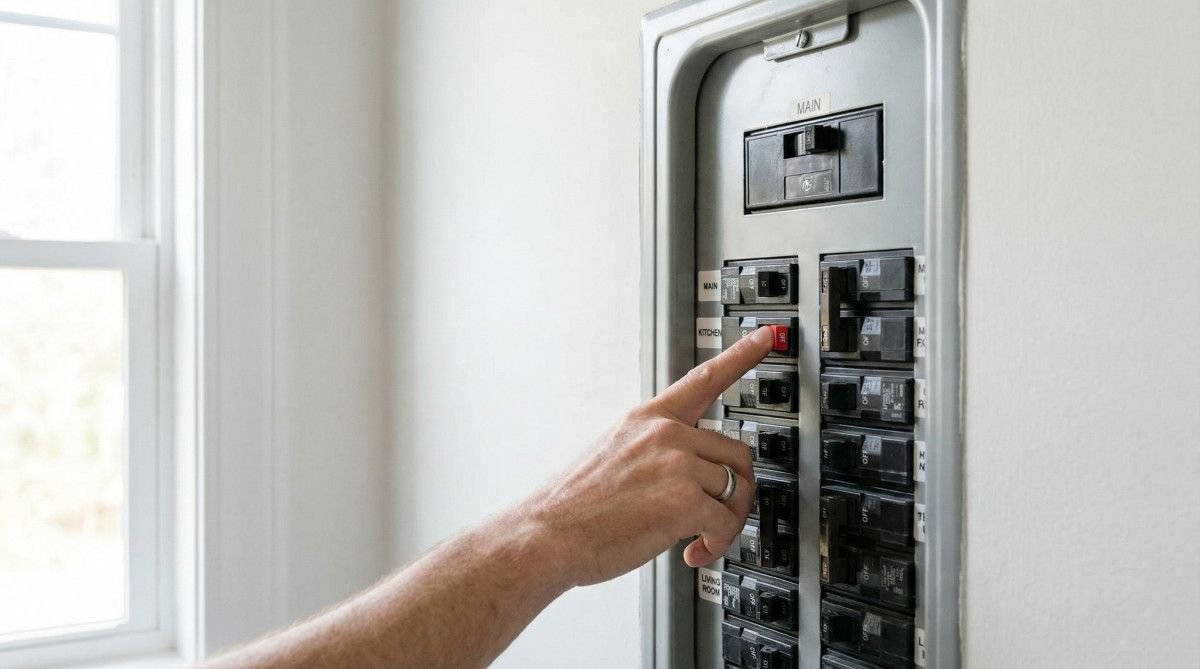
Safety must remain the absolute priority when interacting with any home electrical system. According to the U.S. Department of Energy, the very first action required is locating the main electrical panel and switching off the breaker that supplies power to the HVAC equipment. Some homes feature separate breakers for the heating furnace and the air conditioning compressor; in such cases, both must be deactivated. Attempting to install a new device while the system remains energized risks severe electrical shock and can instantly destroy the sensitive control board within the furnace.
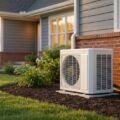
Verifying system compatibility is the next critical phase. The vast majority of smart thermostats are designed exclusively for low-voltage systems, which typically operate on 24 volts alternating current (VAC). These systems are identifiable by their thin, multi-colored wires. Conversely, homes equipped with electric baseboard heaters or radiant floor heating often utilize line-voltage systems (120V or 240V). Line-voltage wiring features thick wires joined by large wire nuts, similar to the wiring found behind a standard wall outlet. Installing a low-voltage smart thermostat on a line-voltage system is highly dangerous and will result in immediate catastrophic failure.
Gathering the correct tools beforehand prevents frustrating interruptions. A multi-bit screwdriver, containing both Phillips and small flathead options, is essential for removing the old backplate and securing the new wire terminals. A small level ensures the new device sits perfectly horizontal on the wall, although many modern backplates include a built-in bubble level. A smartphone is necessary not only for the eventual software configuration but for a crucial documentation step described below.
The Critical First Step: Photographing Your Current Wiring
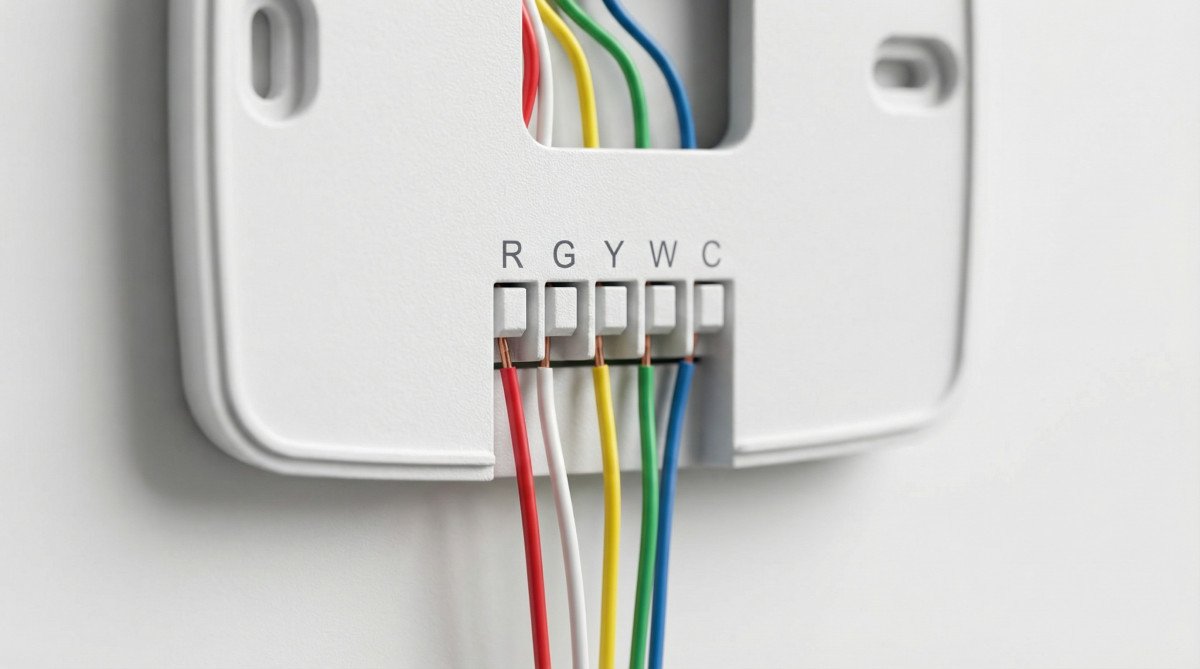
Removing the faceplate of the existing thermostat reveals the wiring connections, and this is where many DIY attempts falter. Before disconnecting a single wire, use a smartphone to take a clear, well-lit photograph of the current setup. This image serves as an irreplaceable reference map. Homeowners must focus on the terminal letters (such as R, G, Y, W, and C) rather than relying solely on the color of the wire insulation. While industry standards suggest that a red wire connects to the R terminal and a yellow wire to the Y terminal, previous installers may not have followed these conventions. The terminal letter dictates the wire’s function, making the photograph the definitive guide for the new smart thermostat installation.
Step-by-Step Smart Thermostat Installation Process
Answer Capsule: The core installation process involves removing the old faceplate, labeling and disconnecting the existing wires, mounting the new backplate with a level, connecting the wires to their corresponding terminals, and snapping the new smart unit into place.
With the power verified off and a reference photograph secured, the physical removal of the old unit begins. Carefully disconnect each wire from its terminal. Many manufacturers provide small adhesive tags with their new devices; wrap the appropriate letter tag around each wire as it is removed. This redundant labeling, combined with the photograph, ensures absolute accuracy. Once all wires are free, unscrew the old backplate from the wall and gently pull the bundle of wires through the center opening.
Mounting the new backplate requires precision. Thread the wire bundle through the center hole of the new plate before holding it against the wall. Use a level to ensure the plate is perfectly straight, then mark the screw hole locations with a pencil. If the new holes do not align with wall studs, use the provided drywall anchors to guarantee a secure mount. A firmly attached backplate prevents the thermostat from wobbling and ensures the internal pins make solid contact with the faceplate.
Connecting the wires to the new backplate demands careful attention to detail. Insert each labeled wire into its corresponding terminal, ensuring the exposed copper is fully seated and the terminal mechanism (whether a screw or a push-button tab) locks it tightly in place. A common scenario involves older systems that feature a jumper wire — a short piece of wire bridging the Rh and Rc terminals. Most modern smart thermostats handle this internally and do not require a physical jumper, but always consult the specific manufacturer’s instructions. Once all wires are secure, gently push any excess wire back into the wall cavity to prevent it from obstructing the faceplate.
Solving the C-Wire Dilemma
Answer Capsule: The C-wire, or common wire, provides continuous 24-volt power necessary for smart thermostats to maintain Wi-Fi connectivity and power their displays. If a home lacks a C-wire, homeowners can use a power extender kit, a plug-in wall adapter, or hire a professional to run new thermostat wire.
The most frequent obstacle encountered during a smart thermostat installation is the absence of a C-wire. Older mechanical and basic programmable thermostats operated primarily as simple switches, relying on batteries or intermittently “stealing” tiny amounts of power from the heating and cooling circuits. Modern smart devices, however, feature bright touchscreen displays, constant Wi-Fi connectivity, and continuous sensor monitoring. These advanced functions demand a steady, dedicated stream of 24-volt AC power, which is exactly what the C-wire provides by completing the electrical circuit back to the HVAC control board.
Discovering a missing C-wire at the thermostat location does not immediately mean a complex rewiring job is required. Often, an unused wire is hidden within the wall cavity behind the backplate. Installers frequently pull multi-strand cables containing extra wires during initial construction, leaving the unused strands tucked away. If a spare wire exists, it must be connected to the C-terminal at the thermostat and simultaneously attached to the C-terminal on the control board inside the furnace or air handler.
When no extra wires are available, several reliable workarounds exist. Many leading manufacturers include a power extender kit (PEK) in the box. This small module installs at the furnace control board, allowing the system to transmit both power and data over the existing wires without requiring a dedicated C-wire. Alternatively, for thermostats located near a standard electrical outlet, a 24-volt plug-in wall adapter offers a simple solution. The adapter plugs into the wall, and its two wires connect directly to the C and Rc terminals on the thermostat backplate. If these DIY options are unsuitable, hiring an electrician to pull a completely new thermostat cable remains the most permanent and robust solution.
Post-Installation Setup and Troubleshooting
Answer Capsule: After restoring power, the smart thermostat will boot up and guide the user through Wi-Fi connection and HVAC system configuration via a companion smartphone app. If the system blows warm air instead of cold, the reversing valve settings (O/B terminal) for heat pumps typically need adjustment in the app.
Once the physical installation is complete and the faceplate is securely snapped onto the backplate, the final phase begins by restoring power at the main breaker. The smart thermostat should illuminate immediately, initiating its boot sequence much like a small computer. The device screen will prompt the user to download the manufacturer’s companion application and connect the unit to the home’s Wi-Fi network. This digital setup involves answering specific questions about the home’s heating and cooling equipment, ensuring the software algorithms optimize performance for the exact hardware present.

Even with careful wiring, post-installation anomalies can occur. The most common troubleshooting scenario involves heat pump systems blowing warm air when cooling is requested, or vice versa. This issue almost always stems from an incorrect configuration of the reversing valve, controlled by the O/B wire terminal. Depending on the heat pump manufacturer, the valve must be energized either on cooling (O) or on heating (B). If the system operates backward, navigating into the advanced settings within the smartphone app and toggling the O/B valve setting will instantly resolve the problem.
Frequently Asked Questions
How much does professional smart thermostat installation cost?
Professional smart thermostat installation typically costs between $115 and $350, depending on the complexity of the existing wiring and regional labor rates. If the technician must run a new C-wire through finished walls, the total cost can easily exceed $500. This fee covers labor and expertise but does not include the purchase price of the thermostat unit itself.
Can I install a smart thermostat myself?
Yes, the vast majority of homeowners can successfully install a smart thermostat themselves in under an hour. Manufacturers design these devices specifically for DIY installation, providing detailed instructions, built-in levels, and wire-labeling stickers. The process primarily involves matching low-voltage wires to clearly marked terminals.
Do I need an electrician to install a smart thermostat?
You generally do not need an electrician for a standard low-voltage smart thermostat installation. However, an electrician is highly recommended if your home utilizes a line-voltage system (120V/240V), if you are uncomfortable working near electrical components, or if you need a completely new thermostat cable pulled through inaccessible wall spaces.
What happens if I cross the wires on my thermostat?
Crossing the wires during installation can cause the HVAC system to operate erratically, such as the furnace turning on when the air conditioning is requested. In more severe cases, incorrectly connecting the power wire (R) to the common wire (C) can create a short circuit, potentially blowing the low-voltage fuse on the furnace control board and disabling the entire system.
Conclusion
Answer Capsule: Upgrading to a smart thermostat enhances home comfort and reduces energy consumption through intelligent scheduling. By following safety protocols, properly labeling wires, and addressing C-wire requirements, homeowners can successfully complete the installation and immediately begin enjoying the benefits of automated climate control.
Executing a smart thermostat installation transforms a home’s energy profile and significantly elevates daily convenience. The transition from manual adjustments to intelligent, automated climate management ensures that heating and cooling resources are utilized only when necessary. This precise control not only lowers monthly utility bills but also reduces unnecessary wear and tear on the primary HVAC equipment.
While the technical aspects of wiring and power requirements demand careful attention, the systematic approach outlined above removes the mystery from the process. By prioritizing safety, meticulously documenting existing configurations, and understanding the role of the C-wire, homeowners can confidently execute this upgrade. The immediate reward is a sophisticated, responsive home environment managed entirely from the palm of a hand.