There’s something so special about the tradition of Christmas cookie baking! At our house, my sister-in-law’s and I gather a week or two before Christmas, pour some bubbly, put on some Christmas music, and bake all kinds of Christmas goodies that we share with our families, friends and neighbors. It’s a treasured time and one my daughter and nieces love to join in on too – there’s nothing like girl time!
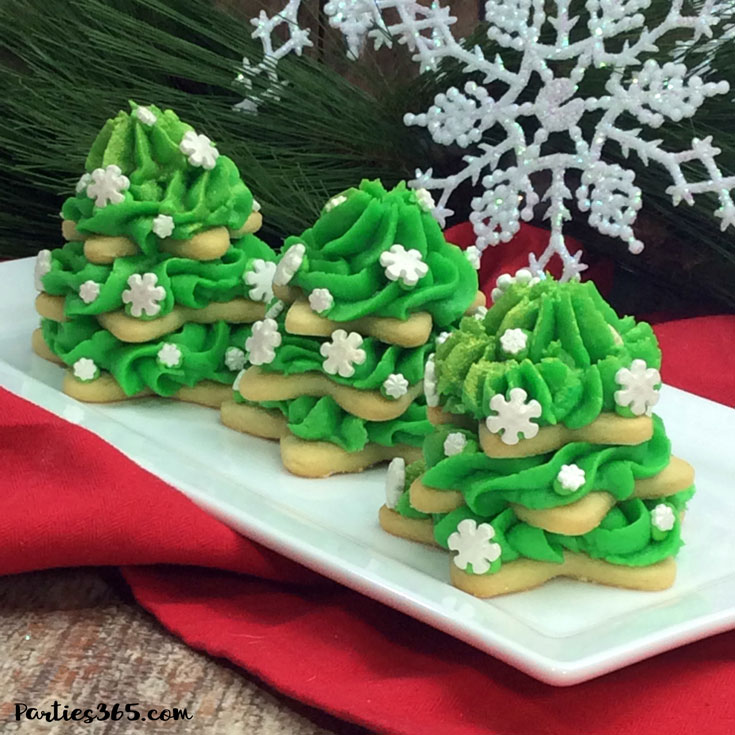
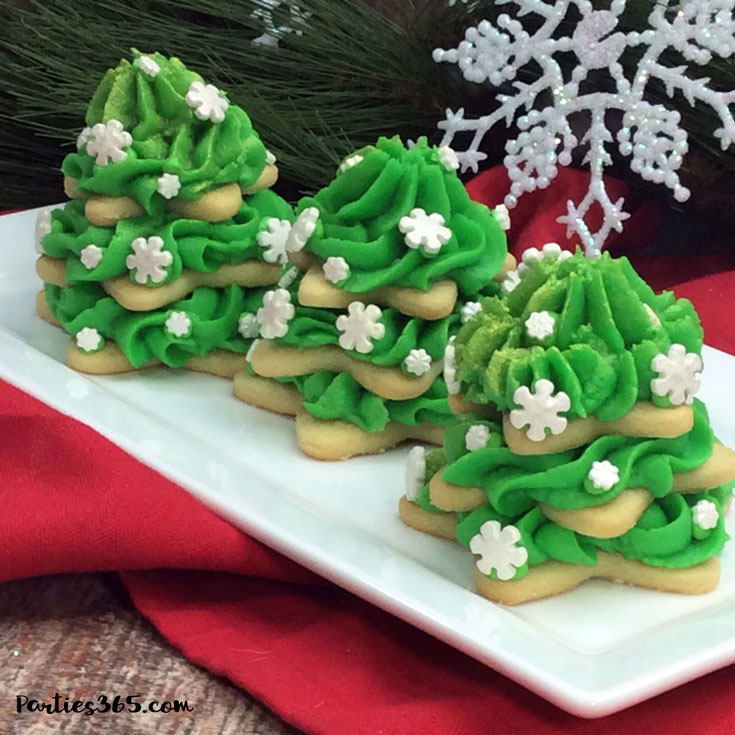
We have the most fun when we’re frosting our cookies and we always try new things and new designs. This year we’ll be adding this darling 3D Stacked Christmas Tree Cookie to the mix! It’s three cookies in one and not only is it adorable, it makes the perfect addition to a teacher, neighbor or friend gift! Read on for all the sweet details…

Christmas Tree Cookie Recipe
The recipe our family uses for sugar cookies is a hands down winner. I feel like I’ve made it a million times and it always delivers beautiful cookies that are the perfect texture and have a deliciously sweet, buttery taste. Eating them fresh out of the over is the best! You can use your favorite sugar cookie recipe for these, or try ours out below.
The dough is best if it’s refrigerated overnight, so be sure to prep and plan ahead. It will also need to sit out for just a little to soften up enough to roll it out, so keep that in mind if you’re planning a Christmas cookie party or have a strict timeline you’re trying to stick to!
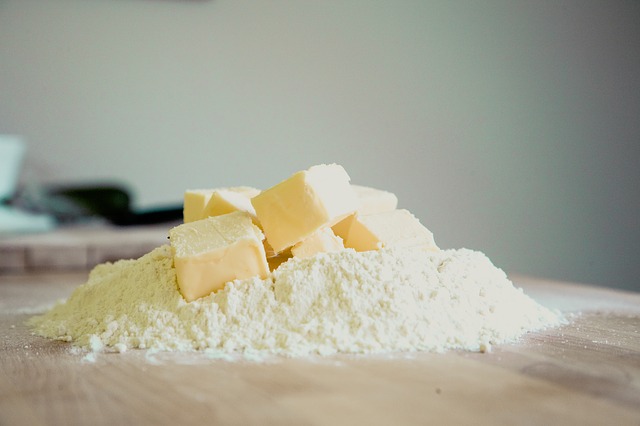
Gather your ingredients and begin by mixing together your dry ingredients in one bowl and in another bowl, beat your softened butter and sugar until it’s smooth. You’ll add the eggs and vanilla next, beating until it’s nice and fluffy.
Gradually add in your dry ingredients until it’s all mixed together and your dough is stiff. Shape it into a disk, wrap it in wax paper and refrigerate it overnight (or at least for 1 hour). You can make it up to 3 days in advance and store it in the refrigerator if needed.
Variations: You could also color your dough red or green and use white icing instead… have fun getting creative and make it your own!
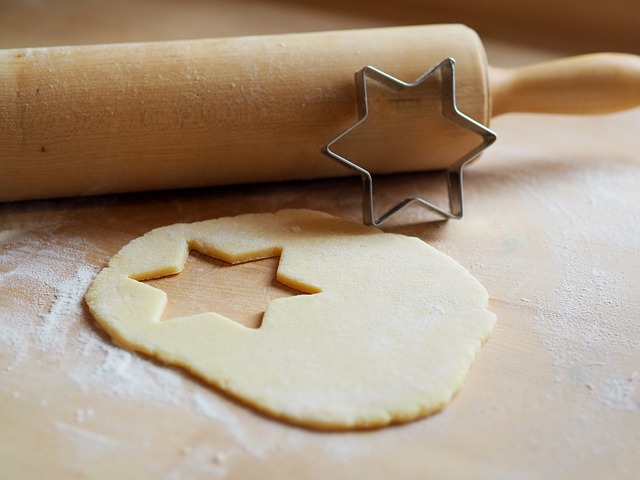
When you’re ready to bake your cookies, let the dough warm up so it’s soft enough to roll out on a floured surface. My kids love helping with this part too, so be sure to put yours to work! Roll the dough to about 1/4 inch thick and then use three different sizes of star cookie cutters to cut your cookies. If you don’t already have star cookie cutters in multiple sizes, we found this perfect set of 3 stars or go all out with this 10 star 3D tree cookie cutter set!
Place your stars on a pan that will fit inside your refrigerator, because you’ll need to cool them until firm before baking. Then bake for about 12 to 15 minutes, until the edges are just beginning to brown.

Christmas Tree Cookie Icing
We opted for a vanilla buttercream frosting to ice the Christmas Tree Cookies. Our recipe is below and you simply combine all the ingredients and beat until still peaks form. Next, you’ll add your food coloring (if desired) until you get just the right color of green. After placing the frosting into a piping bag with a star tip, begin icing the largest size star cookie and pipe a circle of icing on top. Next, pipe a circle of icing onto the middle sized star.
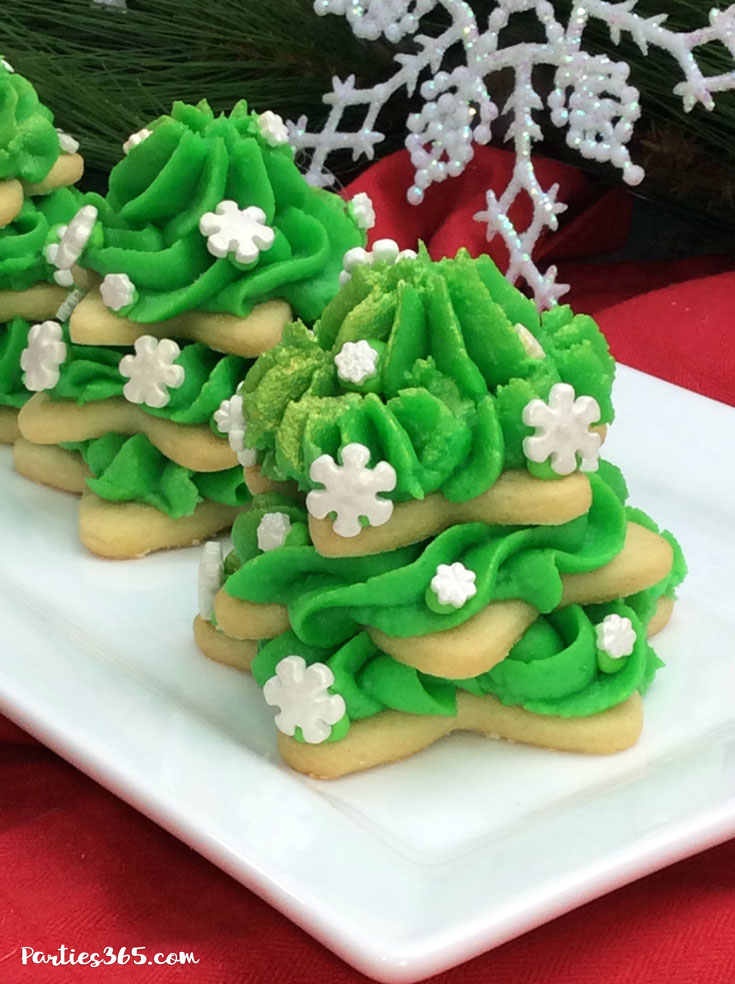
Then, place the middle sized star on top of the large star cookie base. Be sure to offset the points of the star to create a “fuller” Christmas tree. Finally, pipe icing on top of your smallest star cookie like you would on top of a cupcake. Lastly, place the small cookie on the top, again offsetting the points of the middle star.
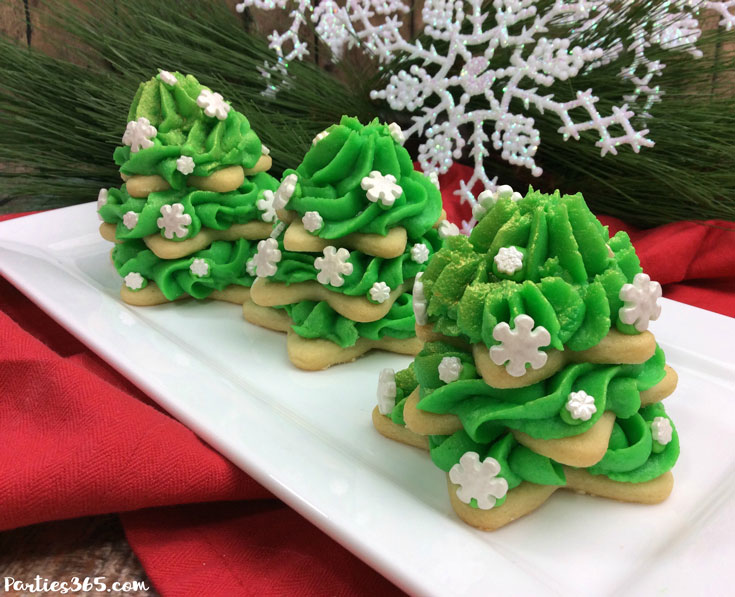
The last step is to decorate your tree! In these pictures we used white snowflakes, but you can get creative and use colored sprinkles for ornaments, put a yellow star on top, or just add shiny green sprinkles! I actually really like these pearl white and turquoise snowflake sprinkles I found.
And there you have it – beautiful 3D Stacked Christmas Tree Cookies perfect for a Christmas party, playdate or gift for your child’s teacher, a neighbor or your bestie!

| Servings |
full trees |
- 1/2 cup unsalted sweet cream butter softened to room temperature
- 1 teaspoon pure vanilla extract
- 1 1/4 cups powdered sugar
- 2-3 tablespoons heavy whipping cream
- 1 piping bag fitted with a medium star tip
- Sprinkles: white snowflakes, yellow star others of your choice
Ingredients
Vanilla Buttercream Frosting
| |
- Using an electric mixer, beat your butter and sugar until smooth. Add the eggs, beating until fluffy (about 2 minutes). Mix in the vanilla.
- With your mixer on low, slowly and gradually add in your flour mixture, mixing until it's just blended together (your dough will be stiff).
- Shape dough into a disk and wrap in wax paper and refrigerate for at least 1 hour (or up to 3 days).
- Preheat your oven to 350 degrees. Let dough soften when ready to roll , then on a floured surface, roll the dough out to 1/4 inch thickness.
- Use a large, medium and small star cookie cutter to cut out your cookies and place them on a baking sheet.
- Place your baking sheet in the refrigerator to firm up your cookies before baking. Once firm, bake at 350 degrees for about 12 minutes (or until edges begin to brown). Cool completely before icing.
- Combine the butter, powder sugar, vanilla and heavy whipping cream in a bowl and beat on medium speed until smooth stiff peaks form.
- Add in your green food coloring (or other color if desired).
- Scoop your frosting into piping bag with a star tip attached.
- Take your large star cookie and pipe a circle onto the top of the cookie. Next, take your medium cookie and pipe a circle onto the top of that cookie. Place the medium star on top of the large star, offsetting the star points slightly to create a "fuller" tree.
- Take your small cookie and pipe the frosting like you would onto a cupcake. Then, place your small cookie on top of the medium cookie, again offsetting the points.
- Decorate your trees by placing a star on top, snowflakes randomly around the sides or however you see fit! Let the trees set for about 30 minutes so the icing can firm. Enjoy!