Northeast Oklahoma summers bring long heat waves, sticky afternoons, and sudden storms that spike humidity as the sun drops. Replacing or adding central air here is about more than buying a bigger condenser. The decisions you make before the crew arrives shape comfort, energy use, and system lifespan. Three choices deserve early attention: how your home’s cooling load is calculated, whether your ducts can deliver the required airflow, and where the outdoor unit and electrical connections will live. Getting those right creates quieter rooms, steadier indoor humidity, and fewer surprises on installation day.
1. Know Your Load: Manual J, Tonnage, and Oklahoma’s Humidity
A proper cooling load is not a guess based on square footage. A Manual J calculation estimates how many BTUs per hour your home must shed on a design-day afternoon by factoring window area and orientation, roof color, attic insulation, air leakage, shading, and even interior gains from cooking and lighting. In our climate, latent load from moisture matters as much as sensible heat. Oversizing to be safe often backfires because a big unit hits the thermostat quickly but doesn’t run long enough to wring moisture from the air. That short cycling leaves rooms cool yet clammy and can increase wear on compressors and contactors.
Local resources on AC Installation in Owasso, Ok can help you think through timing and permitting, but ask your contractor to share the Manual J output, including assumptions for infiltration, window solar gain, and attic R-value. Pair that with the equipment’s performance tables at different indoor and outdoor conditions. Two systems with the same nominal tonnage can behave very differently in humid weather, depending on coil size, blower settings, and sensible heat ratio. If you plan to improve attic insulation or seal leaky can lights, do it before the calculation so you select the right capacity.
2. Airflow First: Static Pressure, Return Grilles, and Leaky Attic Ducts
Even the best-sized system underperforms if the ductwork cannot move air. Total external static pressure, measured in inches of water column with a manometer at the air handler, reveals whether the blower is fighting restrictions. Undersized return grilles, long runs of crushed flex duct, or a clogged high MERV filter can raise static, making the blower noisy and reducing delivered CFM to each room. High static also pushes watt draw up and can drop efficiency below the SEER2 you paid for. Before installation, have the returns measured, check for metal-to-flex transitions that neck down, and plan to seal joints with mastic rather than relying on cloth tape that dries out in a hot attic.
Consider a common scenario in an older ranch home: a single small return in the hallway starves the system. The installer proposes a new air handler with more airflow, but without an added return in a distant bedroom and sealed boots at the ceiling, the new blower only pulls harder against the same bottleneck. By adding a second return grille, replacing long sagging flex with properly supported runs, and setting balancing dampers to keep rooms within a few degrees of each other, you give the new equipment a fair chance to deliver quiet, even cooling.
3. Selecting Equipment for Northeast Oklahoma: SEER2, Staging, and Heat Pump Choices
Once you understand load and airflow, match equipment to how you live. Single-stage condensers are simple and less expensive, but they cycle on and off at full output. Two-stage and variable-speed systems run longer at lower capacity, which helps manage humidity during those muggy Owasso evenings and can reduce temperature swings in bedrooms. The trade-off is higher upfront cost and more complex controls. If you are considering a heat pump, remember that winter cold snaps call for an auxiliary heat plan. In all-electric homes, that may be heat strips, which require larger breakers and wiring. In gas-heated homes, a dual-fuel setup lets the heat pump handle mild days while the furnace takes over in deeper cold.
Here is a realistic example: a newer, tighter home tests at a smaller load than the owner expected. A 2-ton variable-speed heat pump paired with a properly matched indoor coil (check the AHRI certificate) can modulate in spring and fall without constantly clicking on and off. To protect airflow, choose a filter with a reasonable pressure drop; many homes do well with MERV 8 to 11 rather than jumping to MERV 13 without upsizing the return. Ask the installer to set blower profiles and dehumidify-on-demand features in the thermostat so the system can slow the fan across the coil when indoor humidity rises after a thunderstorm.
4. Placement and Power: Condenser Clearances, Panel Capacity, and Drainage
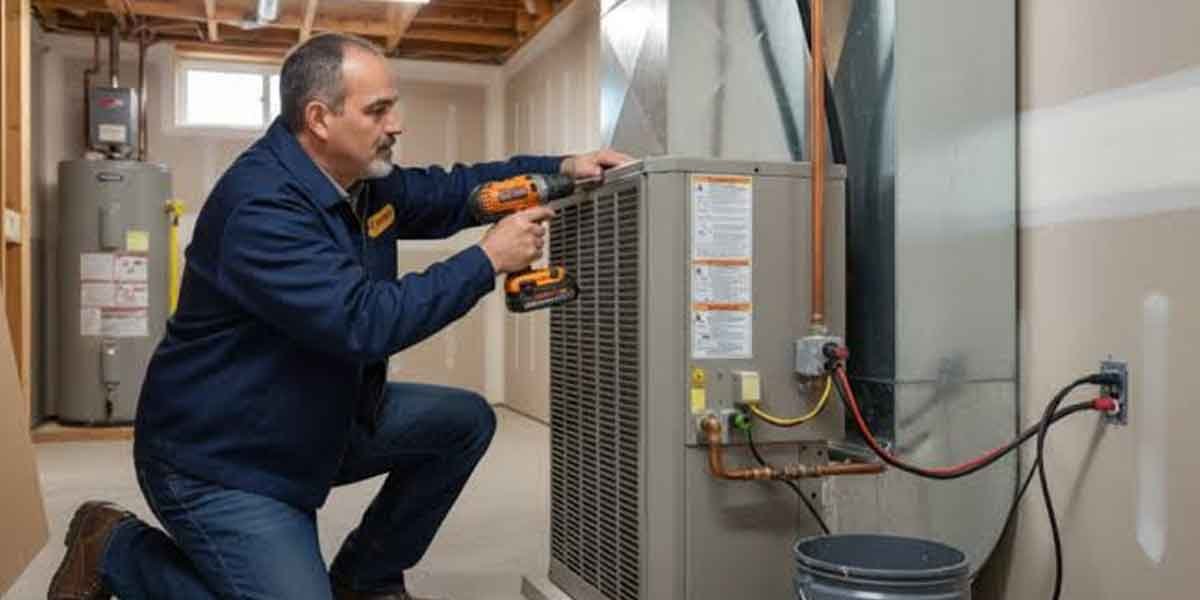
Outdoor units need free airflow and a firm, level base. Keep shrubs trimmed so coils can breathe on all sides, and avoid locations that trap recirculating hot air, such as alcoves or under low decks. Steer clear of dryer exhausts that blast lint into fins and west-facing walls that radiate afternoon heat. Elevate the condenser on a pad above grade to shed rainwater, and ensure a service disconnect is safely accessible. On the electrical side, have a licensed professional confirm your panel has space and capacity for the unit’s minimum circuit ampacity, and that the wire gauge and breaker size match the nameplate. Surge protection and proper grounding can help during lightning-heavy summer storms.
Drainage is just as important. In attic installations, a secondary drain pan with a float switch can shut the system down before water stains a ceiling. Traps on gravity drains help the coil pan empty instead of blowing air out the drain line. If you have a narrow side yard or a gas meter nearby, discuss wall brackets versus a ground pad and consider sound at night near bedroom windows. Leave at least one clear service path for cleaning coils and replacing the fan motor down the road. A few minutes spent choosing the right spot prevents years of weeds, noise complaints, and blocked access.
Day Of Readiness and First Week Follow-Up
Installation day runs smoother when the path is clear. Move cars so the crew can stage near the entry, secure pets away from doors, and clear attic pull-downs or closet access where the air handler or coil will travel. If a smart thermostat is on the list, have your Wi Fi password handy. Note any hot or dusty rooms now so the installer can verify airflow at those registers after startup. Expect some noise and brief power interruptions as the disconnect and breakers are swapped, and plan for most of a day for removal, set, brazing or fittings, evacuation, charging, and commissioning.
After the system is running, verify that the supply air feels cool and steady, the outdoor fan blows warm air, and the condensate drains where expected. In the first week, listen for whistling returns that may signal a too-restrictive filter, watch indoor humidity on the thermostat, and call if the suction line ices or the float switch trips. Mark a filter schedule you can keep, and ask for the commissioning sheet that lists refrigerant charge, static pressure, and thermostat settings. Making load, duct, and placement choices up front turns an AC replacement into a comfort upgrade that lasts through Owasso’s toughest summer stretches.