Most of us have been there. You find a photo that is perfect for a presentation, a product mockup or a social media post, but a logo or watermark sits right in the corner. Or you took a picture of your own product and a brand mark you never wanted showed up in the background. Cropping often cuts out too much of the picture, so editing out the logo becomes the better option.
This guide covers why people remove logos from images, what to check before you do it, and how to get a clean result.
Why People Remove Logos From Photos
The reasons are more practical than most people assume.
Cleaning up your own content. Small business owners often photograph products on a shelf or table where other brand names are visible. Removing them keeps the focus on the product being sold.
Reusing old files. Many teams have older photos with outdated logos on them. When a company rebrands, the old mark can make existing images look stale.
Design projects. Designers frequently need a neutral version of an image to use as a background, a template or a mockup.
Personal photos. A stray logo on a t-shirt, a coffee cup or a signboard can distract from a family or travel picture.
Check Permission First
Before you edit anything, think about who owns the image. Removing a watermark from a stock photo you have not paid for, or from someone else’s work, is not a good idea and can cause legal trouble. Editing is fine when you own the photo, have a license that allows modification, or are removing incidental branding from your own pictures.
If you are not sure, check the license terms or contact the creator. It takes a few minutes and avoids bigger problems later.
The Traditional Way: Manual Editing
For years the standard approach was manual retouching in desktop software like Photoshop or GIMP. The usual tools were:
- Clone Stamp: copies pixels from one area and paints them over the logo.
- Healing Brush: blends the copied texture with the surrounding colors and lighting.
- Content-Aware Fill: lets the software guess what should be behind the logo.
These tools work well in skilled hands, and they give you full control. The downside is the learning curve and the time. A logo on a plain background may take a minute, but one sitting on a detailed texture like fabric, grass or brick can take much longer. If you only need to edit a few images, it can feel like too much work.
The Modern Way: AI-Based Tools
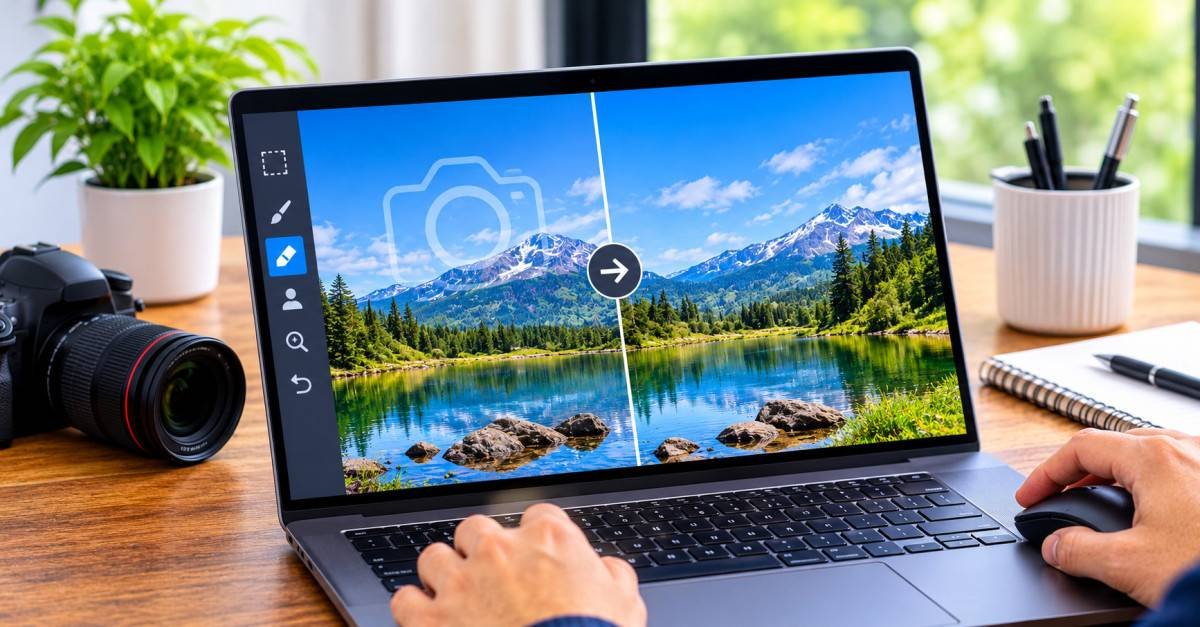
Recent AI editing tools have changed this a lot. Instead of copying pixels by hand, the software analyzes the surrounding area and fills in the gap with matching texture, color and lighting. You simply mark the area you want gone.
If you want something quick that runs in the browser, an online option like this tool to remove logo from photo files is worth trying. You upload the image, select the logo and let the tool rebuild that part of the picture. There is nothing to install, and the process takes seconds rather than minutes, which helps if you are working through a batch of images.
AI tools are not magic, though. They work best when the logo is small and the background is fairly simple. Large logos on busy backgrounds may need a second pass or a bit of manual cleanup.
Tips for Getting a Cleaner Result
Whichever method you use, a few habits make a noticeable difference.
1. Start with the highest quality file. A larger, sharper image gives the software more information to work with. Compressed or tiny images tend to show visible smudges after editing.
2. Select the logo precisely. If you mark too much area around the logo, the tool has to invent more detail and the result looks less natural. If you mark too little, you may leave behind faint edges. Aim to cover the logo with a small margin.
3. Work in small sections. If the logo has several parts or sits across two different textures, remove it in stages. A background that goes from sky to rooftop, for example, is easier to rebuild in two steps than one.
4. Zoom in and check the edges. Always inspect the result at full size. Look for blurry patches, repeated patterns or color mismatches. These are the common signs that an edit was done too quickly.
5. Keep the original. Save your edited version under a new name. If something looks off later, you can always go back and try again.
When the Logo Is on a Tricky Surface
Some situations are harder than others, and it helps to know what to expect.
- Logos on faces or skin: be extra careful. Rebuilding skin texture is hard, and small errors stand out.
- Logos on text-heavy backgrounds: the tool may struggle to recreate letters or lines correctly.
- Logos on curved or angled surfaces: a bottle or a shirt with folds will need the software to follow the shape, so check that the lines still look natural.
- Semi-transparent watermarks: these cover large areas with faint overlays, so removing them often takes several attempts.
In these cases, combining methods works well. Let an AI tool do the first pass, then fix small flaws with a healing brush or by hand.
Is Cropping Ever the Better Choice?
Sometimes, yes. If the logo sits at the very edge of a photo and you have room to spare, a simple crop is the fastest and cleanest fix. It leaves no editing traces at all. Just keep your final use in mind. A tight crop might not fit the aspect ratio you need for a social post or a banner.
Editing is the better route when the logo sits near the center or the composition would suffer from losing the edges.
Final Thoughts
Removing a logo from a photo is no longer a task reserved for professional editors. With a bit of care, anyone can get a clean, natural result using either traditional software or a modern online tool. The key points are simple: make sure you have the right to edit the image, start with a good quality file, select the logo precisely, and check your work at full size before using it.
Take your time with the first few images, and you will quickly get a feel for what works. Soon, tidying up a distracting logo will be a routine part of your workflow rather than a frustrating obstacle.