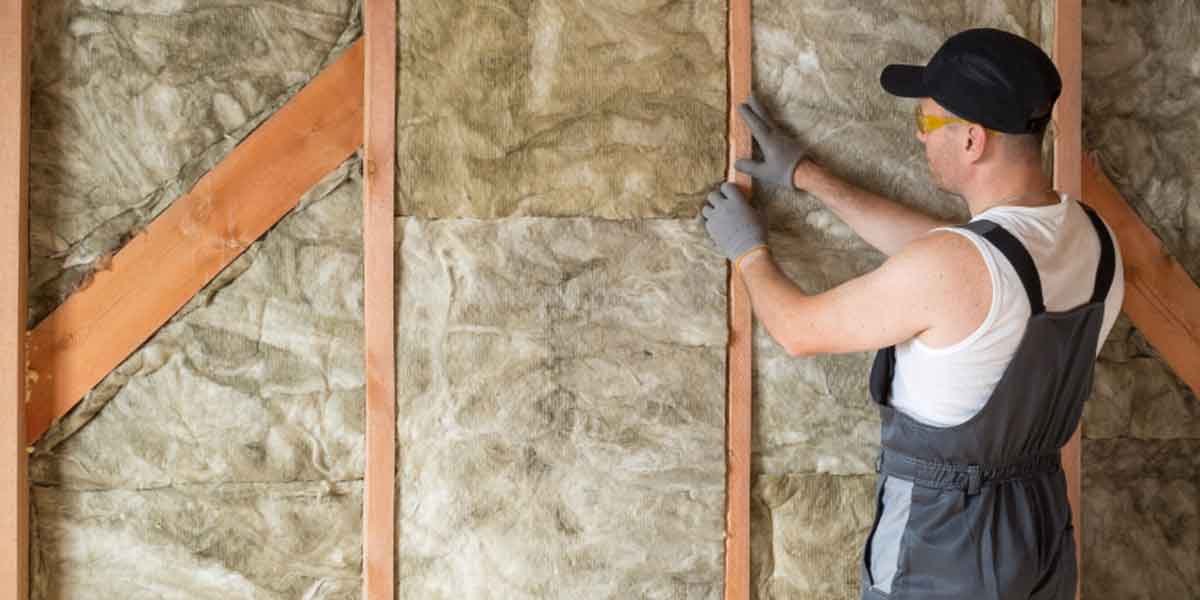
Wet insulation is rarely the starting problem. In most homes, moisture shows up in fiberglass due to a leak, an air pathway, or a ventilation issue elsewhere. If you notice a musty odor in the attic, discoloration on drywall, or batts that feel heavy and matted, you are seeing the effects of water or persistent condensation. Before adding more insulation, the smart move is to find the source, assess how far the moisture has spread, and decide whether the material can be dried or needs to be removed. This diagnostic approach saves time and prevents a repeat soak that quietly robs R-value, invites mold on nearby paper facings, and shortens the life of roof sheathing and framing.
1. Telltale signs that your insulation has been wet or is staying damp
Homeowners often ask, can fiberglass insulation get wet without permanent damage. Brief surface dampness from a minor drip may dry, but chronic wetting leaves clues. Look for compressed batts that no longer loft to their labeled thickness, dark stains on the kraft facing, rust on drywall screws, or frost on the underside of roof sheathing in winter. In walls, a wavy baseboard, peeling paint near an exterior corner, or a musty closet can signal moisture wicking into cavities. In crawlspaces, sagging insulation between joists and water beading on HVAC ducts point to high humidity that keeps fibers damp.
Two everyday scenarios highlight these signals. In a bathroom, a flex duct that terminates in the attic rather than a roof cap can saturate nearby insulation, leaving damp circles around the fan housing and soggy batts under the duct run. After a wind-driven storm, a small flashing leak around a vent stack may wet a narrow channel of insulation beneath the penetration while surrounding areas stay dry, often visible as a localized brown streak on the ceiling drywall.
2. Common moisture pathways in attics, walls, and crawlspaces
In attics, warm, humid indoor air escapes through openings at recessed can lights, the attic hatch, and gaps around plumbing stacks. When that air meets cold roof sheathing, water condenses and drips onto fiberglass. Blocked soffit vents, missing baffles at the eaves, or a choked ridge vent trap this moisture. Roof leaks from failed flashing, lifted shingles, or ice dams concentrate water along rafters and valleys, soaking nearby batts. HVAC issues matter too: uninsulated metal ducts and unsealed boots can sweat, and a loose condensate drain can drip into insulation throughout the cooling season.
In walls, bulk water sneaks in through failed window flashing, hairline cracks in stucco or brick mortar, and gaps where siding meets trim. Inside the house, a mislocated vapor retarder can trap moisture; for example, poly sheeting on the warm-in-summer side in a humid climate slows drying and can keep cavities clammy for months. In crawlspaces, the ground is often the source. Bare soil without a polyethylene vapor barrier, open foundation vents during muggy weather, and uninsulated cold water lines all raise relative humidity and keep fiberglass in floor cavities damp.
3. How to assess severity: dry-in-place or remove and replace?
Start by tracing the wetting pattern. Localized dampness under a roof penetration or a bath fan duct that recently disconnected is often a candidate for dry-in-place once the cause is fixed. Gently lift a batten to check the subfloor or ceiling gypsum; if wood framing is visibly dry and there is no debris or discoloration, increased airflow and dehumidification may restore the loft. By contrast, insulation that feels heavy throughout, has visible mold on the paper facing, or smells sour after a day of drying attempts should be bagged and replaced. Blown-in materials complicate inspection; access the area through an attic walkway or gable to verify depth and condition around the wet zone.
Air time matters. Fiberglass itself is inorganic, but nearby paper facings and wood can host mold when moisture lingers. Long-term leaks that have stained the roof sheathing, soaked multiple bays, or left batts compressed will not return to their rated R-value. In wall cavities, if paint is blistered or the base plate is damp, removing a small section of drywall to assess the stud bay is safer than assuming the insulation will dry out. When in doubt, prioritize removing any saturated insulation that contacts dirt, roof tar, or stormwater, because contaminants reduce drying potential and pose indoor air risks.
4. Fix the source first: sealing, venting, and drainage details that matter
Seal air leaks before you address insulation depth. Caulk or foam gaps at the attic hatch, weatherstripping, top plates, plumbing penetrations, and wire chases. Install insulation baffles in each soffit bay to maintain airflow, then verify that the ridge vent is clear. Reconnect bath and dryer ducts to dedicated roof or wall caps, and replace flimsy flex with smooth-walled duct where feasible to reduce condensation. Wrap cold-supply ducts and exposed refrigerant lines with proper duct insulation, then seal the joints with mastic (not just tape). At the roof, repair damaged shingles, reseal flashings at vent stacks and chimneys, and add an ice-and-water shield in known dam areas if reroofing is planned.
In crawlspaces, lay a continuous 6-mil-thick or thicker polyethylene vapor barrier over the soil, lapping and taping seams, and sealing to the foundation walls. Insulate the rim joists and sill plate, and air-seal the band joist with foam to prevent humid air from pooling against colder surfaces. Consider a dehumidifier set to maintain moderate relative humidity during muggy months. In bathrooms and kitchens, use timers or humidity-sensing switches so exhaust fans run long enough to purge steam to the exterior. These fixes reduce the conditions that cause fiberglass to become damp, protecting nearby framing, sheathing, and finishes.
5. Keep it dry going forward: monitoring and maintenance habits
Prevention is ongoing. After heavy rain or a deep freeze, do a quick attic walk: look for shiny frost on nails, darkened sheathing around penetrations, or sagging batts under duct runs. Keep soffit vents free of insulation by installing standoff baffles at every bay and avoid pushing batts into the eaves. In living spaces, a small hygrometer helps you see when indoor humidity creeps high; run exhaust fans during showers and for several minutes afterward. In crawlspaces, check the vapor barrier for tears and confirm the condensate drain is clear each cooling season. When adding insulation later, prioritize air sealing first and verify ventilation pathways are open so new material stays dry and performs as labeled.
You Might Also Like...
 How Much Does It Cost to Replace Ductwork in Attic? (2026 Guide)
 How to Extend Your Roof’s Lifespan: A Professional Maintenance Guide
 How to Prevent Roof Leaks: The Ultimate Homeowner’s Guide to a Watertight Home
 Spray Foam Cost Per Square Foot: Open-Cell vs Closed-Cell, Applications, and What to Expect