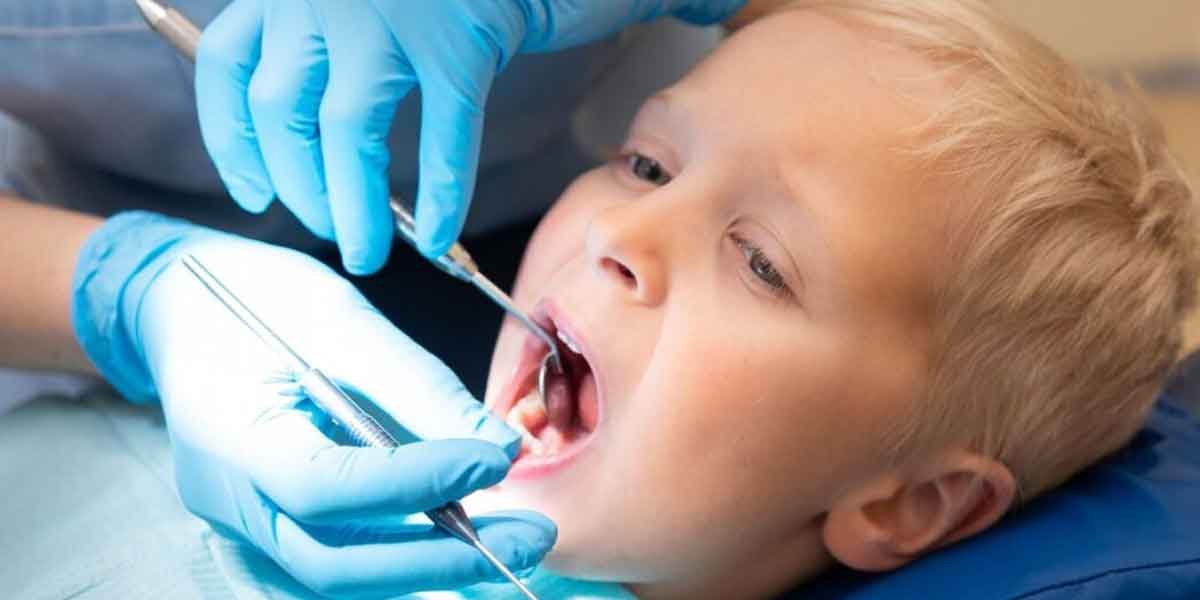
For children who find bright lights, new textures, or unfamiliar sounds overwhelming, the dental office can feel like a maze of surprises. Good preparation at home and thoughtful choices at the appointment can turn that experience into a manageable, even positive, routine. This article focuses on practical steps parents can take before, during, and after a pediatric dental visit, especially for kids with autism, ADHD, anxiety, or strong sensory preferences. You will find ways to use simple tools like visual schedules, practice sessions, and comfort aids, along with insight into common treatment options such as fluoride varnish, sealants, X-rays, and nitrous oxide, so you can support your child without compromising care.
1. Identify Triggers and Build a Simple Visual Plan
Start by noting your child’s specific triggers and strengths. Does the overhead light bother their eyes, does the saliva ejector’s whistling sound cause distress, or do mint flavors sting? Write these down along with what helps, such as sunglasses, a favorite fidget, or grape-flavored toothpaste. When you contact a pediatric office or browse local listings, you can flag these needs in advance. Families in the metro area often start by looking up listings for pediatric dentists in Denver, but the most helpful step is sharing a short profile of your child’s preferences with the team before your visit.
Next, create a brief visual schedule. Use photos or drawings to show steps like sitting in the chair, counting teeth with a mirror, tasting fluoride varnish, and choosing a sticker. Keep it accurate and short: five or six panels are plenty. Pair each step with a cue your child can practice, such as “open like a crocodile for 5 seconds,” “touch tongue to roof,” or “hands on belly while the polisher hums.” If your child gags easily, practice breathing through the nose with lips gently closed while holding a clean straw near the molars to simulate the suction straw’s position.
2. Rehearsal at Home: Toothbrush, Mirror, and Tell-Show-Do
Rehearse on your timeline, not the night before the visit. A calm, three-minute practice every other day works better than a long session all at once. Use a compact mirror, a soft toothbrush, and floss picks. Narrate like a dentist using “tell-show-do”: tell what will happen, show the tool, then do a brief version. For example, gently tap the back molars with the toothbrush to mimic the dentist’s mirror-counting, or rest a clean popsicle stick against a molar to introduce the idea of a mouth prop without pressure. Keep the flavor and temperature familiar; cold water and strong mint can overstimulate some kids.
Model X-rays without the stress. Role-play holding “a tiny picture card” between the teeth using a folded index card while standing still for a slow count to five. Explain that a lead apron feels like a “heavy superhero cape,” and practice a still-body game so your child knows when movement matters. Avoid two common mistakes: practicing too long, which can turn curiosity into fatigue, and promising candy as a reward, which conflicts with the healthy-mouth message. Choose non-food reinforcers like extra story time, a small sticker, or letting your child place a star on the visual schedule.
3. Timing, Environment, and Comfort Aids at the Office
Book a time when your child is alert, not hungry, and not close to a nap. The first appointment of the day, or one right after a predictable snack, can reduce waiting time and energy dips. Pack sunglasses for the overhead light, noise-canceling headphones for the polisher and suction sounds, and a familiar soft item or weighted lap pad for grounding. Skip sugary drinks beforehand; water helps keep the mouth neutral, and a simple protein snack can reduce jitters that come with an empty stomach.
Brief the team on what to try first. Many pediatric offices can start with a toothbrush cleaning instead of gritty prophy paste, let your child hold the mirror before the exam, or use a quieter “Mr. Thirsty” saliva ejector before introducing a high-speed suction. Ask about flavor choices for fluoride varnish and topical anesthetic gels if a numbing step is expected. Small adjustments like dimming the lights, turning off the music, or counting aloud together during a short task can keep cooperation on track without adding time.
4. Treatment Choices That Reduce Stress Without Sacrificing Care
Preventive treatments often have flexible formats. Fluoride varnish is applied quickly with a tiny brush and sets almost immediately, which many sensory-sensitive kids tolerate better than foams or gels in trays. Sealants protect the deep grooves in first permanent molars; some dentists place them using cotton rolls and a cheek retractor rather than a full rubber dam, which can feel intense. If anxiety is high, ask whether minimal-sedation nitrous oxide is appropriate; it acts quickly, can be titrated, and wears off within minutes after the nasal mask is removed.
When decay is present, there are trade-offs. Silver diamine fluoride (SDF) can arrest cavities without drilling, but it permanently darkens the decayed areas. That surface change is acceptable on back molars for many families, especially if it prevents distress, but it may be less acceptable on front teeth. Stainless steel crowns are durable for larger cavities on baby molars, but require more chair time than a small composite filling. Decisions about bitewing X-rays can also be individualized: low-caries-risk kids may take them less frequently, while higher-risk kids benefit from early detection. If X-rays are taken, a thyroid collar and lead apron add protection without increasing sensory load.
5. Day-Of Coping Tools: Cues, Breaks, and Language
Agree on a simple signal your child can use to request a pause, such as tapping the arm of the chair. Keep breaks short and predictable, such as a five-count breath or a 10-second shoulder squeeze before returning to the task. Breathing through the nose while counting together, holding a small foam ball, or blowing a bubble wand during a polish gives the body something rhythmic to do. Neutral language helps: say “we’re going to make the tooth sleepy with gel” rather than “this won’t hurt,” which can prime fear. If numbing is needed, topical anesthetic gel is placed first, then the local anesthetic, often one tiny area at a time to reduce the amount of new sensation at once.
6. When Cooperation Slips: Short Visits and Acclimatization
If your child’s stress rises past the point of useful coping, it is reasonable to stop. A short, positive “desensitization visit” where the child tries the chair, the mirror, and the suction without treatment can reset expectations. Many kids succeed with a two-visit plan: a quick acclimation appointment followed by a brief cleaning and exam. Ending on a success, even a small one, makes the next visit easier than pushing through a difficult moment and building negative associations.
After the appointment, keep building skills at home. Brush twice daily with a rice-sized smear of fluoride toothpaste for toddlers and a pea-sized amount for kids 3 and older; use floss picks on the molars where teeth touch; and offer water between meals instead of frequent juice or sticky snacks. Time preventive steps to real milestones: ask when sealants make sense for your child’s first permanent molars, and consider a custom or boil-and-bite mouthguard once organized sports begin. A quick, specific debrief with your child about what went well, along with a consistent non-food reward, reinforces progress and increases the likelihood that the next visit will be smoother.