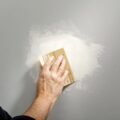
Sanding walls before painting is not always necessary, but it is essential where the wall is rough, patched, or glossy: sand rough and patched spots smooth so the new coat hides them, and sand or treat a shiny semigloss or gloss surface or the new paint will not bond. Use a medium grit, around 120 to 150, on patched and rough areas and a finer 220 for a smooth final pass, then wipe the dust away with a dry cloth or a tack cloth before priming. On a clean, flat, previously painted wall you can often skip a full sand and just feather the patched spots, since the goal is to give the new paint a surface it can grip, not to take the wall down to bare.
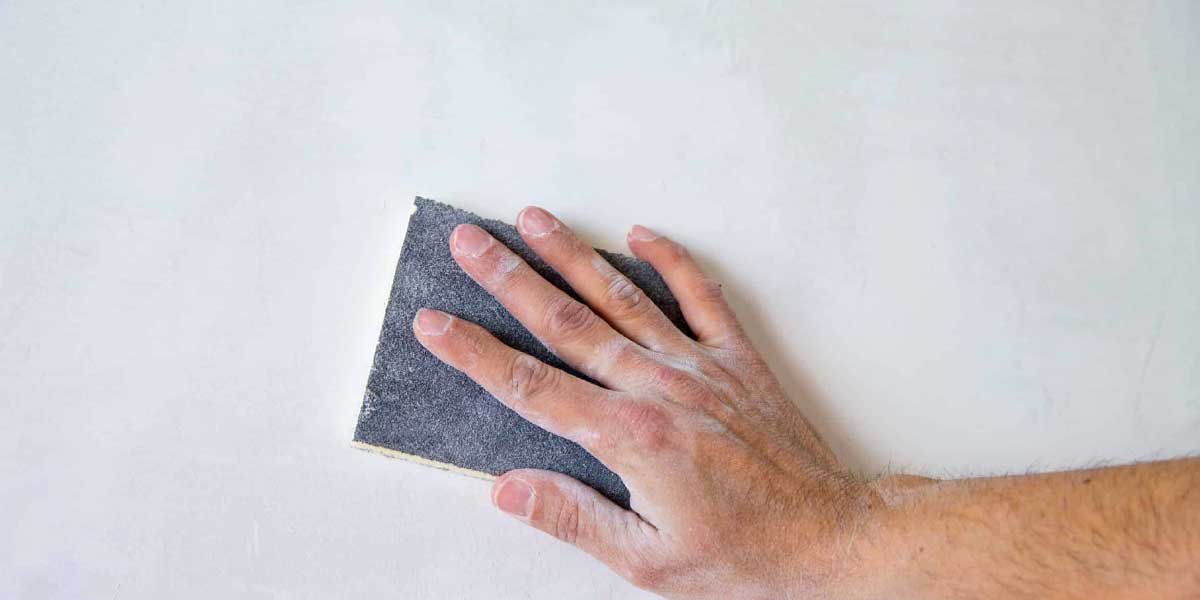
The reason a glossy wall peels is that the smooth, hard finish gives the new coat nothing to grab. Sanding, or a liquid sandpaper alternative, breaks that surface, and doing it on the spots that need it, rather than every inch, is the efficient and effective prep.
Below is when to sand, the grit and tool that fits the job, the safe way to do it, and the mistakes that turn a good prep into a peeling coat.
Sanding walls before painting: does every wall need it
Every wall does not need a full sand, but every wall needs the correct surface for the new paint to bond: sand patched, rough, or glossy areas lightly to give the new coat a grip, and on a clean flat-previously-painted wall you can feather the patches and skip a full sand. The decision is about the wall’s texture and sheen, not a blanket rule.
The preparing walls for painting guidance from Benjamin Moore frames the prep as smoothing and giving the surface a proper tooth, and Dutch Boy’s how-to on sanding walls walks the same. A flat, matte, previously painted wall that is clean is paint-ready once you feather any patched spots; a semigloss or gloss surface, or a rough or damaged one, needs sanding or a deglosser or the finish will not hold. So the short answer is: sand where it is rough, glossy, or patched, and you can often skip a wall-to-wall sand on a nice flat wall.
The grit and the tool for the job
Choose the sandpaper grit by what the wall needs, and the tool by the area: a medium 120 to 150 grit removes patch ridges and rough texture, a finer 220 smooths for a final pass, and a pole sander, a sanding sponge, or an orbital sander fit large, small, or hand-ed spots respectively. Finer grits on a wall only polish; they do not build the tooth a glossy finish needs.
| Grit | Use for | Tool option |
|---|---|---|
| 100-120 | Heavy patches, rough old texture | Pole sander, sanding block |
| 120-150 | Most patched and rough walls | Pole sander, sanding sponge |
| 220 | Smooth final pass, feather edges | Fine sanding sponge, by hand |
| Liquid sandpaper / deglosser | Glossy finish without dust | Cloth, ventilate |
The table matches grit to task. A pole sander covers a large wall fast and saves your arms, a sanding sponge works the corners and small patches and those awkward edges, and an orbital sander is faster on a large surface but throws more dust, so it suits an empty room with a vac attached. For heavy ridges from patching, start at 100 to 120, and finish at 220 so the patch blends invisibly. On a semigloss or gloss wall that must be roughened, a 220 light scuff or a liquid deglosser does the job of building the tooth a flat wall already has.
The safe step-by-step way to sand a wall
Sand in a set order and verify each step: clean the wall first, patch any holes or popped nails and let it dry, sand the patch and any rough or glossy spots, remove every bit of dust, and re-check the surface before priming. Work gently, keep the room ventilated, and wear a mask because sanding drywall and old paint throws fine dust.
Start by cleaning the wall, which the how to clean walls before painting sequence covers, so you are sanding dirt-free. Patch any holes, cracks, or popped nails and let the filler dry; a popped nail gains a drywall screw an inch or two away and the nail reset, and a deep hole gets a self-adhesive patch under the filler, then sand the patch flush. Sand the repaired and rough areas with the medium grit, feather the edges so no ridge shows, and give a glossy wall a light scuff or a deglosser. Wipe the dust with a dry cloth or tack cloth, cover the floor and furniture, ventilate, and mask, then re-check that the wall is smooth and the only roughness left is the tooth for the new paint. The same approach carries to cabinets, where the cabinet painting diy process sand-primes-then-paints the same way.
Liquid sandpaper and dust-free alternatives
When you want to skip the dust of sanding or reach a glossy surface cleanly, a liquid deglosser or liquid sandpaper chemically dulls the finish so paint bonds, and it is the fast choice on semigloss or gloss trim and doors. It still needs a clean surface and ventilation, and it is not a substitute for sanding away a thick ridge or a failing, peeling finish.
A liquid sandpaper is a chemical primer-for-adhesion that dulls a glossy surface without leaving the fine dust that dry sanding produces, which makes it handy for a small room or a surface you want to protect. It does not remove material, so a thick patch ridge or a heavily textured or peeling surface still needs dry sanding or stripping. Whichever you use, the surface must be clean and dry and the room ventilated, and you can combine a light 220 scuff with a deglosser for the strongest bond on a very glossy finish. For a whole room where the dust is the concern, an orbital sander with a vacuum collection or a hand sanding sponge keeps it manageable.
Realistic examples and the mistakes that undo them
Two cases show the range. A homeowner patch-and-paints a flat living-room wall, feathering two patched spots with 150 then 220 grit, wiping the dust, and priming, and the result hides the patches completely. A homeowner brushes new paint over a pristine semigloss bathroom wall without sanding or a deglosser, and the coat peels in sheets within months.
The common mistakes come from sanding wrong or skipping it where it is needed. Sanding a whole wall with a coarse grit leaves visible scratch marks a new coat amplifies, so the medium-to-fine sequence is the safe one. Sanding through a thin layer of old paint down to the substrate, or sanding glossy without building any tooth, both undercut the job, and one creates a spot you must re-prime. Skipping the dust wipe means the grit sits under the new coat and ruins adhesion, and not masking or ventilating turns a quick prep into a dusty mess. Each is avoided by matching the grit to the task, wiping every bit of dust, and treating glossy and damaged spots the way the finish needs.
A decision checklist by homeowner profile
Judge the wall, pick the grit and tool, sand the spots, and wipe the dust. Inspect for gloss, rough, or patched areas, choose the grit, use the right tool, ventilate and mask, and re-check before priming.
- Inspect. Look for glossy sheen, rough texture, patches, and damage to decide what needs sanding.
- Choose the grit. Medium 120-150 for patches and rough, 220 for the smooth final pass, and a deglosser for glossy without dust.
- Pick the tool. A pole sander covers the wall, a sanding sponge works edges and patches, and an orbital sander suits a big empty room.
- Ventilate and mask. Sanding throws fine dust; open a window, cover the room, and wear a mask.
- Wipe the dust. Remove it all with a dry cloth or tack cloth before priming, or the grit ruins adhesion.
For a clean flat wall, a first-timer needs only to feather the patches and wipe; for a glossy or rough budget kitchen, the sand step is the one that protects the new paint. The same dust-and-brute prep applies if you find pest-damaged or grimy areas underneath, where cleaning and the how to get rid of ants, a signs of bed bugs in the house check, and how to get rid of cockroaches guidance come first, and the whole project continues in the Home Improvement guides.
Frequently asked questions
Do I really need to sand my walls before painting? Not every wall needs a full sand, but rough, patched, or glossy spots do, because they need a smooth surface and a tooth for the paint. A clean, flat, previously painted wall can often skip a full sand and just feather the patches.
What grit sandpaper should I use on walls before painting? Use a medium grit, about 120 to 150, on patched and rough areas, and a finer 220 to smooth the final pass and feather the edges. On a glossy surface, a light 220 scuff or a liquid deglosser builds the tooth the paint needs.
What is the easiest way to sand walls? A pole sander covers a large wall fast and saves your arms, while a sanding sponge works corners and patches by hand. An orbital sander with a vacuum is quick on an empty room, and a liquid deglosser avoids dust on glossy trim.
Can I paint over existing paint without sanding? You can paint over a clean, flat, painted wall without a full sand, if it is not glossy, by feathering any patched spots. A semigloss or gloss surface, however, needs a light sand or a deglosser or the new paint will peel.
Do I need to sand before painting over a glossy finish? Yes, and it matters. A glossy surface is too smooth and hard for the new paint to grip, so either lightly scuff it with a 220 grit or use a liquid deglosser, then wipe the dust, or the topcoat will fail.
Give the new paint a surface it can grip
Sand the spots that are rough, patched, or glossy, feather the repairs, and wipe every bit of dust, and the new coat will hold and hide the prep. The medium-to-fine sequence and the right tool keep a wall smooth without cutting through the old paint, and a deglosser handles a glossy surface without the dust. Match the sanding to what the wall actually needs and the paint stays, and the rest of the room’s prep and color lives in the Home Improvement guides.