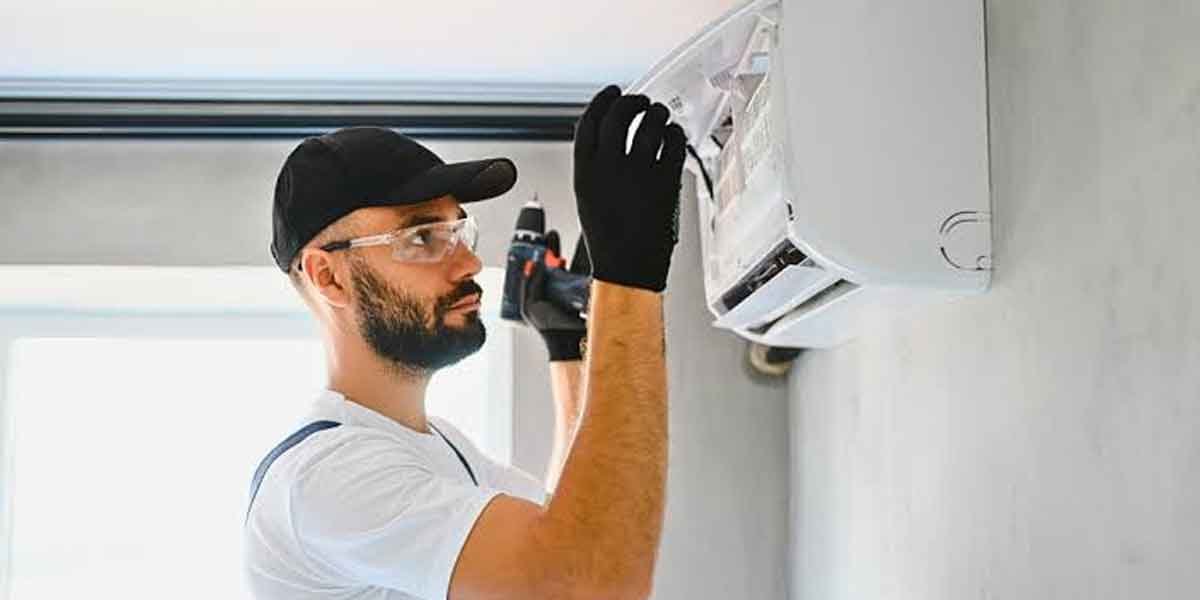
Your air conditioner does more than cool the air; it manages humidity, filters particulates, and helps keep your home comfortable during extreme heat. That’s why the quality of the installation matters as much as the equipment you buy. If you’re planning to replace an aging system or install central air for the first time, knowing how a professional installation should unfold helps you make confident decisions, avoid common pitfalls, and protect your investment. Here’s a clear, homeowner-friendly look at the steps, tests, and conversations you should expect from a qualified pro.
1. Why Proper Sizing and Design Matter
The right system starts with the right size. Bigger is not better with air conditioning; oversized units short-cycle, struggle to dehumidify, and wear out components sooner. Undersized units run constantly and still may not keep up on the hottest days. A reputable Air conditioning contractor will base equipment capacity on a room-by-room load calculation that considers square footage, insulation levels, window type and orientation, airtightness, and local climate, rather than relying on rough rules of thumb.
Beyond capacity, design decisions affect comfort and efficiency for years. Supply and return duct locations influence room-to-room balance. The air handler’s position impacts service access and noise. The line set route, condensate drainage, and outdoor unit placement (for airflow and shade) all contribute to long-term performance. Expect a conversation about these choices before any work begins.
2. What a Thorough In-Home Assessment Includes
A quality assessment typically begins with a walk-through and measurements. You should see the technician check attic or crawlspace insulation, examine existing ductwork for leakage or inadequate sizing, and note window types and solar exposure. If you have hot or cold spots, doors that won’t close because of pressure imbalances, or rooms with persistent humidity, now is the time to mention them so the design can address root causes instead of simply swapping equipment.
Electrical and code details also matter. The assessor should verify breaker size and wiring to the air handler and condenser, confirm a proper disconnect is present outdoors, and ensure the condensate drain has an appropriate route with overflow protection. If a permit is required in your area, ask who handles it and what inspections to expect. Good contractors welcome inspections; they help verify safe, code-compliant work.
3. Installation Day: Steps You Should See
On installation day, look for careful preparation. Floors and work areas should be protected. If replacing equipment, the techs will recover refrigerant per environmental rules, then remove the old air handler and condenser. If ducts need modification or sealing, that work typically comes first to prevent bottlenecks that starve your new system of airflow.
Next comes setting the air handler or furnace coil assembly, routing or replacing the refrigerant line set, and installing a properly pitched condensate drain with a safety switch near living spaces. The outdoor unit should sit level on a stable pad with adequate clearance to breathe. The refrigerant lines are brazed or connected, then the system is evacuated with a vacuum pump to remove moisture and air, both of which are enemies of efficiency and long-term reliability. Only after passing a tightness test should the system be charged with the specified amount of refrigerant.
4. Commissioning and Performance Verification
Commissioning is where a professional installer proves its value. Rather than turning the system on and leaving, the technician should verify airflow, check temperature differences across the coil, and confirm the refrigerant charge using manufacturer-recommended methods. Static pressure measurements help ensure ducts can deliver the air the system needs; think of this like checking blood pressure: if your HVAC is too high or too low, it signals a problem inside the “arteries.”
Expect documentation of readings and settings. The thermostat should be configured for your equipment type and features, such as variable speed blowers or staged cooling. If you opted for advanced filtration or an air quality accessory, the installer should show you how and when to replace filters and explain any maintenance requirements. Before they leave, ask for a quick tour: where the air filter lives, how to access the indoor unit safely, how to read the condensate safety switch, and what normal operating sounds look and feel like.
5. After the Install: Maintenance, Warranties, and Red Flags
A new system will last longer with routine care. Plan on changing or cleaning filters on schedule, keeping the outdoor unit clear of debris and vegetation, and arranging seasonal checkups to catch issues early. Ask how the labor and manufacturer warranties work, what can void them, and whether registration is required. Keep your paperwork together; model and serial numbers, commissioning data, and invoice details can streamline any future service calls.
Watch for early red flags that suggest the system isn’t performing as intended. Short cycling, weak airflow, unusual noises, persistent humidity, or rooms that still lag behind the rest of the house are not problems to “wait out.” Call the installer promptly; many adjustments are simple when addressed early. If you’re told these issues are “normal,” request the commissioning measurements and compare them to manufacturer guidelines. Good pros are transparent and willing to fine-tune.
Questions to Ask Before You Sign
To set clear expectations, ask a few targeted questions during the proposal stage. How will you size my system? Do you perform a load calculation? Will you evaluate and, if needed, modify or seal my ductwork? What commissioning tests do you perform, and will I receive the results? Who pulls the permit, and how are inspections handled? What brand and model are you proposing, and why is it suitable for my home’s design and climate? What does your workmanship warranty cover, and for how long?
Request a written scope of work that includes line-set replacement or cleaning procedures, drain protection, thermostat type, duct changes, and any accessories. This keeps everyone aligned on expectations and helps you compare proposals apples to apples. The lowest number isn’t necessarily the best value if essential steps are missing.
Choosing and overseeing an AC installation doesn’t require becoming a technician; it just takes a clear picture of what good work looks like. When your installer sizes the system correctly, respects the details of ductwork and drainage, and verifies performance with real measurements, you’ll feel the difference every hot afternoon. A little preparation now leads to quieter operation, steadier comfort, and fewer surprises over the years.
You Might Also Like...
 Window Installation Cost Per Window: Average Prices and Full Breakdown
 Why Air Conditioner Compressor Not Working? The Usual Causes, Safe Checks, and the Signs It Is Time to Stop Troubleshooting
 Why Is My Wall Air Conditioner Leaking Water? The Fix Starts With Drainage
 Air Conditioning Installation: How Much Does a New AC Unit Cost Installed?