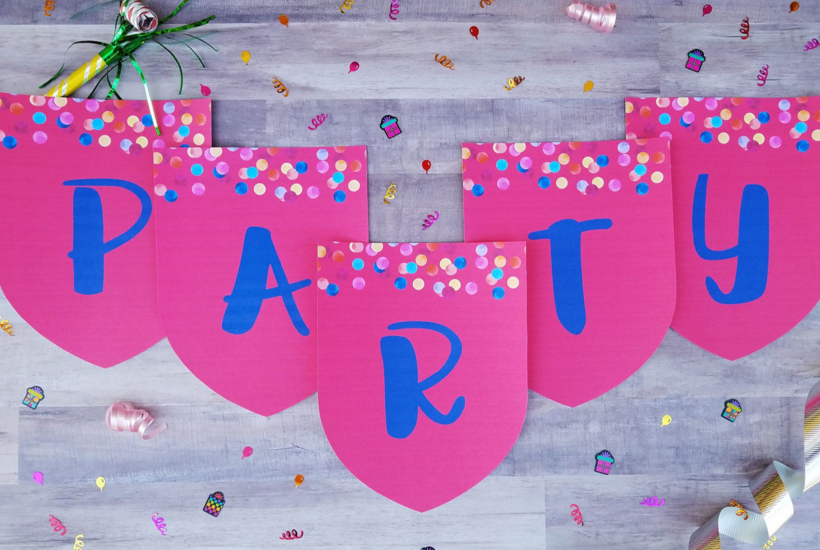
The best shot from the party is sitting on your phone, and it deserves better than a screen. However, if you hit print on a home printer without a little preparation, you get muddy colors, soft edges, and a picture cropped in all the wrong places. The gap between a phone snap and a frame-worthy print comes down to a handful of settings most people never touch.
Ever wondered why the same photo looks stunning on your phone but disappointing on paper? The screen is forgiving, but paper isn’t. Once you understand resolution, file format, and a few color basics, you can turn ordinary phone shots into sharp prints that look like they came from a lab.
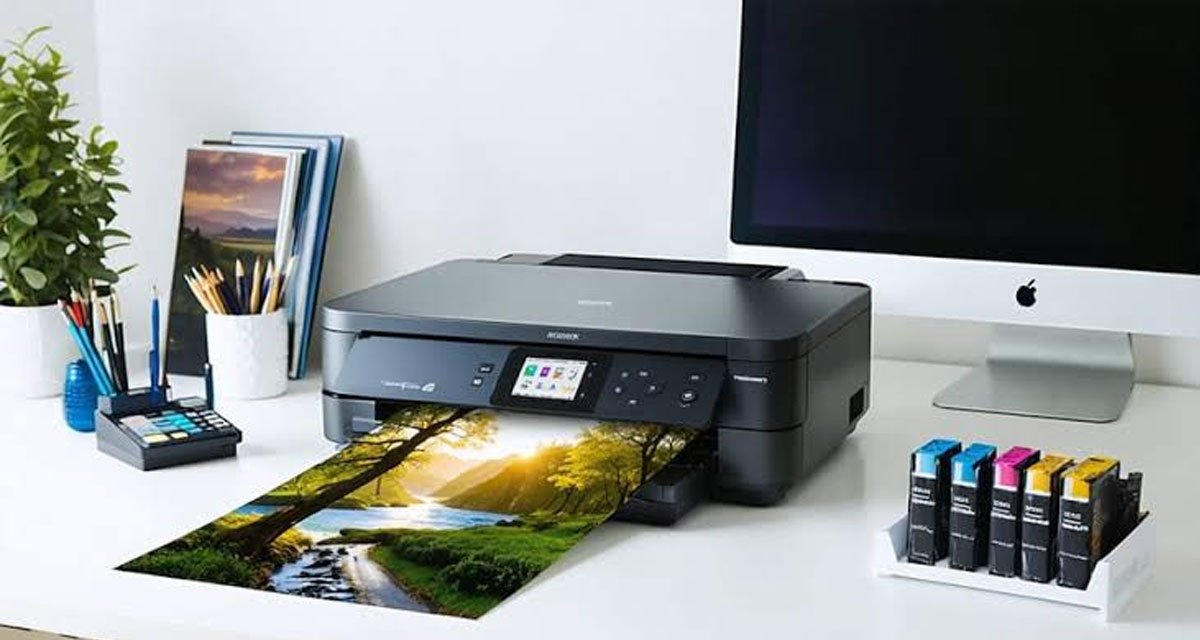
Fortunately, you don’t have to leave the house or pay for one. It’s a skill worth having every time there is something to celebrate.
What File Settings Do You Need for Sharp Prints?
Most disappointing prints fail before the ink hits the page. Get these three things right, and you’re already ahead.
Resolution and DPI
Screens display at a low pixel density, but printers demand far more. Aim for 300 DPI at your final print size. If you use anything less, the fine detail turns fuzzy.
A quick check before you commit:
For a 4×6 print, you want roughly 1200×1800 pixels
For an 8×10, aim for around 2400×3000 pixels
If the file is smaller than that, print it smaller rather than stretching it
Before sending your image to the printer, take a moment to verify its pixel dimensions against your desired paper size. Matching resolution to output size prevents blurry or pixelated results. If your image falls short of the recommended counts, simply reduce the print dimensions to maintain crisp details.
The Right File Format
Modern phones save photos as HEIC or PNG, and many home printers handle them poorly. Converting to a printer-friendly JPG or PDF first avoids color shifts and rejected files.
A free online image conversion tool from the team at Canva turns a HEIC or PNG into a clean, print-ready JPG in seconds. Make sure you do this step before you open the print dialog, not after something looks wrong.
Aspect Ratio and Cropping
Phone photos are usually shot at 4:3, but common print sizes aren’t. Crop deliberately to 4×6, 5×7, or 8×10 so the printer doesn’t lop off someone’s head to make the image fit. Frame with a little breathing room around faces to keep the composition intact.
Does Paper Choice Really Change the Result?
Yes, it does. The same file printed on flimsy copier paper versus proper photo stock looks like two different images. According to Yahoo Finance, photo prints still account for roughly 27.3% of global demand in the photo printing and merchandise market. That statistic proves a tangible photo carries a weight a screen can’t match, and the paper you choose is what delivers it.
Reach for glossy stock when you want punchy color and contrast. You can use matte when you want a softer, fingerprint-resistant finish for framing.
Check that your paper weight is one your printer actually supports. Additionally, always load it in the correct direction so the coated side faces the ink.
How Do You Get Colors That Match What You See?
Color is where home printing most often drifts. Guidance from Adobe notes that a large share of printing frustration traces back to mismatched color settings rather than the printer itself, which means a few tweaks fix most problems.
Turn off “printer-managed color” if your photo app handles it; print a single test copy before running a batch. Next, adjust brightness up slightly, since prints tend to look darker than screens. A quick test print saves both ink and paper in the long run.
These crisp prints make beautiful keepsakes. They’re just as useful when you host a party and want a display wall or table setting that feels personal rather than generic.
Print High-Quality Celebration Photos
Making professional-looking, sharp prints at home isn’t about expensive gear, but about preparation. Set your resolution to 300 DPI, convert your files to a print-friendly format, crop to your paper size, and dial in your colors with a test print first.
Those few steps close almost the entire gap between a phone snap and a framed photograph. The next time a celebration fills your camera roll, don’t let the best shots live only on a screen. Pick one photo tonight, prep it properly, and print.
Subscribe to learn more.