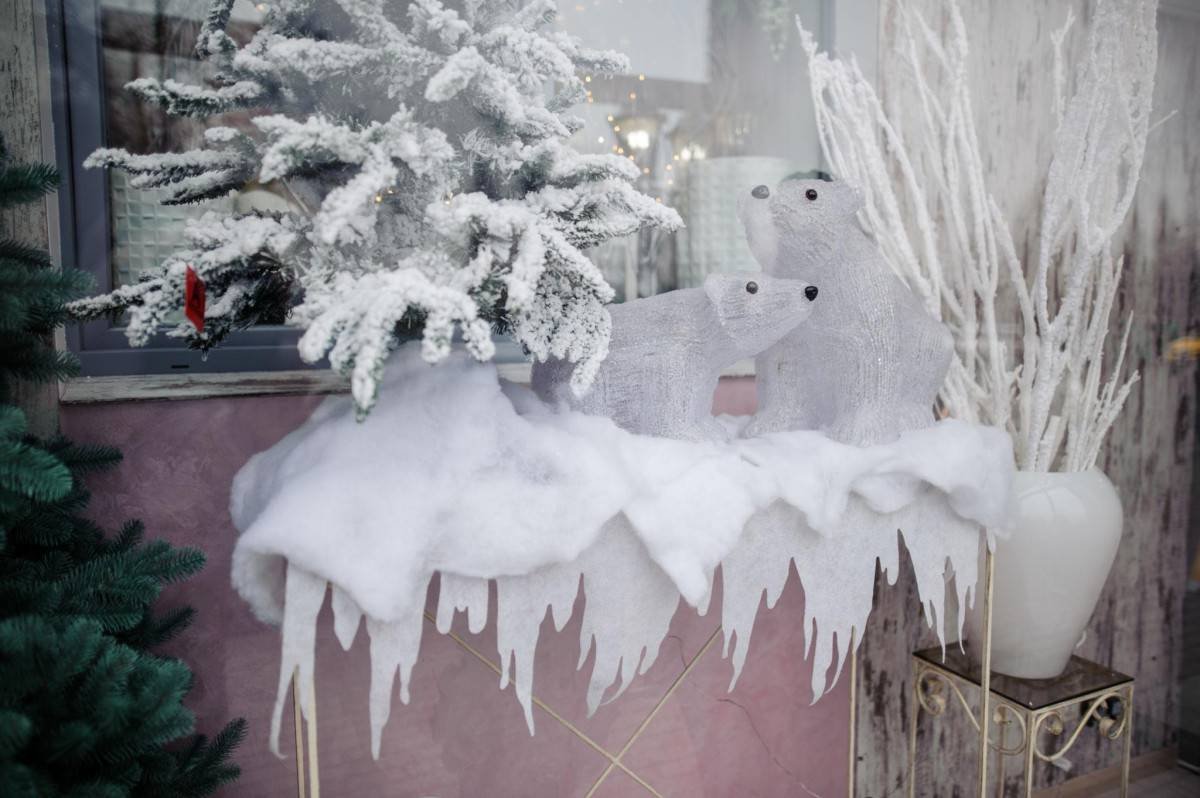
Good winter scenes usually have depth. Real snow collects unevenly on branches, ledges, props, and corners. When you copy that pattern with the right materials, your display looks more believable and less like simple decoration.
Start With A Clear Scene
Before adding snow, decide what kind of winter moment you want to create. A cozy cabin display needs soft layers, warm lighting, and snow around small props. A frozen outdoor scene may need heavier coverage, bare branches, and cooler lighting.
Think about where people will view the display from. If the scene is behind glass, larger textures may work well. If guests stand close, finer details become more important.
Choose The Right Snow Texture
Snow products can look soft, powdery, flaky, or crystal-like. The best choice depends on the surface and the purpose of the display.
Use fine snow for close-up areas, table scenes, product shelves, and small props. Use larger flakes or layered materials for backgrounds, trees, and bigger surfaces where texture needs to show from a distance.
Build Layers Instead Of One Thick Pile
Real snow rarely falls in a perfect, even blanket. To make your display look natural, apply snow in thin layers and build it slowly. This gives you more control and helps avoid clumps.
Start with a light base layer. Then add extra snow around object edges, corners, branches, and lower surfaces. This makes the scene look like snow has settled naturally over time.
Pay Attention To Surfaces
Different surfaces need different amounts of snow. A roof, bench, fence rail, or window ledge can hold more snow than a vertical wall or smooth sign. Trees and garlands usually look better with light snow on the top edges.
For a fake snow decoration, avoid covering every item completely. Leave some parts visible so the display still has shape, color, and contrast.
Use Lighting To Improve The Effect
Lighting can make or break a winter display. Soft white light can make snow look clean and bright. Warm light creates a holiday feeling, while cooler light can make the scene feel icy.
Avoid harsh shadows when possible. Snow reflects light, so a balanced setup usually looks better than one strong spotlight.
Keep Safety And Cleanup In Mind
Before opening the display to guests or customers, check how the snow behaves in the space. If people walk near it, keep loose material away from paths.
Helpful checks include:
Can the snow be easily swept or vacuumed?
Will it touch fabric, electronics, or flooring?
Does it move with air vents or fans?
Is it suitable for the type of venue?
Add Final Details
Small details often make the scene feel finished. Add light snow on pinecones, gift boxes, window corners, and display risers, then leave a few uneven edges so it feels natural. Used with care, decorative snow can turn a simple setup into a winter scene that looks planned, realistic, and easy to enjoy up close.