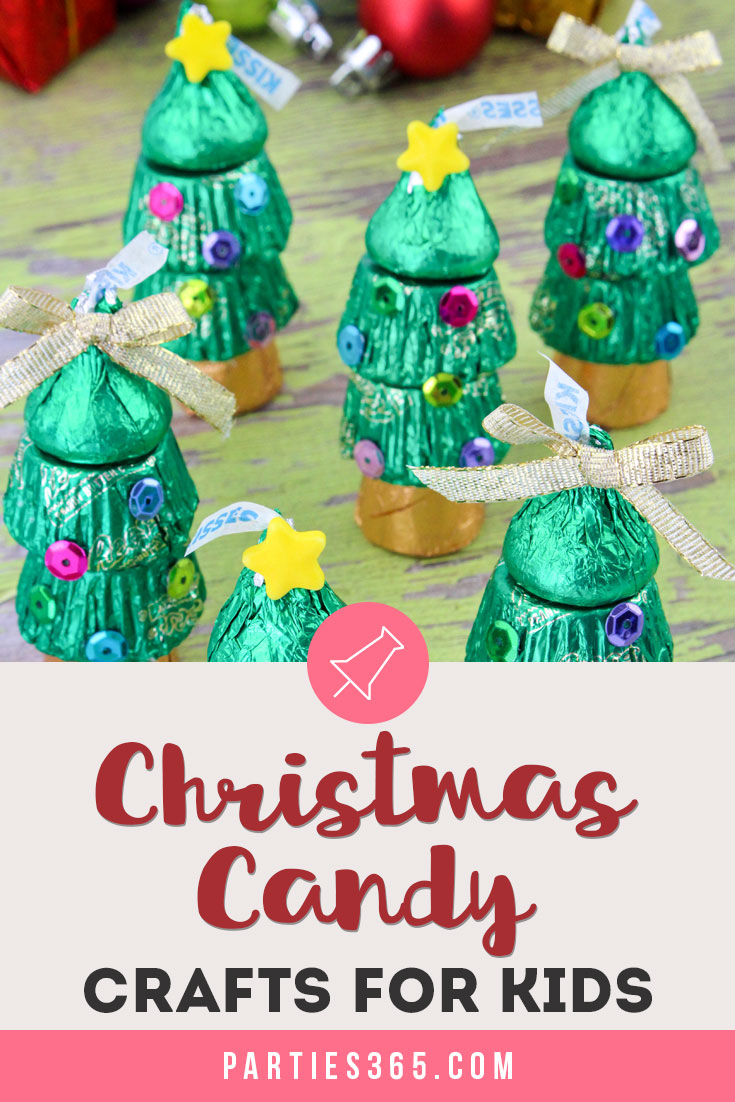
Are you looking for an easy homemade gift idea or a festive DIY project for the kids this Christmas? If so, we have the most adorable Christmas Candy Crafts Idea that’s simple and perfect to make for school gifts! Check out our tutorial and learn how to make a Candy Christmas Tree with Reece’s Peanut Butter Cups, Hershey’s Kisses and Rolos!

Christmastime is all about sweet treats, isn’t it? From the candy Santa leaves inside your stocking to the traditional Christmas cookies and desserts we bake every year, there is definitely a sweetness to the holiday season! So why not turn our candy obsession into a fun DIY craft project, right? It’s a project you can do together as a family and it doubles as the perfect gift for classmates, neighbors or stocking stuffers!

Not only are these Candy Christmas Trees adorable, they’re also made from everyone’s favorite candies! I mean, how can you go wrong with Reece’s Peanut Butter Cups, Hershey’s Kisses and Rolos?! Yum! Okay, enough drooling over candy, let’s dive into the tutorial…
Christmas Candy Craft Materials
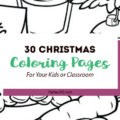
Here’s what you need to assemble your Candy Christmas Trees:
- Reese’s Mini Peanut Butter Cups (you want the green wrapper ones)
- Hershey’s Kisses (only green wrapper ones)
- Rolos
- Gold Glitter Ribbon
- Sequins and Stars
- Hot Glue Gun
Christmas Candy Craft Instructions
Assembly is really easy and quick! Make sure, since you’re using a hot glue gun, that you supervise and help little kids so no one gets burned! Here’s what you’ll do…
Step 1: Lay Out Supplies
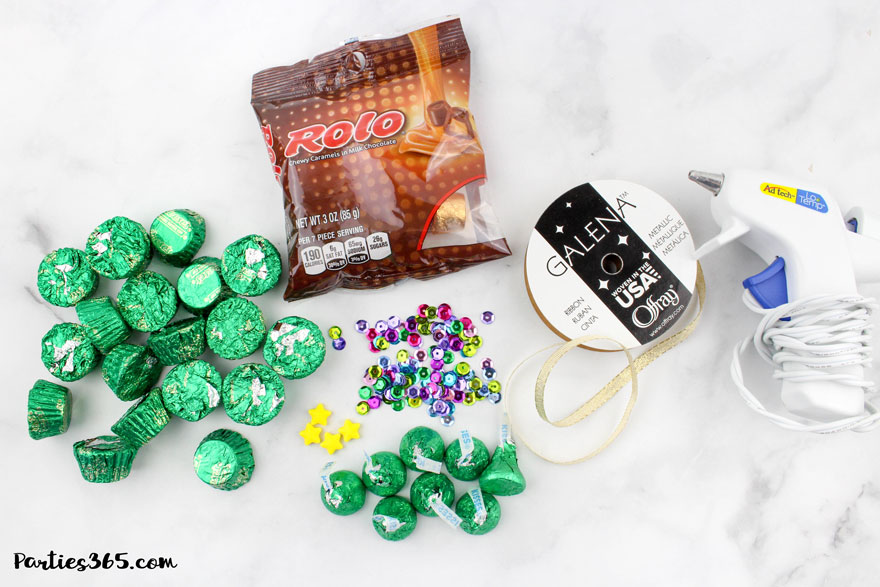
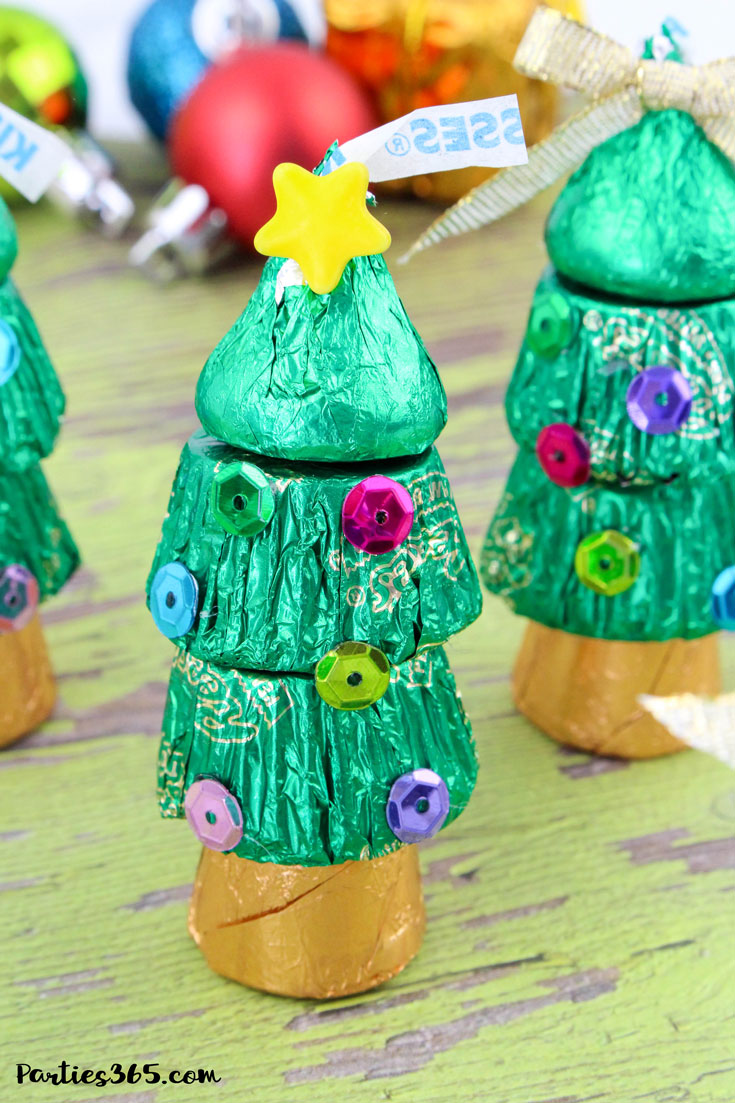
In order to make one Candy Christmas Tree, you’ll need one Rolo, two Reese’s Peanut Butter Cups and one Hershey’s Kiss. Multiply that out by the total number of Christmas Trees you want to make to ensure you have enough candy on hand. Then begin by laying out the 4 pieces of candy in front of you for your first tree.
Step 2: Start Gluing
Place a small dab of hot glue on the top of a Rolo, then set one Reese’s Peanut Butter Cup on top (make sure to glue it upside down). Next, glue on another Reese’s Peanut Butter Cup (also upside down) and then top it off with a Hershey’s Kiss.
Step 3: Decorate with Bows, Stars & Sequins
Now the fun part! Make little bows with the gold ribbon and glue them to the top of your trees. You can also glue gold stars to some of the tree tops as well. Next, decorate your trees by gluing 7-8 sequins all over the tree to represent the Christmas lights.

Step 5: Let Them Dry & Give Away
Finally, let the glue fully dry and then set them out for a cute Christmas treat or send a bunch to school for your child’s classmates and teachers! Enjoy!

Couldn’t be cuter or easier, right?! I hope you’ll give these Candy Christmas Trees a try this year! It’s a fun homemade gift that’s sure to be a hit with your kids and their friends. Be sure to Pin this post for later Holiday Party Planning too!