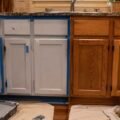
Cabinet painting DIY is a realistic weekend project when you are willing to remove the doors and drawers, clean off the grease, sand the surfaces, and prime before painting, and doing it that way costs roughly $100 to $300 in supplies and turns a dated kitchen around for a fraction of replacement cost. The one thing it is not is a paint-over: the existing cabinet finish is too smooth and greasy to hold paint, so skipping the clean, the sand, and the primer is the fastest route to peeling. Follow the full sequence and let the paint cure, and a DIY coat lasts years.
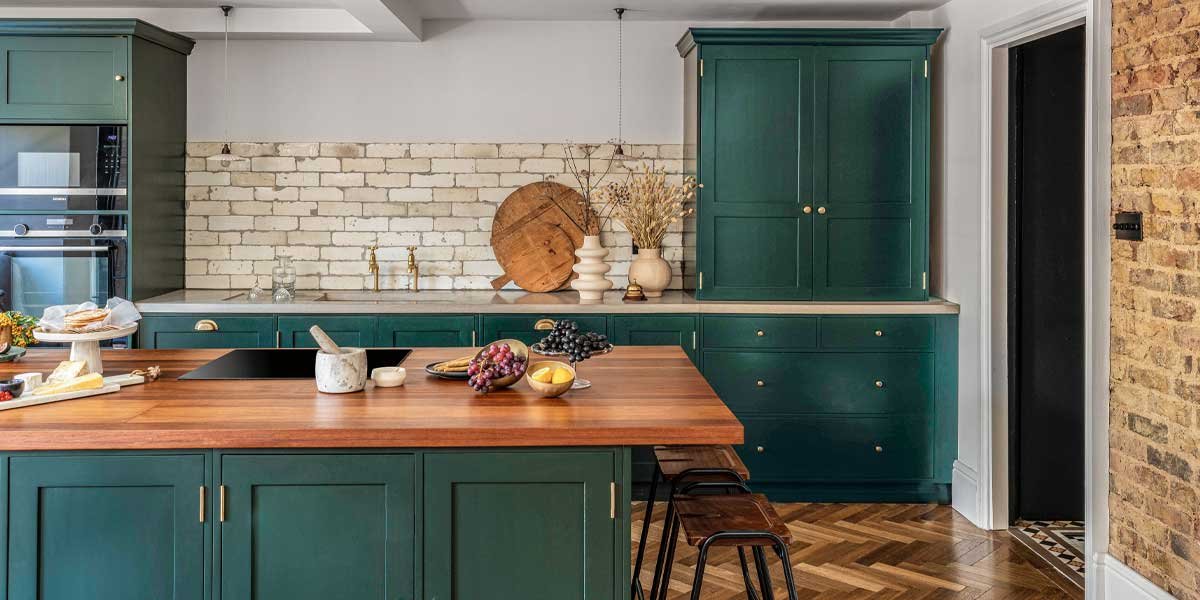
Most cabinet-paint failures trace to the steps people skip, not to the paint itself, because a cabinet is a greasy, hard-working surface that needs a bond, a primer, and a durable topcoat, not just color. The paint you choose and the prep before it matter more than the brand in the can.
Below is whether you should do it yourself, the paint and the prep that make it stick, the exact process with checkpoints, and the mistakes that undo a good job.
Cabinet painting DIY: is it worth doing yourself
Paint your own cabinets when the boxes are sound, you can take the doors and drawers off, and you have a few days, because the labor saves the biggest cost of a professional job. Skip it, or hire it out, when the cabinets are damaged, laminated or plastic in places that will not hold paint, or you want a guaranteed factory-smooth spray finish that is hard to match by hand.
The honest math favors DIY for most kitchens. A cabinet painting vs refacing cost comparison keeps the numbers straight, but in general the paint, primer, and sandpaper for a DIY refresh cost a small fraction of what a pro charges, and the Benjamin Moore cabinet-painting guide makes the point that a refresh is far more affordable than replacement when you follow the steps. The threshold is time and patience, not skill: if you can commit a few days to cleaning, sanding, priming, and two coats with a cure in between, you can reach a finish that looks professional on a flat-fronted cabinet, and a pro is worth it where a spray-smooth, guaranteed result matters more than the savings.
The paint and the prep decide the result
Choose a durable cabinet paint, a high-hiding primer, and prepare the surface by cleaning off grease, sanding it rough, and priming, because a cabinet wears hard and the grease and gloss that sit on it will defeat any topcoat otherwise. The three prep steps are not optional, and the paint type sets how well the finish resists scratches and fingerprints.
Use an enamel or polyurethane-fortified paint made for cabinets and trim, which cures to a hard, washable finish, applied in two coats over a proper primer. The painting guidance from This Old House frames the same idea for trim and cabinets, and the Benjamin Moore process uses a particular primer-and-Advance paint pairing for cabinets. For the prep, wipe every surface with a grease remover and a damp sponge and let it dry, then sand with a medium grit, about 100 to 150, enough to rough the glossy finish so the primer can grab it, and remove the dust. Primer goes on next, seals the surface, and must dry before the first topcoat.
The step-by-step cabinet painting process
The process runs in a set order, and each step has a checkpoint: remove the doors and hardware, clean off the grease, sand, prime, sand again, apply two coats of paint, and let the finish cure before heavy use. Pause at each checkpoint rather than rushing, because a coat laid over a damp or unprimed surface fails later.
Two full days with a cure in between is the realistic budget for most kitchens.
Remove the doors, drawers, and hardware, then prep
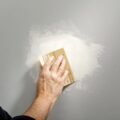
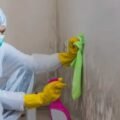
Take off the cabinet doors and drawers and the knobs and pulls, and set them on a flat surface with room to dry. Wipe every surface with a grease remover and a damp sponge, let it dry, then sand with a medium-grit paper, about 100 to 150, just enough to rough the glossy finish and give the primer a tooth to grab. Remove the dust and protect the counters with a drop cloth. Checkpoint: the surfaces are clean, dry, and no longer glossy to the touch.
Prime, then sand the primer
Apply a high-hiding all-purpose primer over the prepared surface, including the edges and inside the cabinet boxes, and let it dry completely, at least an hour in a well-ventilated room. Then lightly sand the dried primer with a fine 220-grit paper, focusing on any drips or rough corners, and wipe away the dust. Checkpoint: the primer is dry and smooth, with no drips or bare spots.
Paint two coats, sanding between them
Brush the edges and details and roll the flat panels with a microfiber roller, apply a first coat of the cabinet paint, and let it dry completely. Then sand lightly with the 220-grit paper to smooth any flaws without cutting through the coat, wipe the dust, and apply the second coat for even coverage. Checkpoint: both coats are on, the finish is even, and the color is solid.
Let it cure, then reassemble
Let the finished cabinets dry in a ventilated area for at least 24 hours before you touch them, and wait several days to a week before full use, because the paint only reaches full hardness and adhesion over time. After the cure, reattach the doors, drawers, and hardware. Checkpoint: the finish is dry to the touch and has cured before heavy items go back in or the doors are used hard.
Brush, roller, or spray
Choose the method by the finish you want and the effort you are willing to spend: a brush gives the most control on edges but can leave marks, a small roller covers flat panels fast with fewer strokes, and a sprayer gives the smoothest, most professional finish but needs setup, masking, and practice. Most DIYers combine a roller on the flats with a brush on the edges, and a sprayer is worth renting only for a large job or a showroom look.
| Method | Finish | Effort / setup | Best for |
|---|---|---|---|
| Brush | Good, can show strokes | Low setup, slow | Edges, details, small jobs |
| Roller (microfiber) | Very good on flats | Low setup | Flat panels, large faces |
| Sprayer | Smooth, professional | High setup, masking, practice | Large kitchen, showroom finish |
The table is the practical guide. A brush-and-roller combination is the DIY sweet spot, since it covers flats evenly and reaches the edges, while a sprayer produces the glassy, uniform finish a pro delivers but costs you setup and overspray-masking time. If your cabinet has ornate or detailed fronts and you want a flawless coat, a professional spray is the safer call; on flat-fronted doors, the roller-and-brush route is a genuinely good finish.
Realistic examples and the mistakes that undo them
Two realistic cases show the range. A homeowner with flat-fronted oak cabinets in a small kitchen sands, primes, and rolls two coats of a white cabinet enamel, and after the week-long cure the kitchen reads like new for under $200 in supplies. A homeowner who tries to brush a greasy, glossy cabinet as-is, skipping the degreaser and the sand, sees the paint peel and chip within months, costing a redo.
The common mistakes share one cause, skipping the prep or the cure. Painting over a greasy or glossy surface, and over a dark oil finish, fails because the primer never bonds; applying the second coat over a damp first coat, or reinstalling the doors before the finish cures, smears and chips the work; and using a regular wall paint instead of a durable cabinet enamel leaves a finish that cannot take a kitchen’s fingerprints and wiping. Each is avoided by following the clean-sand-prime, the full dry between coats, and the final cure, and by choosing the right paint the first time.
A decision checklist by homeowner profile
Decide whether DIY fits, then follow the sequence. Confirm the cabinets are paint-friendly wood, take the doors and hardware off, clean and sand, prime, paint two coats with a cure, and keep the room ventilated so the finish sets hard.
- Confirm the cabinets will hold paint. Sound wood boxes and doors work; heavily laminated or bare-MDF areas may not take paint evenly.
- Remove everything movable. Doors, drawers, and hardware give you a clean, flat, workable surface.
- Clean and sand. Degrease, dry, rough the gloss with a medium grit, then prime, or the topcoat will peel.
- Paint two coats. A durable cabinet enamel, with the edges brushed and the flats rolled, and a cure between coats.
- Let it cure. At least 24 hours dry and several days before full use, so the finish reaches full hardness.
For a quick, low-cost kitchen, a DIY cabinet refresh on the flat fronts is well worth it; for a high-use kitchen you will sell soon, a professional spray balances the guarantee against the cost. Beyond the paint, the room’s other surfaces follow the same finish-and-durability logic as the deck staining and repair and deck staining colors on exterior wood, and the tools and timing in the exterior painting best temperature guide apply the same cure discipline outdoors. A tree shading the kitchen, if it is part of the plan, walks through tree removal process explained, and the rest of the home work is in the Home Improvement guides.
Frequently asked questions
Can I repaint my cabinets myself? Yes, if you remove the doors and hardware, clean and sand the surfaces, prime, and use a durable cabinet paint. The savings are significant, but only if you follow the full prep and cure, or the paint will peel.
What is the best DIY cabinet paint? A water-based enamel or a polyurethane-fortified paint made for cabinets and trim cures to a hard, washable finish that holds up to a kitchen. Avoid a plain wall paint, which lacks the durability a cabinet needs.
Can I just paint over my kitchen cabinets? Not successfully without prep. The existing finish is too smooth and greasy to hold paint, so you must clean, sand, and prime first, or the new coat will peel and chip.
Can I just paint over old paint on cabinets? You can, provided you clean, sand, and prime the old finish so the new paint bonds. Sanding a dark or glossy old coat and priming it is what keeps a paint-over from failing.
How long does cabinet paint last? A properly prepped and cured cabinet finish lasts several years under normal use, and the full hardness develops over a few days after the last coat. The cure time, not the dry time, is what prevents early chips and scratches.
Let the prep and the cure decide
Cabinet painting DIY pays off in a big way when the sequence is right: remove, clean, sand, prime, paint two coats, and let it cure, and the durable enamel finishes a fresh, hard-wearing kitchen for a fraction of a pro job. Skip the prep or rush the cure and the savings evaporate into a repaint. Choose the paint for a cabinet, give the bond and the curing their time, and the kitchen looks renewed, and the rest of the home’s projects stay in the Home Improvement guides.