A fresh coat of paint can make a room look new in a day, but quality is more than color on the wall. Before you move furniture back or rehang art, a focused walk-through can reveal whether the work will hold up to cleaning, humidity, and daily wear. You do not need a contractor’s eye to evaluate results. With a few simple checks of cut lines, surface preparation, uniformity, and details on doors and trim, you can quickly spot strengths and shortcomings. Use this checklist to assess workmanship and have a clear, respectful punch list ready if touch-ups are needed.
1. Cut Lines, Edges, and Masking Reveal Precision
Start at the edges because they are the easiest place to see skill. Look closely where walls meet ceilings and baseboards: cut lines should be straight, consistent in width, and free of feathered brush marks. At window trim, no paint should be on glass, hinges, or weatherstripping. Outlet and switch plates should have been removed rather than painted around, and carpet edges should be protected without ridges of dried paint on the tack strip. Check stair stringers, the underside of handrails, and the tops of door casings for drips or missed areas often overlooked at normal eye level.
Masking and tape use also leave clues. Clean, scored tape lines at countertops and tile backsplashes prevent tearing fresh paint when tape is removed, and you should not see a raised “tape ridge” or bleed-through along those lines. When discussing expectations with a company such as Highfill Painting, ask about their standards for cut lines and whether they remove and reinstall hardware during painting. Their answer will help you know what to look for around hinges, doorstops, and window locks during your inspection.
2. Surface Prep Shows Before the First Coat Dries
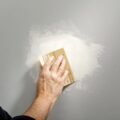
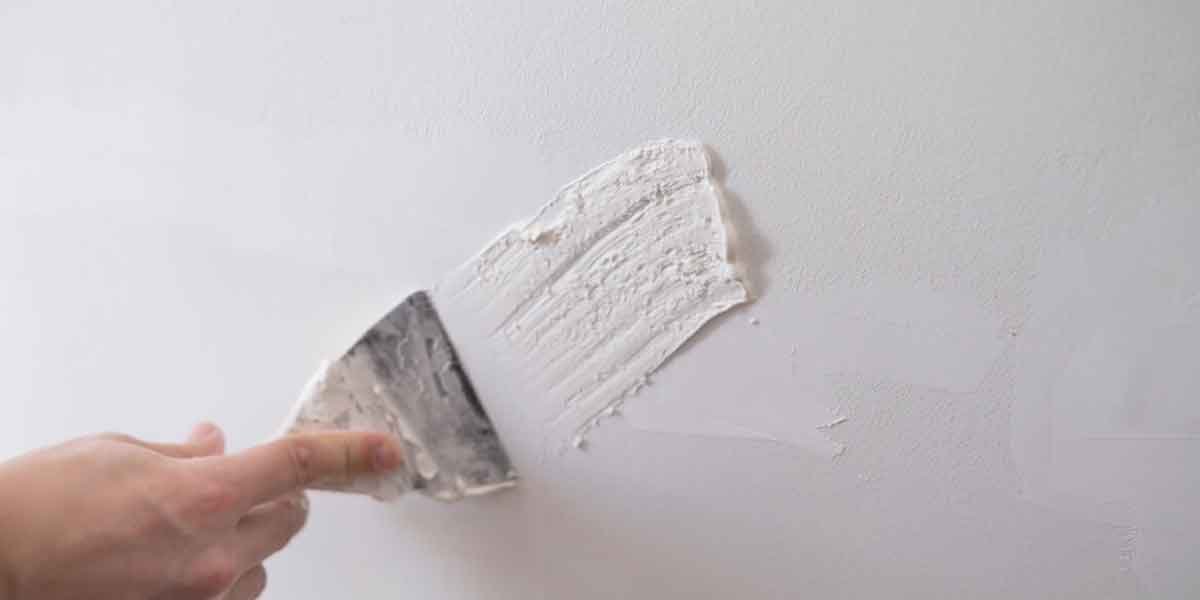
Proper preparation is the foundation of durability. Run your hand over patched drywall to feel for ridges or swirl marks from sanding that were not feathered into the surrounding surface. Bare patches should be spot-primed with a PVA primer on new drywall or a bonding primer on slick, previously painted areas. On stained wood or knotty pine, a shellac-based primer helps block tannin bleed that otherwise shows up as yellowing through white topcoats. Trim that was glossy should have been scuff-sanded and cleaned with a degreaser or TSP alternative to promote adhesion and reduce the risk of peeling.
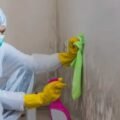
Two common scenarios highlight why prep matters. In a bathroom with a history of mildew, ceiling paint should be applied only after cleaning with a mildew remover and thoroughly drying the surface; otherwise, the new film can trap spores and spot within weeks. On patched walls, if primer was skipped, you will often see “flashing,” a dull rectangle telegraphing through the topcoat because the porous compound absorbed paint differently. You can spot this in raking light by standing at the corner and looking along the wall’s surface.
3. Uniform Color, Sheen, and Texture Under Different Light
Uniformity is more than a color match. Examine walls under different lighting at morning and evening to check for lap marks, holidays (thin, see-through areas), and picture-framing around the edges where a brush was used but not blended into roller-applied sections. Textured walls should look consistent from the center areas to the corners. On medium-smooth drywall, a 3/8-inch roller nap typically leaves a fine, even stipple; a 1/2-inch nap leaves a heavier texture that can look blotchy if switched mid-room. If spray application was used on stucco or heavy texture, back-rolling helps push paint into crevices for better coverage and a uniform look.
Sheen choice has trade-offs you can evaluate. Flat and matte finishes hide surface imperfections but are more prone to burnishing when scrubbed. Eggshell strikes a balance for most living spaces. Satin, semi-gloss, and gloss stand up to frequent cleaning on trim and doors, but will highlight dents in drywall or roller overlap. Dark, saturated colors often need extra coats and a consistent wet edge to avoid banding. On a navy accent wall, for example, visible roller paths or touch-ups that were not feathered will show in low-angle light. Stand across the room and scan for changes in gloss, not just color.
4. Doors, Trim, and Cabinets Demand Different Standards
On doors and trim, look for a smooth, level finish without thick brush ridges, sags, or “nibs” of dust trapped in the film. Nail holes should be filled, sanded flush, and made invisible after painting. Caulked joints at casing and baseboards should have neat, even beads without smears on adjacent surfaces; fat, smeared caulk can crack as it cures and telegraph through paint. Sticking is a red flag: freshly painted doors and cabinet faces should not block each other or the weatherstripping when gently opened after curing. Knots in softwood should be spot-primed to prevent resin bleed-through later.
Enamels behave differently from wall paint, so standards differ too. Modern waterborne enamel on doors and cabinets should level as it dries, but temperature and humidity influence how well it sets. In cool, damp conditions, paint can take longer to cure, increasing the risk of blocking and fingerprints. Between coats, a light sanding with 220-grit to remove dust nibs improves smoothness. Hardware and hinges should be masked or removed rather than painted in place, and glass in cabinet doors should be free of overspray. Window sashes should move freely after painting, with paint cleanly cut at the meeting rails so they don’t seal shut.
5. What to Do During the Walk-Through
Plan a steady circuit of each room from top to bottom. Use blue painter’s tape to mark small misses or drips without sticking it to areas painted the same day. Check the tops of casings, the undersides of stair nosings, closet interiors, and behind doorstops, where quick touch-ups are common. Confirm that deep colors received the specified number of coats and that stain-blocked spots on trim are not showing through. Ask for labeled leftover paint with color codes and sheen noted for future touch-ups, along with a brief product list so you can buy compatible paint later. For care, avoid taping fresh paint, clean gently after it has fully cured, and manage humidity to reduce caulk movement and nail pops.
Good painting looks quiet: straight lines, even sheen, smooth trim, and nothing sticking when you open a door. A few touch-ups are normal on any project, and a clear list helps crews address them quickly. By checking edges, prep, uniformity, and detail work, you will know whether the finish will wear well when kids’ hands, pet tails, and seasonal humidity test it. Document small issues, schedule a return visit if needed, then enjoy putting the room back together with confidence that the work will last.