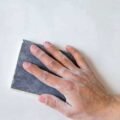
On the question of how to clean walls before painting: clean the wall when it shows grease, fingerprints, grime, or mildew, because a dirty surface rejects the new paint and it will peel or fail to bond, while a clean, dry wall can go straight to lightly sanding and priming. The safe method is a mild soap or a dedicated wall-cleaning solution on warm water, a soft, well-wrung microfiber or sponge, gentle circular wiping of the high-traffic areas, and drying with a soft cloth, which is the prep professional painters follow. Washing every wall top to bottom is usually unnecessary and can even damage a flat finish, so you are spot-cleaning where people touch, then letting it dry before you sand and paint.
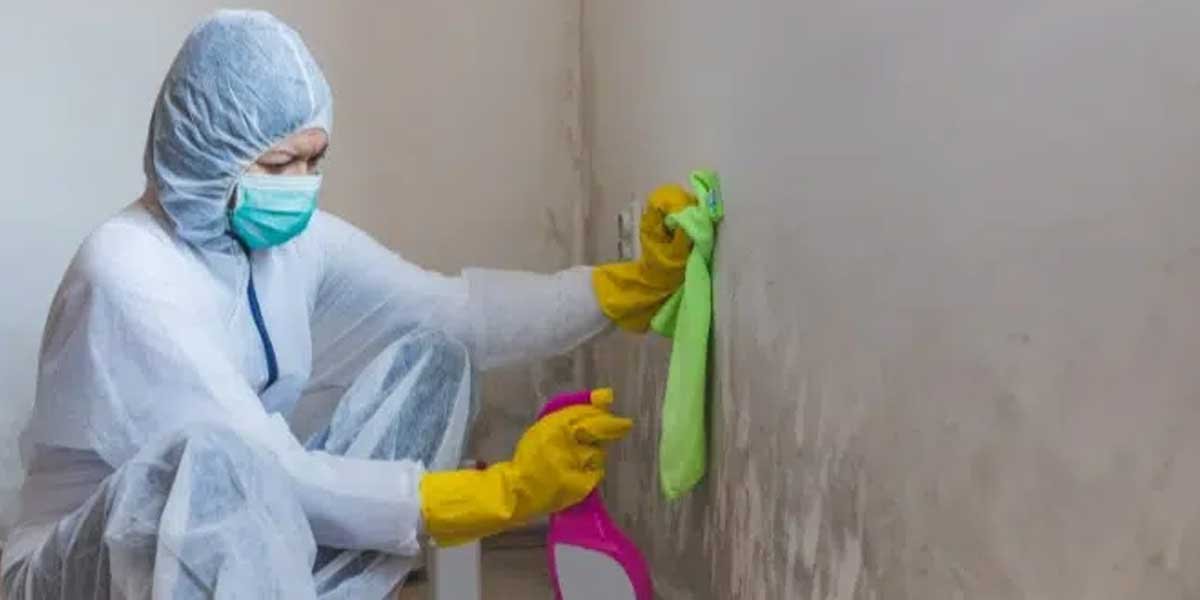
Walls collect dirt unevenly, mostly at the height of hands and at the spots near a kitchen or a hall, and that is exactly where the new coat is most at risk of poor adhesion. Cleaning those areas well, and knowing when a stain is too stubborn for a wipe and needs a seal or a repair, is what keeps a paint job from failing.
Below is when to wash, the safe way to do it, the cleaner to reach for and avoid, and the wall-by-wall cautions that protect the finish.
How to clean walls before painting: when it is needed
Wash walls before painting when they have visible grease, grime, fingerprints, or mildew, and skip a full wash when the wall is clean, since it can then be lightly dusted, sanded, and primed. The surface must be free of anything that blocks the new paint from bonding.
The honest test is whether the wall is dirty enough to notice. A room that gets touched, a kitchen or a hallway, usually has a film of grease or handprints that a new coat will not stick to, so it needs a clean. A wall you have kept dusted and clean can go straight to the prep, because forcing a wash onto it adds moisture and risk without benefit. Professional painters target the high-traffic areas, the height where hands land, near a kitchen, a mudroom, or a stairwell, rather than scrubbing every inch, which is the preparing walls for painting guidance from Benjamin Moore and the prep-walls guidance from Sherwin-Williams both follow.
The safe, step-by-step way to clean a wall
Clean a wall in a set order and verify each step: dust it first, spot-wash the dirty and high-traffic areas with a mild solution on a soft, well-wrung cloth, tool circular motions, pat it dry, and let it fully dry before sanding and priming. Work on small sections so the wall does not get soaked.
Start by dusting the wall with a dry microfiber cloth or a soft brush to remove loose dirt, which keeps the wet step from turning dust into streaks. Then mix a few drops of a mild dish soap such as Dawn into a bucket of warm water, dampen a soft non-abrasive micro-fiber or sponge, and wring it until it is almost dry, because excess water running down the wall leaves marks. Wipe the target areas in gentle circular motions, especially around switch plates, baseboards, and the kitchen splash zone, and avoid soaking the wall. After each area, pat it dry with a soft dry cloth, and let the whole wall dry fully, usually a few hours, before you sand it and prime it. The sanding walls before painting step comes next, and on a spot that still shows a stain after cleaning, that is the sign to seal or repair rather than paint over it.
Which cleaner to use, and which to avoid
Use a mild dish soap on warm water for most walls, a heavier trisodium phosphate or TSP for tough grease when the label allows it, and a small baking-soda paste for scuffs, while avoiding all-purpose spray cleaners sprayed directly on the wall. The solution choice matters because a wrong cleaner can streak or strip the old finish.
| Cleaner | Good for | Caution |
|---|---|---|
| Mild dish soap (e.g., Dawn) | Most walls, handprints | Use warm water, wring well |
| TSP (trisodium phosphate) | Tough grease, nicotine, kitchen film | Strong; follow label, ventilate, rinse |
| Baking-soda paste | Scuffs, light marks | Gently; avoid heavy scrubbing |
| Dedicated wall-cleaning solution | Safe on painted walls | Check label for your finish |
| All-purpose spray | Rarely | Avoid spraying directly on the wall |
The table is the practical guide to the shelf. A mild soap is the safe default, TSP is the pro’s tougher degreaser for grease and a kitchen’s film, and a baking-soda paste lifts a scuff without harsh chemicals. The mistake is an all-purpose spray misted directly onto a painted wall, which can streak and leave residue that the new paint rejects, so spray onto the cloth, not the wall. Whatever you use, rinse and dry, because cleaner and soap left behind are as bad for adhesion as the dirt you removed.
How the wall material changes the cleaning
Match the cleaning to the surface: a flat latex finish is the least washable, a semi-gloss or gloss on trim and doors wipes clean more easily, wallpaper can only be gently patted, not soaked, and drywall must not get wet enough to sag. The finish and the substrate set how wet you are allowed to go.
Flat paint, the most common on walls, is porous, so it absorbs moisture and cleaning solution rather than releasing dirt, which is why John Neill Painting’s professional guidance calls flat the least washable and says to light-dust it or spot-treat, and to repaint a stubborn stain rather than scrub it. Semi-gloss and gloss finishes on baseboards, doors, and trim clean with a mild detergent and water and stand up to it. Wallpaper is delicate, so wipe gently and never soak the seams, and on drywall, keep it dry enough that it does not sag or bubble. The same caution applies near a damp room such as a bathroom, where the prep and the paint colors for bathrooms choices both start from how the surface handles moisture.
Repair, seal, or repaint the spot
After cleaning, judge the wall for damage: light soot or a water ring may seal and repaint, a small stain that will not come out means a spot repair or a primer, a crack or a hole needs patching and sanding, and a bubbled, peeling, or heavily stained section, or mildew that points at a leak, is a repair-first or a replacement call. Cleaning removes dirt, but it cannot fix a damaged surface, so the divide comes after the wash.
A normal handprint or a grease film cleans off and paints fine. Soot from a candle, a fireplace, or a furnace does not wash out reliably, and the professional call is to seal the area and repaint it rather than expect a wipe to fix it. A water ring or a stubborn stain needs a stain-blocking primer or a spot repair, a crack or a nail hole patches and sands, and big problems, bubbling, peeling, or a section that keeps coming back, point at moisture or a failing old coat, so fix that before any new paint or it will fail again. If the wall hosts pests, cleaning the surface and fixing the reason they came in, which the how to get rid of ants, a signs of bed bugs in the house check, and how to get rid of cockroaches guidance cover, is part of the same prep.
The mistakes that undo a good cleaning
Skip cleaning and paint over grease and the coat peels; wash with the wrong cleaner, mist an all-purpose spray straight on the wall, or leave the wall soaked and it streaks or the moisture causes problems; and ignore a mildew stain or paint over it and the problem comes through. The common failures all trace to the prep, and each is avoidable.
Painting over a greasy kitchen wall or a handprint at the switch height is the fastest route to a peel, because the grease blocks adhesion no matter how good the paint is. Using an all-purpose spray directly on the wall, or a stiff scrubber, damages the flat finish and leaves streaks. Leaving the wall wet or not letting it dry before priming traps moisture under the new coat, and painting over mildew or soot without cleaning or sealing lets the stain and the problem show through. Clean the right spots with the right solution, dry it well, and let the coat bond to a truly clean surface, and the finish holds.
A checklist for the prep
Inspect the wall, clean the dirty and high-traffic spots, dry it, and judge what still needs repair or a seal. Dust first, spot-wash with a mild, well-wrung cloth, dry, and sand and prime where the next step in the sequence starts.
- Inspect. Look for grease, handprints, mildew, or damage such as cracks and bubbles before deciding.
- Dust. Wipe with a dry microfiber cloth or soft brush so the wet step does not streak.
- Spot-wash. Clean the high-traffic and dirty areas with a mild soap and warm water, wringing the cloth well.
- Dry. Pat with a soft dry cloth and give the wall time to dry fully before you sand or prime.
- Seal or repair. If a stain will not come out, a spot is sooty, or damage shows, seal, patch, or repaint that area first.
For a first-timer, a mild-soap spot-clean of the kitchen and hallway plus a good dry covers most rooms, and the same prep that protects the coat sets up the Home Improvement guides that follow the first coat. Clean the surface your new paint has to sit on, and the paint does its job.
Frequently asked questions
What is the best thing to wash walls with before painting? A mild dish soap on warm water is the safest default for most walls, applied with a soft, well-wrung cloth. For tough grease in a kitchen, a trisodium phosphate or TSP solution, followed by the stronger label instructions and a rinse, works well.
What do professional painters use to clean walls? Professionals use a mild soap-and-water solution, and a TSP or a dedicated degreaser for kitchens and heavily soiled surfaces, always applied to the cloth and wiped gently over the high-traffic areas rather than soaking the wall.
Can you use Dawn dish soap to wash walls before painting? Yes. A few drops of Dawn in warm water is a safe, gentle cleaning solution for painted walls, applied with a soft cloth in gentle circles and dried. Avoid spraying any cleaner directly on the wall.
What is the easiest way to wash walls? Spot-cleaning is the easiest and the safe method: dust with a dry cloth, wipe the dirty high-traffic areas with a mild-soap-dampened, well-wrung cloth in small circles, and dry with a soft cloth. You do not usually need to wash an entire wall.
Do you have to wash walls before painting? Not every wall, but any wall with grease, grime, fingerprints, or mildew must be cleaned before painting, because a dirty surface rejects the new paint and it will peel. A clean, dusted wall can go straight to sanding and priming.
Clean the surface the paint has to bond to
Clean the wall where it is dirty, dry it well, and then judge what needs a repair or a seal, and your new coat will hold. The safe method is a mild solution on a well-wrung cloth over the high-traffic spots, not a full soaking, and the finish, especially a flat one, rewards gentle handling over a heavy wash. Once the surface is clean and dry, sand and prime it through the rest of the Home Improvement guides, and the paint does the work the prep set up.