Deck staining and repair has three answers: restain a deck whose wood is sound and only faded or peeled, repair-and-stain when there is local damage such as popped nails, split boards, or mildew spots, and replace, or call a professional, when boards are rotten or the structure is failing. Before any staining, clean the wood, let it dry, and do the screwdriver test, pressing a screwdriver into a few boards to tell sound wood from soft, rotten wood, because a stain cannot fix a board that is gone. Repair the surface damage, then stain in mild, dry weather, and the deck comes back for a fraction of replacement cost.
Most deck failures that send people to a stain or a service are surface wear that a clean-and-stain fixes, but the ones that cost the most are structural, hidden under a faded finish. Telling the two apart with a screwdriver and a careful look keeps you from staining over a problem that should be a professional’s.
Below is a symptom-by-symptom guide, the safe checks to run before you pick up a brush, and the exact point to stop and call a licensed professional.
Deck staining and repair: restain, repair, or replace
Restain when the wood is sound and the only problem is age, fading, and surface peeling; repair-and-stain when there is isolated damage like popped nails, splits, or mildew spots; and replace, or bring in a professional, when boards are rotten, loose, or the support structure is failing. The choice is about the wood’s condition, not how long it has been since the last stain.
The deck care guidance from This Old House frames the same decision: a sound deck is a staining job, a deck with local damage is a repair-plus-stain, and a deck with failing structure is a replacement or a professional’s repair. A deck-stain manufacturer like Sikkens reinforces that the prep and the wood condition decide how long the finish holds, because a stain is only as good as the sound wood it sits on. Keep the deck’s bones sound and the stain renews it cheaply; let the bones go and no stain can help.
Symptom, likely cause, urgency, and the fix
Match what you see to a likely cause and a safe fix before buying anything. The table takes the common deck symptoms through cause, urgency, and the right action, separating the surface wear a homeowner can handle from the structural calls for a professional.
| Symptom | Likely cause | Urgency | Right action |
|---|---|---|---|
| Faded, peeling, or grayed finish | Age, sun, weathering | Low | Clean, sand, restain |
| Popped nails or screws | Wood movement, seasonal | Low | Hammer down or replace, then stain |
| Split or cracked board | Drying, moisture | Low if isolated | Replace the board, then stain |
| Green or black mildew spots | Moisture, shade, no ventilation | Medium | Clean with a mildew remover, dry, stain |
| Soft or spongy board on a screwdriver press | Rot or water damage | High, call a pro | Check the extent, likely replace the board or section |
| Several loose or bouncy boards | Failing fasteners or joists | High, call a pro | Professional fastening or structural repair |
| Sagging, leaning, or cracked support | Structural failure or rot | High, stop use | Professional inspection and repair |
The table is the quick diagnostic. Surface wear and isolated damage are a stain-and-repair project, while rot, bouncy boards, and any concern about the support structure are a professional’s job. The rule of thumb is the screwdriver test: if the wood is hard when you press it, it can hold a finish; if it is soft, spongy, or the screwdriver sinks in, that board is gone and a stain will not bring it back.
The safe homeowner checks before you stain
Run a few quick checks before buying a can: press a screwdriver into several boards and at the ends to find rot, rock or step on boards to feel for looseness, look for popped nails and splits, and confirm the wood is dry before any stain goes on. Healthy wood, a clean surface, and a dry forecast are what a lasting stain needs.
Start with the screwdriver test, pressing into two or three boards near the ends and at any discolored spot, since rot shows up where water sits. A hard board is sound; a soft one, or one the screwdriver sinks into, needs the extent of the rot checked, and if it is spread, that is a professional’s call. Then step on a few boards and watch for bounce or movement at the fasteners, which points at failing joists or screws rather than surface wear. Look for popped nails to hammer or replace, and for a consistent gray or green tone that a deck cleaner and a mildew remover handle before staining. Finally, confirm the wood is dry, several dry days in, because a stain laid over damp wood will not bond.
The prep that makes the stain last
Clean the deck, restore the grayed wood, sand any rough boards, and let the surface dry completely before staining, because a finish only holds on a clean, dry, sound surface. The prep is most of the job, and the stain itself goes on in a day once the deck is ready.
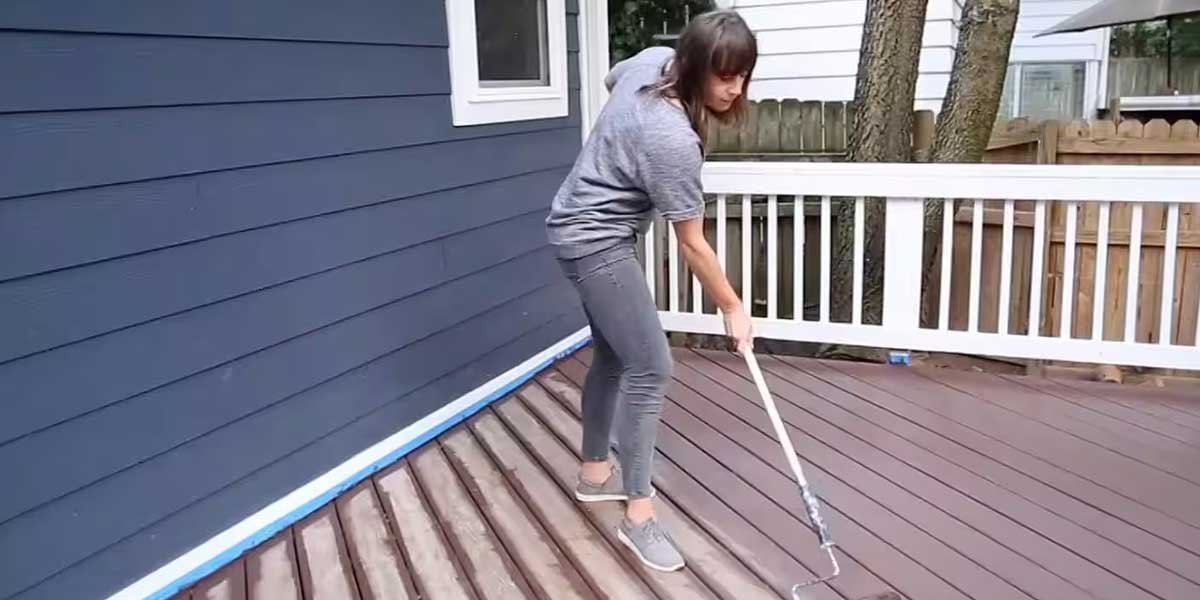
Start with a deck cleaner and, where the wood has grayed or weathered, a wood brightener or restorer to return the tone, scrubbing and rinsing per the product. Sand rough or splintered boards, replace any boards beyond repair that are isolated and safe to do, and hammer or replace popped nails. Let the deck dry for a couple of days, or until the surface no longer feels damp, and check the forecast, since a stain needs dry weather and mild temperatures, ideally above about 50 degrees and in the mid-range rather than blazing heat. Only then apply the stain in the direction of the wood grain, and a second coat after the first dries where the product calls for it. The timing that keeps the finish happy is the same seen in exterior painting best temperature, and the color choice is a separate step in deck staining colors.
Stain vs paint, and staining over an old stain
Choose a stain to keep the wood visible and let it breathe, or a paint for full coverage, and stain over an old stain only after cleaning and confirming the old finish is sound. A translucent stain shows the grain and is easier to renew, a semi-transparent sits in between, and an opaque stain or paint covers the wood entirely.
Stains come in three opacity levels, from clear or translucent that lets the grain show to semi-transparent and opaque that cover more, and each renews differently, with the more opaque ones lasting longer and hiding more wear. You can stain over an old stain if you clean the surface and the old coat is not peeling or flaking, but you cannot reliably put a lighter translucent over a much darker old stain, and a failing finish should be cleaned or stripped first. Painted decks cover wood tones completely and last longer against the sun, but they fail by peeling in coats that are harder to renew, while a translucent stain weathers more evenly and is simpler to refresh, which is why many homeowners choose a stain for the easier upkeep.
When to call a professional
Call a professional, and stop use, when a board is rotten or soft to the screwdriver press, several boards are loose or bouncy, the support structure is sagging, leaning, or cracked, or there is extensive mildew sign hidden damage. None of these is fixed by a stain, and painting over a failing structure is both unsafe and money wasted.
Rot and structural movement are the line between DIY staining and a professional repair. A single soft board in an otherwise sound deck may be a simple board replacement a confident DIYer can do, but when rot is spread, boards bounce at the fasteners, or a beam, post, or the rail shows cracks or lean, that is a licensed professional’s job, both for safety and because the fix is structural. A sagging or leaning deck, in particular, is not a staining project at all, and it is the point to stop. For context on when it is cheaper to renew a finish rather than replace the wood, the same math that applies to cabinet surfaces runs through cabinet painting vs refacing cost.
Frequently asked questions
Can I stain over old stains on a deck? Yes, if you clean the surface and the old stain is sound and not peeling or flaking. If the old coat is failing, strip or sand it first, and you cannot easily put a light translucent stain over a much darker old one.
How much does it cost to stain a 20×20 deck? Staining a 20-by-20 deck typically runs a few hundred dollars in materials if you DIY, and more with a professional, varying with the stain quality, the wood condition, and your region. Restaining a sound deck is far cheaper than replacing the boards.
Is it better to repair or replace a deck? Repair-and-restain when the wood is sound or the damage is local, and replace when boards are rotten, the structure is failing, or the deck is unsafe. A screwdriver press and a check for bounce tell you which is which.
What is the best time of year to stain a deck? Stain in mild, dry weather, ideally when the temperature is above about 50 degrees and there are a couple of dry days that stay above the dew point. Avoid blazing heat, direct sun on the surface, and any period when rain is coming.
Can a deck stain fix rotten wood? No. A stain only protects and colors sound wood, and it cannot restore a board that has rotted or been damaged by water. Rotten or soft boards must be replaced, or a professional must repair the structure, before any staining makes sense.
Let the screwdriver decide
Restain a sound deck when it only looks tired, repair-and-stain when the damage is local, and call a professional, or replace, when the wood or the structure is going. The screwdriver test and a check for bounce are the honest way in, the prep and the dry forecast make the finish last, and getting it right keeps a deck looking good for years at a fraction of replacement cost. The rest of the exterior and the home, from exterior painting ideas for home to the interior painting best temperature indoors, stays in the Home Improvement guides.