Most interior walls in modern homes are made of drywall, thanks to its lightweight, affordable, and easy-to-work-with qualities. However, drywall can wear more quickly than you might expect. Small marks, cracks, or surface flaws aren’t necessarily a result of rough handling, but normal signs of everyday living.
As a homeowner, you may be looking for practical ways to handle these matters before they escalate into unsightly blemishes. If you’re in need of drywall repair Naperville solutions, the good news is that most common drywall problems aren’t complicated or structural; they typically respond very well to targeted repair techniques.
We’ll explore six of the most frequent drywall issues homeowners encounter and provide straightforward, step-by-step instructions for fixing them.
1: Nail Holes
Hanging and rehanging pictures, mirrors, or shelves usually leave small punctures. Even when you carefully remove nails or hooks so they come out cleanly, they may pull at the paper face of the drywall, leaving a shallow crater instead of a neat opening.
How to fix it:
Use a small amount of lightweight spackle or joint compound. Press it into the nail hole with a putty knife, then wipe away the excess to secure a smooth, flush surface. Be careful not to overfill, as this can create patches that will show through the paint later. Once dry, lightly sand if needed and touch up with paint.
2: Dents and Minor Surface Marks
Not all drywall damage involves holes. Furniture bumps, vacuum handles, and narrow walkways can compress the drywall without breaking through it. As a result, the surface may look uneven, especially when light hits it at an angle, but the wall itself remains intact.
How to fix it:
Apply joint compound slightly wider than the dent, feathering outward to blend the repaired area back into the wall. Using a wider putty knife helps restore a flat surface and avoids forming a visible patch. Sand gently and evenly, focusing on smoothing the transition without digging into the repair.
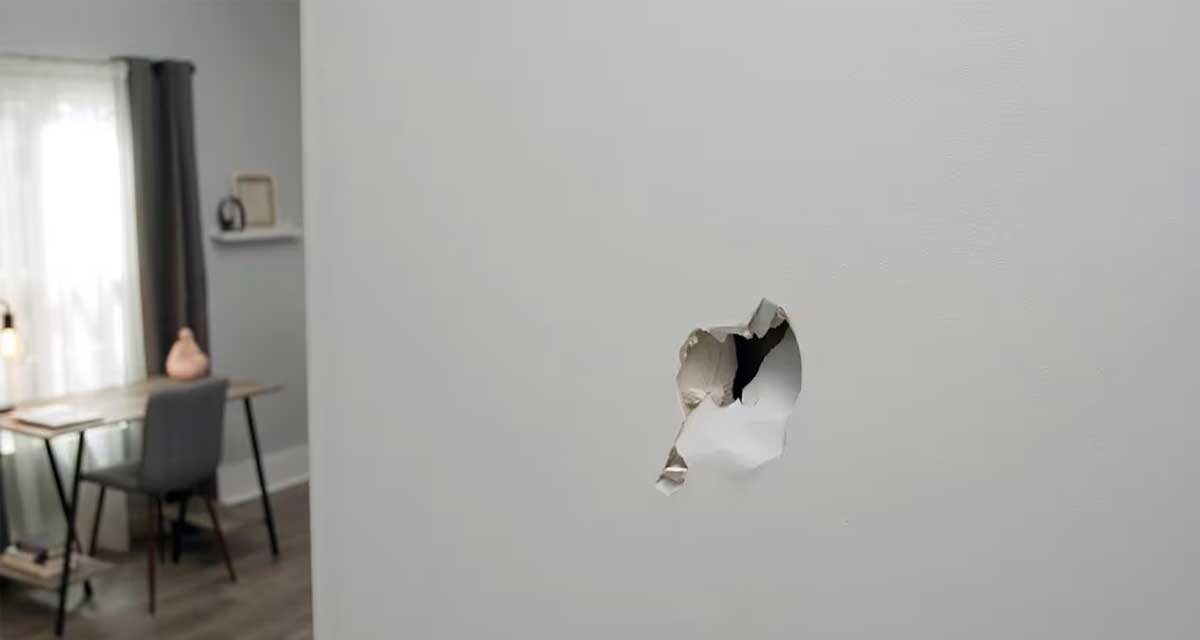
3: Other Holes: Doorknobs, Anchors, Accidental Punches
Door handles without stoppers, failed anchors, or a sudden impact can completely remove sections of the drywall. Unlike nail holes, these larger gaps provide little support for the compound, which is why quick fixes frequently fail.
How to fix it:
Start by trimming away any loose edges to create a clean hole shape. Next, add support using a patch kit or a small piece of backing material behind the opening. Repair the area by applying thin layers of compound, letting each one dry before adding the next. Once the surface is flat, match the surrounding texture if necessary, and finish by priming and painting.
4: Hairline Cracks
Hairline cracks tend to show up over time, especially in areas that experience periodic temperature changes. As framing expands and contracts, drywall joints may move slightly, causing thin cracks near seams or where walls meet ceilings. While these cracks are usually cosmetic, they can recur if treated like static damage.
How to fix it:
Lightly open the crack to remove any loose material. Next, use a flexible patching compound and apply it along the length of the crack, feathering outward for a smooth finish. After it dries, lightly sand the area, then apply primer before repainting. Priming will help prevent the crack from reappearing through the paint.
5: Corner Bead Damage
Corners endure more wear than almost any other part of a wall. Foot traffic, furniture, and cleaning tools all tend to hit corners first, and even small chips stand out since corners are crucial for defining straight lines in a room.
How to fix it:
Begin by applying joint compound in thin passes, using the corner itself as a guide. Focus on preserving the corner’s shape rather than building thickness. When sanding, be careful not to overdo it; stopping early helps prevent the corners from becoming rounded or uneven. If the underlying metal bead is bent, keep in mind that cosmetic repairs won’t hold up well.
6: Paint Bubbling or Peeling
Paint bubbling and peeling often look worse than they really are. In most cases, this issue results from brief exposure to moisture due to humidity, splashes, or condensation. This moisture breaks the bond between the paint and the drywall, yet it generally does not damage the drywall itself.
How to fix it:
First and foremost, address the moisture source before you begin any repair work, and ensure that you’re working on a completely dry surface. Start by scraping away all loose paint until you reach a solid edge. If any drywall paper is exposed, be sure to seal it before applying new paint. Allow everything to dry thoroughly, and then repaint with proper surface prep. Skipping the sealing step is the most common reason for the bubbling to return.
Final Thoughts
Most drywall issues fall into the category of normal wear and tear. Nail holes, small dents, cracks, or peeling don’t signal failure; instead, they reflect the life lived within your walls.
With basic tools, a bit of patience, and the right approach, you can tackle these problems without tearing out parts of the drywall or turning a small repair into a big project. So, roll up your sleeves, face the task ahead, and restore your walls to their former glory!