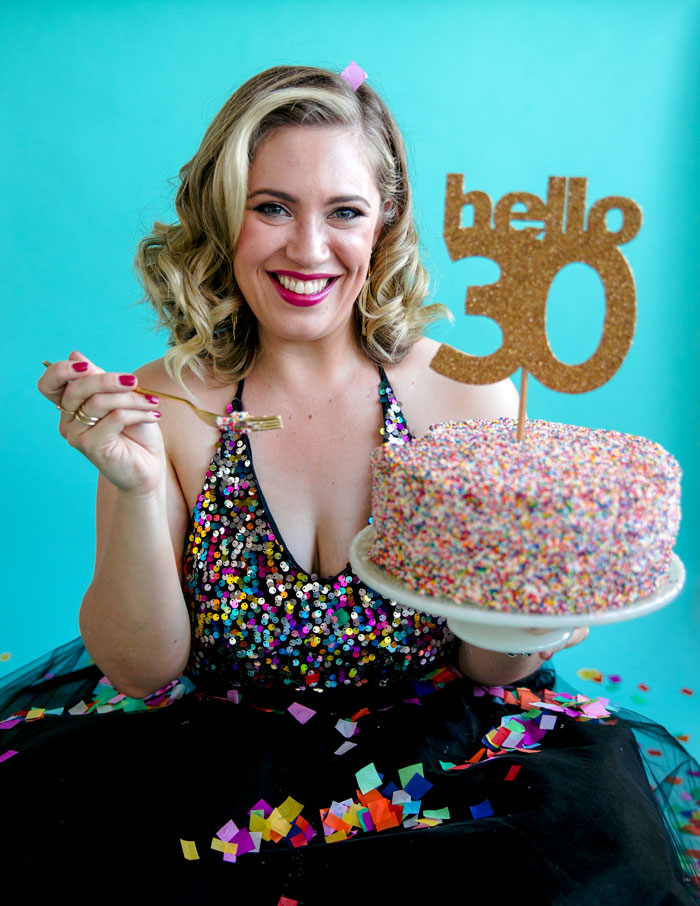
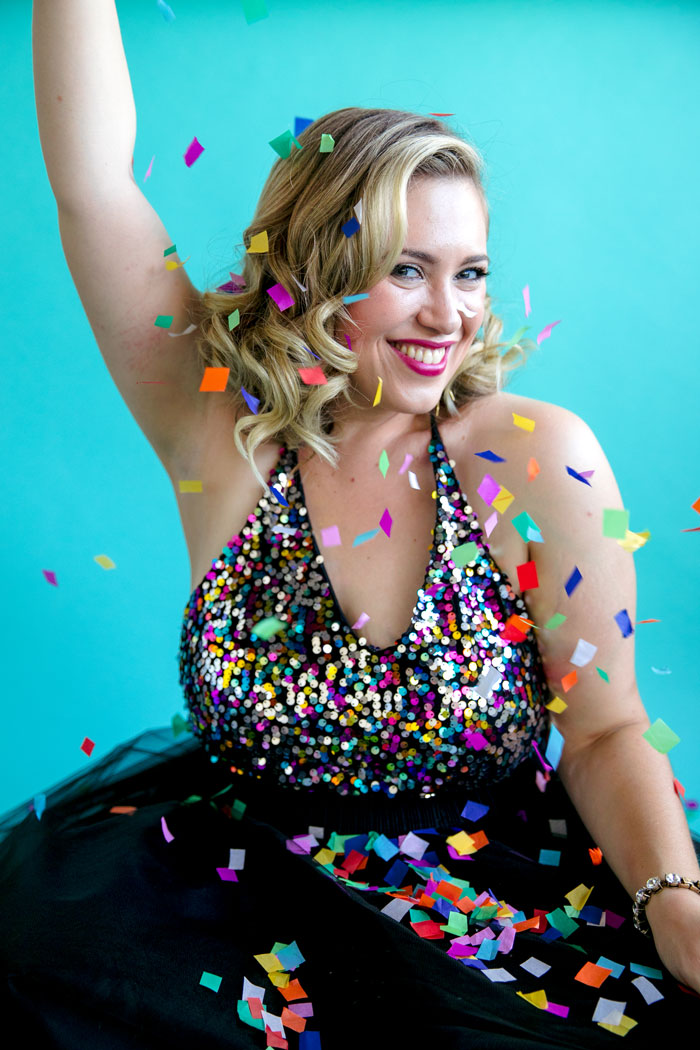
As her 30th Birthday drew near, Kim Baker, founder of Kim Baker Beauty, decided she wanted to commemorate her milestone birthday and how much she had personally grown, by capturing the moment in time with a birthday photoshoot. Her photos turned out amazing and we had the opportunity to ask her more about why she wanted to do the photoshoot and how she planned it.
If you’re thinking about a birthday photoshoot for your 16th, 18th, 21st, 30th, 40th or 95th birthday, read on for some practical ideas and tips to create pictures you’ll treasure for a lifetime!

Why You Should Schedule a Milestone Birthday Photoshoot
Parties365: Kim, we just love the joy and happiness that come across in your photos! What inspired you to capture your 30th birthday like this?
Kim Baker: When I started thinking about my thirtieth birthday, I really wanted to make it a celebration of my journey. As I approached this milestone, I found myself becoming really self-reflective. My twenties were full of physical and mental health battles which lead to poor self-esteem and self-deprecating behavior. Plus, like many others, I used to be shy and self-conscious in front of a camera.
Things started to turn around for me in my mid-twenties when I met the woman who is now my wife. She brought so much light and happiness into my life that I was finally able to see myself and accept my whole self. I began to take control over my physical health, starting with my diet, then I learned to accept, appreciate, and love my body for keeping me alive.
It was an uphill battle the entire way, but I finally feel like the boulder I’ve been pushing up the hill, has shrunk to a large rock. And I thought my progress really deserved to be celebrated.
P365: That’s amazing Kim! And yes, that kind of self-development and self-care absolutely deserves to be celebrated! Have you done any professional photoshoots for yourself before or was this the first?
KB: My first professional portrait session was actually in July of 2017. My makeup business was starting to take flight and I was collaborating with vendors in styled photoshoots. A local photographer reached out to me about getting in front of the camera and although I was scared out of my mind, I agreed to do it. And I’m so glad I did because it not only boosted my self-esteem, it taught me a lot about how to be comfortable in front of the camera and that some of my favorite photos were the simplest ones.
How to Plan the Perfect Birthday Photoshoot
P365: Okay Kim, for those women who are ready to plan their birthday photoshoot, can you give us some tips and recommendations on where to start and how to pull off a great shoot?
KB: Of course! The first thing I did and that I recommend you do too is to gather inspiration and create a mood board. I searched through Pinterest and used Canva to create mine – you can see it here:

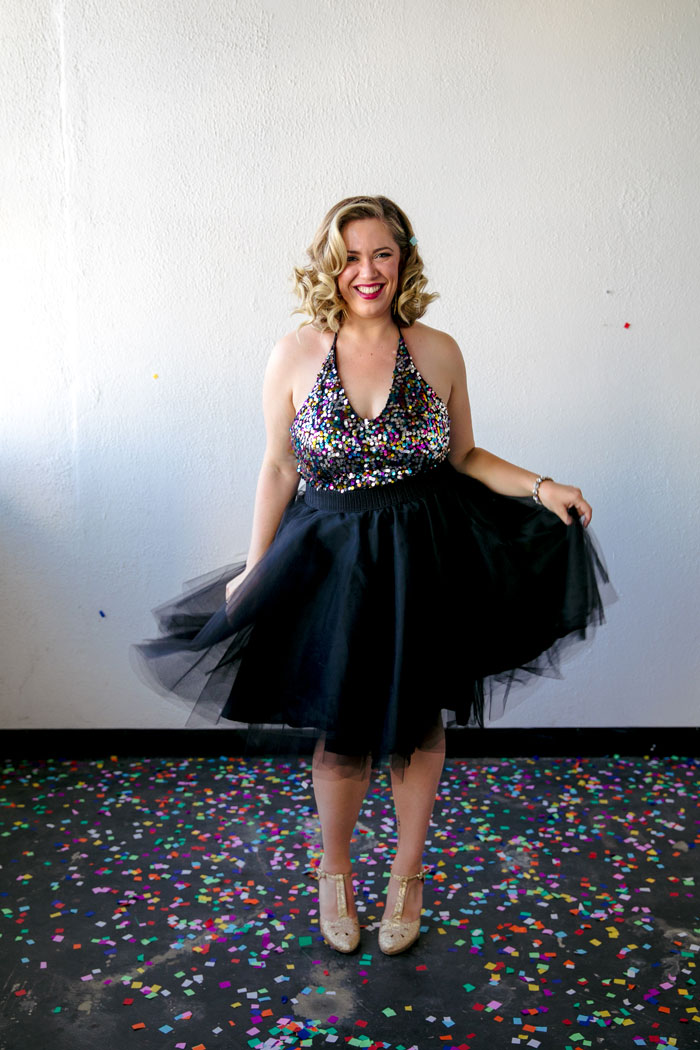
It’s incredibly helpful to have a mood board to keep you focused and it makes it really easy to communicate your vision to your photographer and any other vendors you might be working with. For this photoshoot, I shared my mood board with my photographer, Hi + Hello Photo and my jeweler, nikscandi. I also kept the mood board in mind when shopping for my sequined body suit, which I found at Nordstrom.

P365: A mood board is a great idea! When planning a party I do something similar, but usually just gather inspiration from Pinterest onto a Secret Board. I’m going to try a mood board next time.
It seems like the next step is gathering what you’re going to wear and putting together any props you’re going to use in the photoshoot. I know you opted for DIY versions of your skirt, cake topper and baked your cake yourself! Can you tell us more about those elements?
KB: Yes! Thankfully I have some incredibly talented friends who were willing to help me out! My preschool co-teacher offered to make the gorgeous tulle skirt for me using the instructions from A Beautiful Mess’s tutorial. It not only looked great in the photos, but it’s machine washable and now I can pair it with a slouchy off the shoulder sweater and wear it all season! And even better, the total cost came to around $40 for the supplies and payment for time spent was in the form of home-made kombucha.
P365:Your friend did an amazing job – the tulle skirt looks amazing with your sequined bodysuit. Tell us about your beautiful cake!
KB: The cake topper is a perfect project for the Cricut and thankfully my friend had one. It took some trial and error to get the perfect cut, so here are a few tips if you give it a try:
- There needs to be around ¾” space between cuts, such as between the Ls and in the hole of the 0.
- Tape down your material.
- Weld your design. This was our biggest misstep the first time around. Without welding, the Cricut will pass through every single line. Welding will erase the overlapping lines to create one cohesive piece. You can find this option at the bottom right of the project design platform.
Once cutting was complete, I sprayed the cake topper in gold and covered it in glitter using Modge Podge.
Finally, I baked a three-layer, gluten-free vanilla Funfetti cake from scratch and covered it in lavender buttercream and sprinkles. It took me a good 45 minutes to get the cake covered with sprinkles (using a spatula to apply them to the sides worked well), but it was well worth it!

P365: The end result of all your work really paid off in the gorgeous photos you now have! I suppose the only thing left to do was show up, relax and enjoy yourself at the photoshoot! Any final thoughts to share with our readers?
KB: I would just remind them that in my opinion, a milestone birthday photoshoot is all about self-care and 100% necessary – it’s critical to celebrate how far you’ve come! And also, every woman needs to experience two things in her life: 1) the power of red lipstick and 2) a professional photoshoot!
If you want to connect with Kim and learn more about her photoshoot experience, you can find her online at KimBakerBeauty.com.

Featured Vendors
Makeup Artist: Kim Baker Beauty
Photographer: Hi + Hello Photo
Jewelry: nikscandi