You have a phone full of still photos that rarely get a second look. Most people want to share something more exciting on social media or with friends. Static images are great, but moving visuals grab attention much faster. You can now use smart tools to add motion to your favorite shots or fix the ones that came out blurry. This process used to take hours of manual work in expensive software, but now it takes just a few clicks.
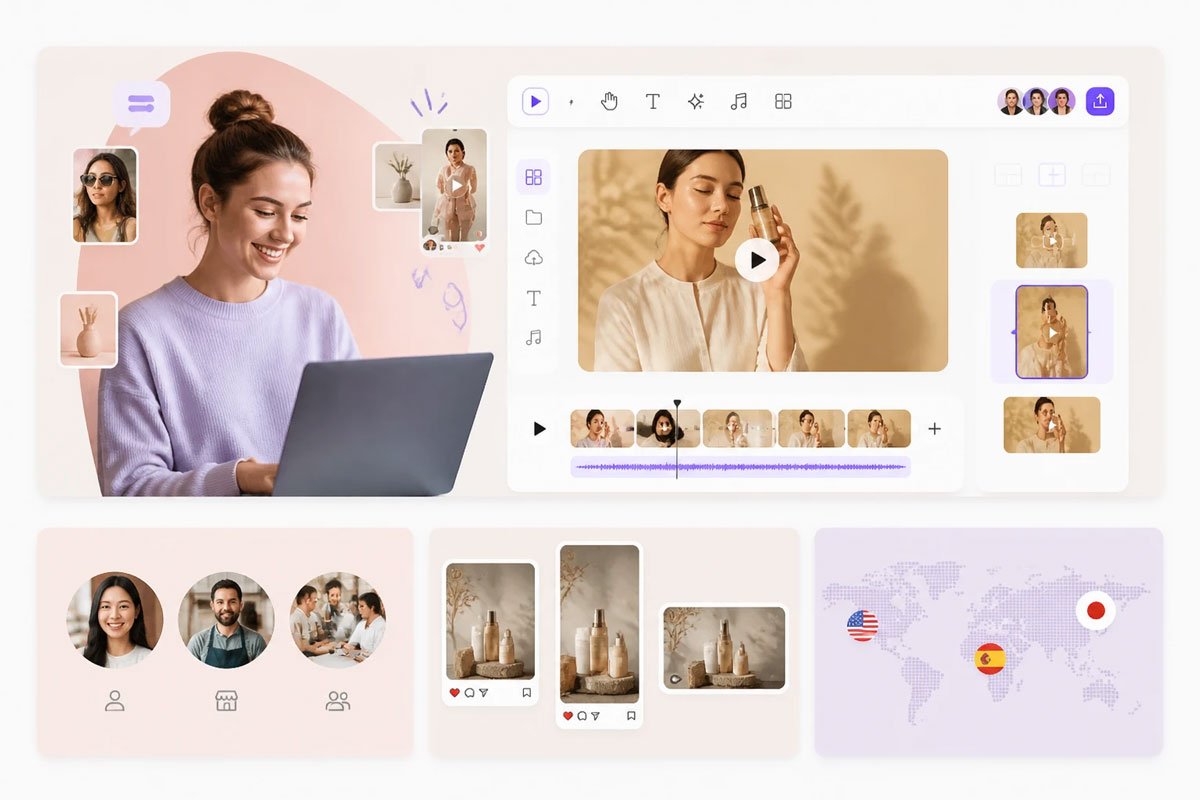
Using an image to video tool helps you breathe life into flat files. These platforms use smart algorithms to guess how water should flow or how hair should blow in the wind. You do not need to be a pro editor to get great results. You just upload a file and let the software handle the heavy lifting. This is perfect for making quick clips for stories or digital frames.
If your original photo looks a bit dull, you might want a free AI image editor no sign-up to sharpen things up first. High quality input always leads to better video output. Starting with a crisp image makes the motion look more realistic. You can fix lighting, remove noise, and boost colors without even creating an account. This saves time and keeps your workflow simple.
Step by Step Guide to AI Transformation
Transforming your media involves two main phases. First, you must ensure the base image is perfect. Second, you apply the motion effects. Follow these steps to get the best results every time.
Phase 1: Enhancing Your Base Image
You should never start with a low resolution file. AI motion tools work by stretching and moving pixels. If those pixels are blurry, the video will look messy.
1. Select your source file. Look for images with clear subjects and distinct backgrounds.
2. Upload the file to an enhancer. Use a tool that offers upscaling features.
3. Apply noise reduction. This removes the grainy look often found in low light photos.
4. Adjust the brightness. Make sure the subject is well lit so the AI can identify the edges of objects.
5. Save the file as a high quality PNG or JPEG. This preserves the details you just fixed.
Phase 2: Adding Motion
Once your photo is crisp, it is time to add movement. This is where the magic happens.
1. Open your chosen motion tool.
2. Upload your enhanced image.
3. Choose the motion type. Most tools offer presets like zoom, pan, or flow. Flow is best for things like clouds or water. Zoom works well for portraits to give them a 3D feel.
4. Set the duration. A five second clip is usually enough for a social media post.
5. Adjust the motion strength. Do not go too high or the image might distort. Keep it subtle for a more professional look.
6. Preview and generate. Watch the clip to see if the movement looks natural.
7. Download the final video file. Most tools provide an MP4 format which works everywhere.
Comparing AI Image and Video Features
It helps to know what these tools actually do to your files. Different features serve different purposes depending on your goal.
Item | Purpose | Best For |
| Upscaling | Increases resolution | Printing or large screens |
| Denoising | Removes grain | Night photos |
| Motion Synthesis | Adds movement | Social media clips |
| Color Correction | Fixes white balance | Dull or yellow photos |
| Inpainting | Fills in gaps | Removing unwanted objects |
Tips and Best Practices
To get the most out of these tools, you need to think like a designer. AI is powerful, but it still needs good instructions and good data to work well.
Focus on the subject. If you have a photo with too many people, the AI might get confused about who should move. Try to use images with one clear focal point. This allows the software to separate the foreground from the background easily.
Keep the motion natural. If you are animating a landscape, make the clouds move slowly. Fast movement often looks fake and can create weird artifacts around the edges of trees or buildings. Subtle movement is always more convincing than dramatic shifts.
Check the aspect ratio. If you plan to post on Instagram, use a vertical or square photo. If you are making a video for YouTube, a horizontal shot is better. Changing the ratio after you generate the video can lead to awkward cropping.
Use high contrast images. AI tools find it easier to map out a scene when there is a clear difference between light and dark areas. If your photo is very flat and gray, the motion might look muddy.
Common Mistakes to Avoid
Many people get frustrated when their first attempt does not look perfect. Usually, this is due to a few common errors that are easy to fix.
One big mistake is using photos with text. AI often struggles to keep letters sharp when it adds motion. The text might warp or become unreadable. If you need text in your video, add it using a standard video editor after you have generated the motion.
Another error is over-processing the image before adding motion. If you turn the sharpness up too high, the AI might see those sharp edges as separate objects. This causes flickering in the final video. Aim for a clean, natural look during the enhancement phase.
Do not ignore the background. Sometimes the AI tries to move the background and the foreground at the same pace. This ruins the depth of the image. If your tool allows it, use a brush to tell the software which parts should stay still and which parts should move.
Avoid using photos with very fine details like thin power lines or individual strands of hair against a busy background. These small details often disappear or glitch when the pixels start to move. Solid shapes and clear outlines work much better for this technology.
Summary of the Process
Creating a great video from a photo is a linear process. You start with a vision, clean up the data, and then apply the effects.
1. Pick a high quality photo with a clear subject.
2. Use an AI editor to fix any lighting or clarity issues.
3. Upload the clean file to a motion generator.
4. Select a motion style that fits the scene.
5. Review the clip for any glitches or weird warping.
6. Export and share your new creation.
Conclusion
Turning your static gallery into a dynamic video collection is easier than ever. You no longer need to learn complex animation techniques to make your photos stand out. By using AI to first enhance the quality and then add smart motion, you can create professional content in minutes. Remember to start with the best possible version of your photo to ensure the final video looks sharp. Experiment with different motion settings to see what works best for your specific shots. With a little practice, you will be able to transform any boring image into a captivating visual story.