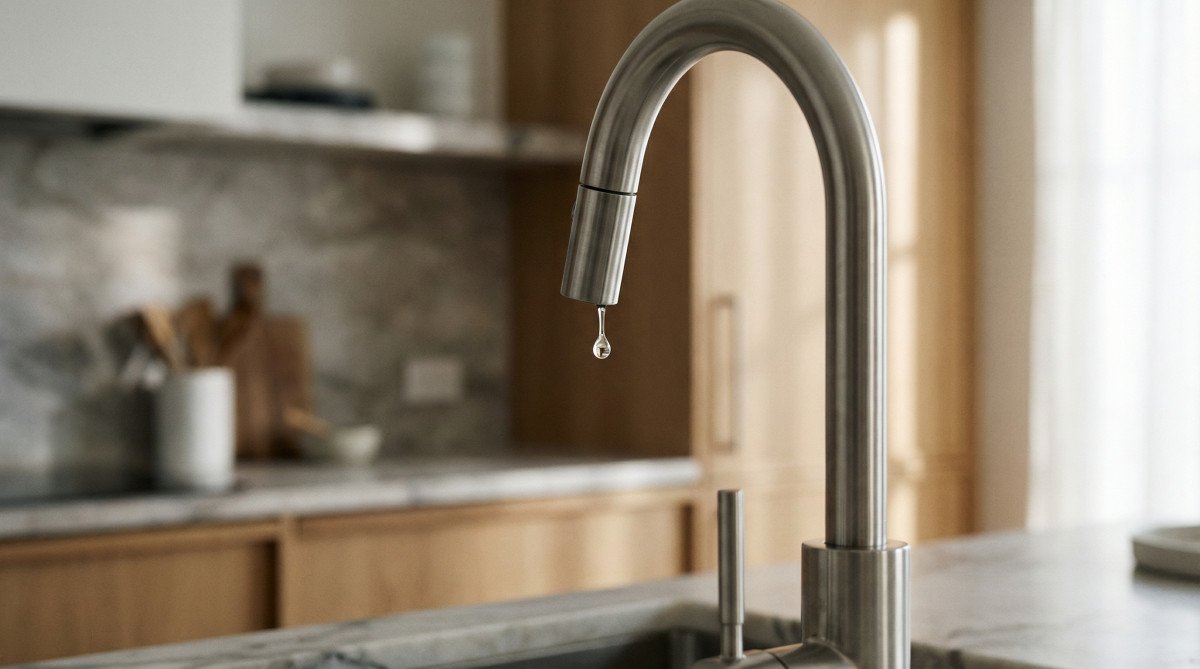
The persistent sound of a dripping faucet is more than a small annoyance that interrupts your sleep. It can also become a serious source of wasted water and unnecessary expense. While a single drop may seem insignificant, the cumulative effect of a leak can amount to thousands of gallons over the course of a year. Fortunately, repairing a dripping faucet is one of the most approachable and satisfying DIY projects for homeowners and renters, says Real Property Management Partners solutions. With a basic understanding of fixture mechanics and a step-by-step process, restoring proper function is often well within reach.
Identifying Your Faucet Type for the Right Repair
Identifying your faucet type is the first step toward a successful repair, as internal mechanisms vary between cartridge, ball, ceramic disk, and compression models. Most modern single-handle faucets use cartridges or ceramic disks, while older double-handle versions typically rely on rubber washers and compression stems to control water flow. Understanding these distinctions ensures that you purchase the correct replacement parts and use the appropriate disassembly techniques for your specific fixture.
There are four primary types of faucets found in modern homes, each requiring a slightly different approach to repair. Compression faucets are the most traditional, utilizing a screw-like stem that presses a rubber washer against a valve seat to stop water flow. These are almost always double-handle fixtures. In contrast, cartridge faucets can be single or double-handle and use a plastic or brass cartridge that slides up and down or rotates to regulate water. Ball faucets, identifiable by their single lever moving over a dome-shaped cap, use a slotted metal or plastic ball to control both temperature and flow. Finally, ceramic disk faucets are the most durable, featuring two highly polished ceramic disks that slide against each other to create a watertight seal.
The environmental and economic impact of neglecting these repairs is substantial. According to the Environmental Protection Agency (2023), a single leaky faucet dripping at one drop per second can waste more than 3,000 gallons of water per year. [1] This volume of water is equivalent to more than 180 showers, representing a significant burden on both the municipal water system and your personal utility budget. By taking the time to identify your faucet type and addressing leaks early, you contribute to vital water conservation efforts while preserving the integrity of your home’s plumbing infrastructure.
Essential Tools and Preparation
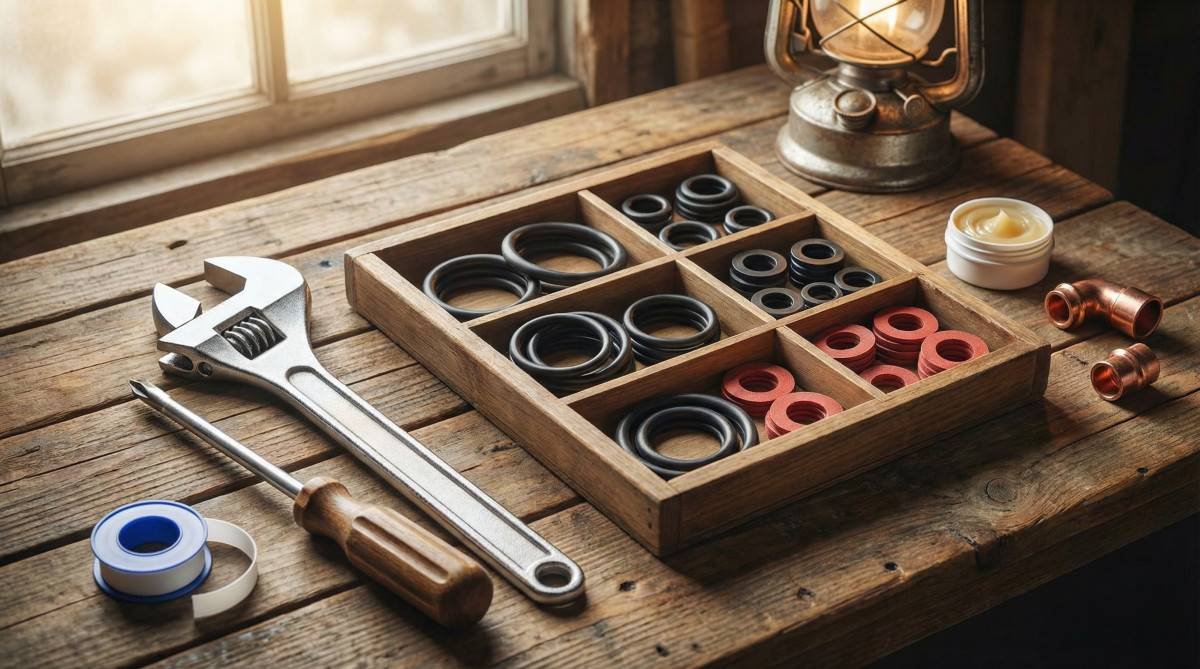
Before starting any plumbing repair, you must gather essential tools including an adjustable wrench, screwdrivers, and replacement parts like O-rings or cartridges. Preparation also involves shutting off the water supply at the local shut-off valves and plugging the drain to prevent small screws from being lost during disassembly. A well-prepared workspace is the key to avoiding common DIY pitfalls, such as dropped parts or scratched finishes on your faucet’s decorative surfaces.
Having the correct tools on hand is the most effective way to ensure a smooth repair process. For most faucet repairs, a standard adjustable crescent wrench and a set of Phillips and flat-head screwdrivers are sufficient. However, for more specialized cartridge faucets, you may occasionally need a hex key or Allen wrench to loosen the set screw that holds the handle in place. It is also wise to keep a small container of silicone-based plumber’s grease nearby to lubricate any new O-rings or seals before installation.
| Tool | Primary Use in Faucet Repair |
|---|---|
| Adjustable Crescent Wrench | Loosening the packing nut and removing the stem or cartridge. |
| Phillips and Flat-head Screwdrivers | Removing decorative caps and handle screws. |
| Hex Key (Allen Wrench) | Loosening set screws on modern single-handle faucets. |
| Plumber’s Grease (Silicone-based) | Lubricating O-rings and washers for a better seal. |
| Needle-nose Pliers | Removing small clips or retrieving parts from the faucet body. |
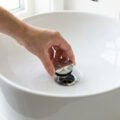
Once your tools are gathered, you must prepare the sink area to prevent further issues. The most critical step is to locate the water shut-off valves beneath the sink and turn them clockwise until they are fully closed. If your sink lacks individual shut-off valves, you may need to turn off the main water supply to your home. After the water is off, open the faucet handles to drain any remaining water from the lines. Finally, place a hand towel or a sink stopper over the drain opening. This simple precaution ensures that any small screws, washers, or clips that might slip from your fingers do not disappear into the plumbing system, turning a simple repair into a much larger project.
Step-by-Step: Replacing a Faucet Cartridge or Washer
To fix a dripping faucet, begin by removing the handle to access the internal stem or cartridge, then replace the worn-out component with an exact manufacturer match. Once the new part is seated correctly, reassemble the handle and slowly turn the water supply back on to test for any remaining leaks. This systematic approach ensures that you address the root cause of the drip, whether it is a deteriorated rubber washer or a failing plastic cartridge.
The repair process begins with the removal of the faucet handle. Most modern handles are held in place by a small set screw, often hidden under a decorative plastic cap or button on the top or side of the handle. Use a flat-head screwdriver to pop off the cap and a Phillips screwdriver or hex key to loosen the screw. Once the screw is removed, gently pull the handle straight up and off the faucet body. If the handle is stuck due to mineral buildup, a gentle wiggle or a small amount of penetrating oil can help loosen it without causing damage to the finish.
After removing the handle, you will see either a six-sided packing nut or a retaining clip that holds the stem or cartridge in place. Use an adjustable wrench to loosen the packing nut, turning it counter-clockwise until it can be removed by hand. For cartridge-style faucets, you may need to pull a U-shaped retaining clip with needle-nose pliers before the cartridge can be lifted out. Inspect the internal components for signs of wear, such as cracked O-rings, torn washers, or calcification on the cartridge itself. It is essential to take the old part with you to the hardware store to ensure you purchase an exact match, as there are hundreds of different cartridge and stem designs.
The environmental impact of these small household repairs is more significant than many homeowners realize. According to the U.S. Geological Survey (2024), leaks account for more than 10 percent of the water used in an average home, making DIY repairs a high-impact conservation effort. [2] By replacing a single worn-out washer or cartridge, you are not only saving money on your monthly utility bill but also participating in a broader effort to preserve the nation’s freshwater resources. Once the new part is installed and the faucet is reassembled, turn the water supply back on slowly and check for any signs of moisture around the base of the handle or the spout.
Long-Term Prevention and Maintenance
Long-term faucet health depends on managing mineral buildup and ensuring that internal seals remain lubricated with silicone-based plumber’s grease. Installing a home water softener can significantly extend the lifespan of ceramic disks and cartridges by preventing the calcification that often leads to premature seal failure and persistent dripping. By adopting a proactive maintenance routine, you can avoid many of the common issues that lead to plumbing leaks and extend the life of your kitchen and bathroom fixtures.
One of the most effective ways to maintain your faucet’s performance is to regularly clean the aerator, which is the small screen located at the end of the spout. Over time, mineral deposits and debris can accumulate in the aerator, leading to reduced water pressure and uneven flow. To clean it, simply unscrew the aerator by hand or with a pair of pliers (using a cloth to protect the finish) and soak it in a mixture of white vinegar and water for several hours. This simple task can prevent the backpressure that often contributes to leaks around the handle or the base of the faucet.
Beyond the aerator, the quality of your home’s water supply plays a critical role in the durability of your plumbing. Hard water, which is rich in minerals like calcium and magnesium, is a primary cause of seal failure and cartridge wear. These minerals can crystallize on the smooth surfaces of ceramic disks or the rubber of O-rings, creating abrasive edges that tear through the seals. If you live in an area with hard water, installing a whole-home water softener or a point-of-use filter can be a wise investment. These systems remove the minerals before they can reach your faucets, ensuring that your plumbing remains functional and drip-free for years to come.
Frequently Asked Questions
How do I stop my faucet from dripping?
To stop a faucet from dripping, you must identify the type of faucet you have, shut off the water supply, and replace the worn-out internal parts like cartridges, washers, or O-rings. Once you have identified the specific component that is failing, such as a deteriorated rubber washer in a compression faucet, you can purchase an exact replacement from a hardware store and reassemble the fixture.
What is the most common cause of a dripping faucet?
The most common cause of a dripping faucet is a worn-out washer or O-ring that can no longer create a watertight seal. Over time, these rubber components become brittle or cracked due to constant pressure and mineral buildup in the water supply. Replacing these inexpensive parts is often all that is needed to restore the faucet to full functionality.
Should you let all faucets drip or just one?
You should only let faucets drip intentionally during extreme freezing weather to prevent pipes from bursting, and in those cases, letting a single faucet drip is usually sufficient. For a standard plumbing leak, you should never allow a faucet to continue dripping, as it wastes significant amounts of water and can lead to higher utility bills and potential water damage over time.
Why is my faucet leaking when turned off?
A faucet that leaks when turned off is usually suffering from a failing internal seal, such as a worn-out cartridge or a damaged valve seat. These components are designed to completely block the flow of water when the handle is in the off position, but if they are cracked or corroded, water will seep through and drip from the spout.
Can a leaky faucet increase my water bill significantly?
Yes, a leaky faucet can increase your water bill significantly, as even a slow drip can waste hundreds of gallons of water each month. If left unaddressed for a year, a single dripping faucet can waste more than 3,000 gallons of water, leading to a noticeable increase in your municipal water and sewer charges.
Conclusion
Repairing a dripping faucet is a highly effective way to save water, reduce your utility costs, and gain confidence in your DIY home maintenance skills. By following a systematic approach—identifying the faucet type, gathering the right tools, and replacing the worn components—you can successfully resolve most common leaks in less than an hour. Taking the time to address these small plumbing issues not only protects your home’s infrastructure but also contributes to essential water conservation efforts in your community.
References
[1] Environmental Protection Agency (2023). “Fix a Leak Week.” https://www.epa.gov/watersense/fix-leak-week
[2] U.S. Geological Survey (2024). “Water Q&A: How much water does a dripping faucet waste?” https://www.usgs.gov/special-topics/water-science-school/science/water-qa-how-much-water-does-a-dripping-faucet-waste