Introducing natural light into a dark, enclosed space can completely transform the atmosphere of a home, making rooms feel larger, warmer, and more inviting. For many homeowners, achieving this transformation means looking upward. Understanding the best skylight installation tips is critical before embarking on this ambitious project. Unlike swapping out a standard window, adding a skylight is a complex architectural modification that intersects three distinct building trades: rough carpentry, roofing, and interior drywall finishing. A single misstep in any of these areas can lead to structural weaknesses or, most commonly, devastating water leaks that can ruin ceilings and insulation.
The allure of a sunlit living room or a stargazing bedroom is undeniable, but the reality of cutting a hole in a perfectly good roof requires meticulous planning and execution. Modern skylight technology has advanced significantly, offering energy-efficient glazing, automated venting, and foolproof flashing systems. However, these high-tech units are only as reliable as the installation process itself. By adhering to expert guidelines regarding placement, product selection, and rigorous waterproofing techniques, homeowners can successfully integrate these stunning architectural features while maintaining the absolute integrity of their home’s exterior envelope.
Pre-Installation Planning and Placement Strategies
Answer Capsule: Successful skylight installation begins with strategic placement. You must evaluate the sun’s trajectory, the structural integrity of your roof trusses, and the specific slope of your roof to determine the optimal size and type of skylight without compromising the home’s architecture.
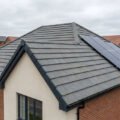
The first and arguably most important phase of adding a skylight happens before any tools are lifted. Strategic placement dictates not only the aesthetic outcome but also the energy efficiency and structural complexity of the project. Solar orientation is a primary consideration. A skylight installed on a north-facing roof slope will provide steady, cool illumination throughout the day, ideal for workspaces or art studios. Conversely, a south-facing or west-facing installation will capture intense, direct sunlight, which can significantly increase solar heat gain in the summer months. If a southern exposure is necessary, selecting a unit with advanced Low-E coatings or integrated shades is essential to prevent the room from becoming uncomfortably hot.
Beyond solar tracking, the physical structure of the roof dictates where a skylight can safely reside. The most cost-effective and structurally sound approach is to choose a skylight width that fits neatly between existing roof rafters or trusses—typically spaced 16 or 24 inches on center. Cutting a rafter to accommodate a larger, wider skylight requires framing structural headers to redistribute the roof load, a process that significantly increases the labor, cost, and complexity of the installation. Furthermore, the pitch (or slope) of the roof must be measured accurately. Most standard deck-mounted skylights require a minimum roof pitch of 3:12 (three inches of vertical rise for every twelve inches of horizontal run) to ensure proper water shedding. Installing a standard unit on a flat or low-slope roof without building a raised curb will inevitably result in pooling water and eventual leaks.
Selecting the Right Skylight Model and Glazing
Answer Capsule: Choosing the correct skylight involves selecting between deck-mounted or curb-mounted models and opting for energy-efficient glazing, such as low-E glass, to prevent unwanted heat gain and protect interior furnishings from UV damage.
Once the location is finalized, selecting the appropriate hardware is the next critical step. Skylights generally fall into two installation categories: deck-mounted and curb-mounted. Deck-mounted skylights are nailed directly to the roof deck, providing a low-profile, integrated appearance. They are typically used on roofs with a standard or steep pitch. Curb-mounted skylights, on the other hand, sit on a wooden frame (the curb) built above the roof deck. This elevated design is mandatory for flat or low-slope roofs to prevent standing water from seeping over the edges of the unit. Understanding the architectural requirements of your specific roof will immediately narrow down the product choices.
Equally important to the frame is the glazing—the glass or acrylic material that makes up the window. Modern building codes and energy efficiency standards heavily favor double-paned, tempered glass filled with argon gas. According to the U.S. Department of Energy, selecting skylights with Low-Emissivity (Low-E) coatings is vital. These microscopic metallic layers reflect infrared heat while allowing visible light to pass through. In the summer, Low-E glass prevents the sun’s heat from turning the room into a greenhouse, and in the winter, it helps retain interior radiant heat. Furthermore, tempered or laminated glass is essential for safety, ensuring that if the skylight is struck by a falling branch or heavy hail, the glass will not shatter into dangerous, sharp shards inside the home.
The Critical Importance of Proper Flashing Techniques
Answer Capsule: The most crucial step in skylight installation is executing a flawless flashing system. Using a combination of ice and water shield, step flashing, and continuous counter-flashing ensures a watertight seal that prevents devastating roof leaks.
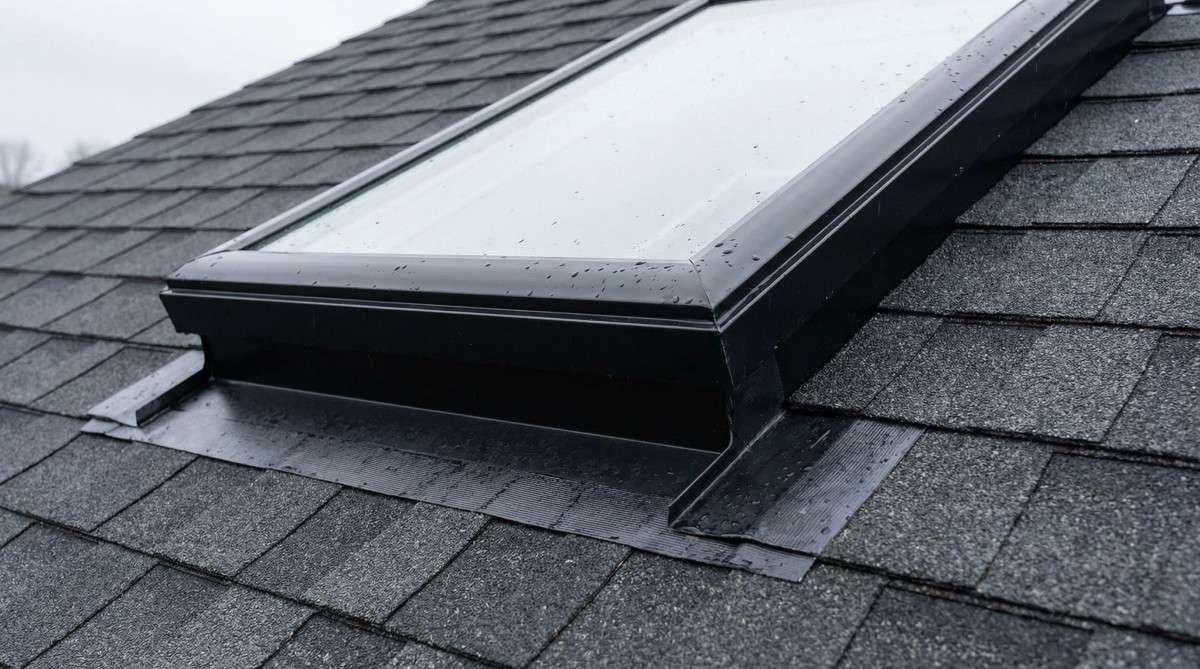
The reputation skylights have for leaking is rarely the fault of the skylight unit itself; it is almost always the result of improper flashing during installation. Flashing is the system of metal components that weaves into the roofing material to direct water away from the joint where the skylight meets the roof deck. The process begins with an underlayment, typically a self-adhering ice and water shield, which is wrapped tightly around the frame of the skylight and sealed directly to the bare roof decking. This creates a primary waterproof barrier that protects the wood framing even if wind-driven rain manages to bypass the shingles.
Over this membrane, the actual metal flashing is applied in a specific, overlapping sequence. The bottom sill flashing is installed first, resting on top of the shingles below the skylight. Next, step flashing is woven into the shingles along the sides of the unit. Each piece of step flashing must overlap the one below it and be covered by the shingle above it, creating a cascading path that forces water to run down the roof rather than under the roofing material. Finally, the saddle or head flashing is installed at the top, directing water coming down the roof around the sides of the skylight. Skipping any part of this sequence, or relying on roofing cement instead of proper metal flashing, is a guaranteed recipe for future water damage.
Interior Finishing: Building the Light Shaft
Answer Capsule: Constructing the interior light shaft requires precise framing and drywalling. Flaring the shaft outward at the bottom maximizes light dispersion into the room, creating a more dramatic and expansive lighting effect while minimizing shadows.
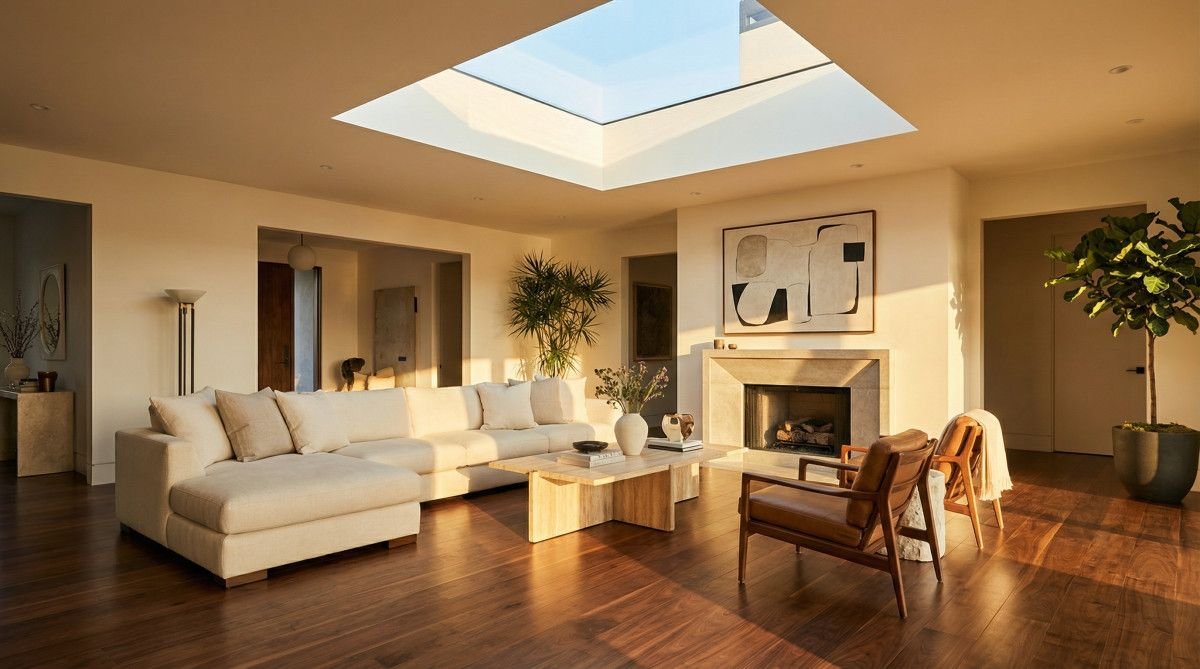
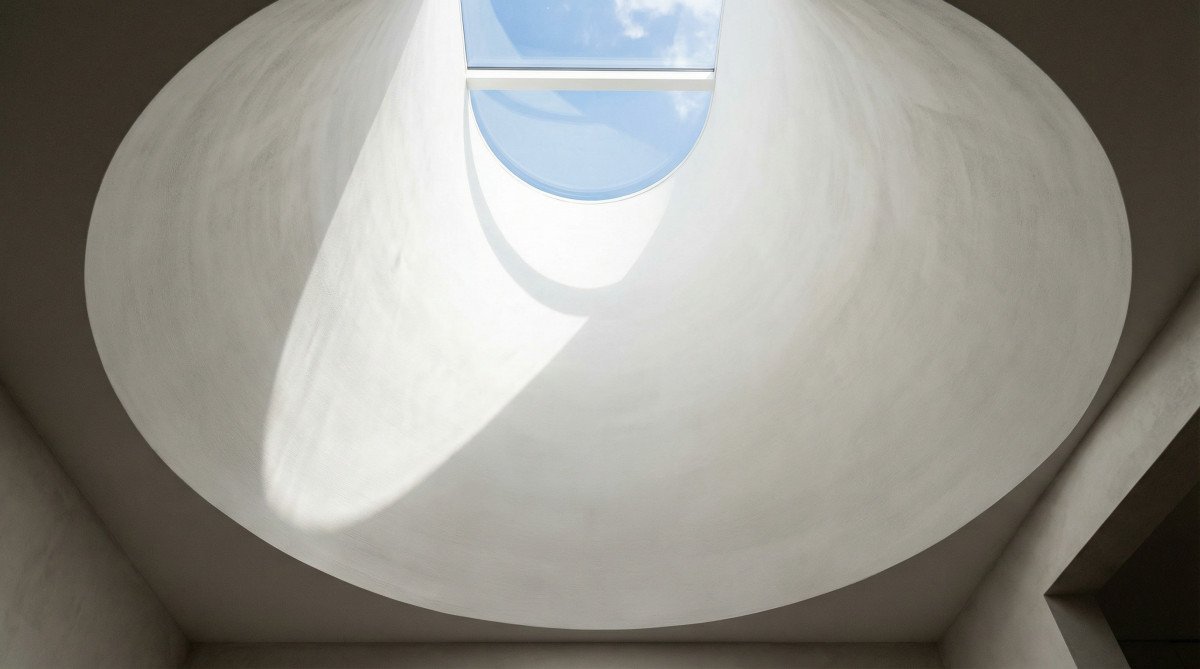
While the roof work ensures the home remains watertight, the interior work dictates how the light interacts with the living space. Because a roof is typically separated from the interior ceiling by an attic space, a light shaft must be framed to connect the skylight to the room below. The geometry of this shaft significantly impacts the quality of light. A straight shaft, where the framing drops vertically from the skylight to the ceiling, channels a concentrated beam of light directly downward. While effective, it can create harsh shadows.
A superior architectural approach is to flare the light shaft. By angling the drywall outward—often flaring all four sides or just the top and bottom—the shaft acts like a funnel, dispersing the natural light much wider across the room. This technique softens the light and makes the skylight appear larger from the interior. Regardless of the shape, the exterior walls of the light shaft must be heavily insulated within the attic space. Without proper insulation and a tightly sealed vapor barrier behind the drywall, warm, moist interior air will rise into the shaft, hit the cold skylight glass during winter, and cause severe condensation. This condensation can drip down the drywall, mimicking a roof leak and causing mold growth.
Frequently Asked Questions
Can I install a skylight myself, or should I hire a professional?
While highly experienced DIYers with strong backgrounds in roofing and rough carpentry can install a skylight, it is generally recommended to hire a professional. The process involves cutting into the roof structure, working at dangerous heights, and executing precise waterproofing techniques; a single mistake can lead to severe structural damage and costly water leaks.
Do all skylights eventually leak?
No, modern skylights do not inherently leak. When installed correctly using the manufacturer’s specified metal flashing kit and proper waterproof underlayment, a high-quality skylight will remain completely watertight for the duration of its lifespan.
How much does a typical skylight installation cost?
The cost varies widely based on the size of the unit, the type of roof, and the complexity of the interior ceiling structure. On average, homeowners can expect to spend between $1,500 and $3,000 per skylight, which includes both the materials and the professional labor required for framing, roofing, and interior finishing.
Conclusion
Answer Capsule: A successful skylight installation requires meticulous planning, the selection of high-quality, energy-efficient materials, and uncompromising attention to exterior waterproofing details. By following these expert tips, homeowners can safely bring stunning natural light into their spaces without compromising roof integrity.
Adding a skylight is one of the most rewarding home improvement projects, offering an immediate and dramatic enhancement to the ambiance of any room. However, the success of the project hinges entirely on the quality of the installation. It is a rigorous process that demands respect for structural engineering, energy dynamics, and weatherproofing standards. From the initial decision of where to place the unit to the final coat of paint on the flared interior shaft, every step must be executed with precision.
By prioritizing proper flashing techniques, choosing advanced Low-E glazing, and ensuring the interior shaft is adequately insulated, homeowners can eliminate the risks traditionally associated with roof windows. When executed correctly, a skylight ceases to be a potential liability and instead becomes a permanent, beautiful architectural feature that elevates the comfort, value, and energy efficiency of the home for decades to come.